The advantage of getting married in a very private ceremony and then taking the party to all of the various groups of friends and family members means that there are plenty of opportunities for wedding themed parties, which means plenty of opportunities to wear a wedding dress. Or dresses.
When we had first conceived of this plan I had found four wedding dress patterns that I really liked. That aligned with the original four parties that we had planned. Then we decided that we needed more parties and I decided that I didn’t have time to even make four dresses so I narrowed it down to two dresses and first chose the one that looked like I could conceivably finish it in the space of three weeks. That meant I was left with the other pattern and approximately one year of time between our little wedding and our final planned celebration on our one year anniversary, to finish the second dress.
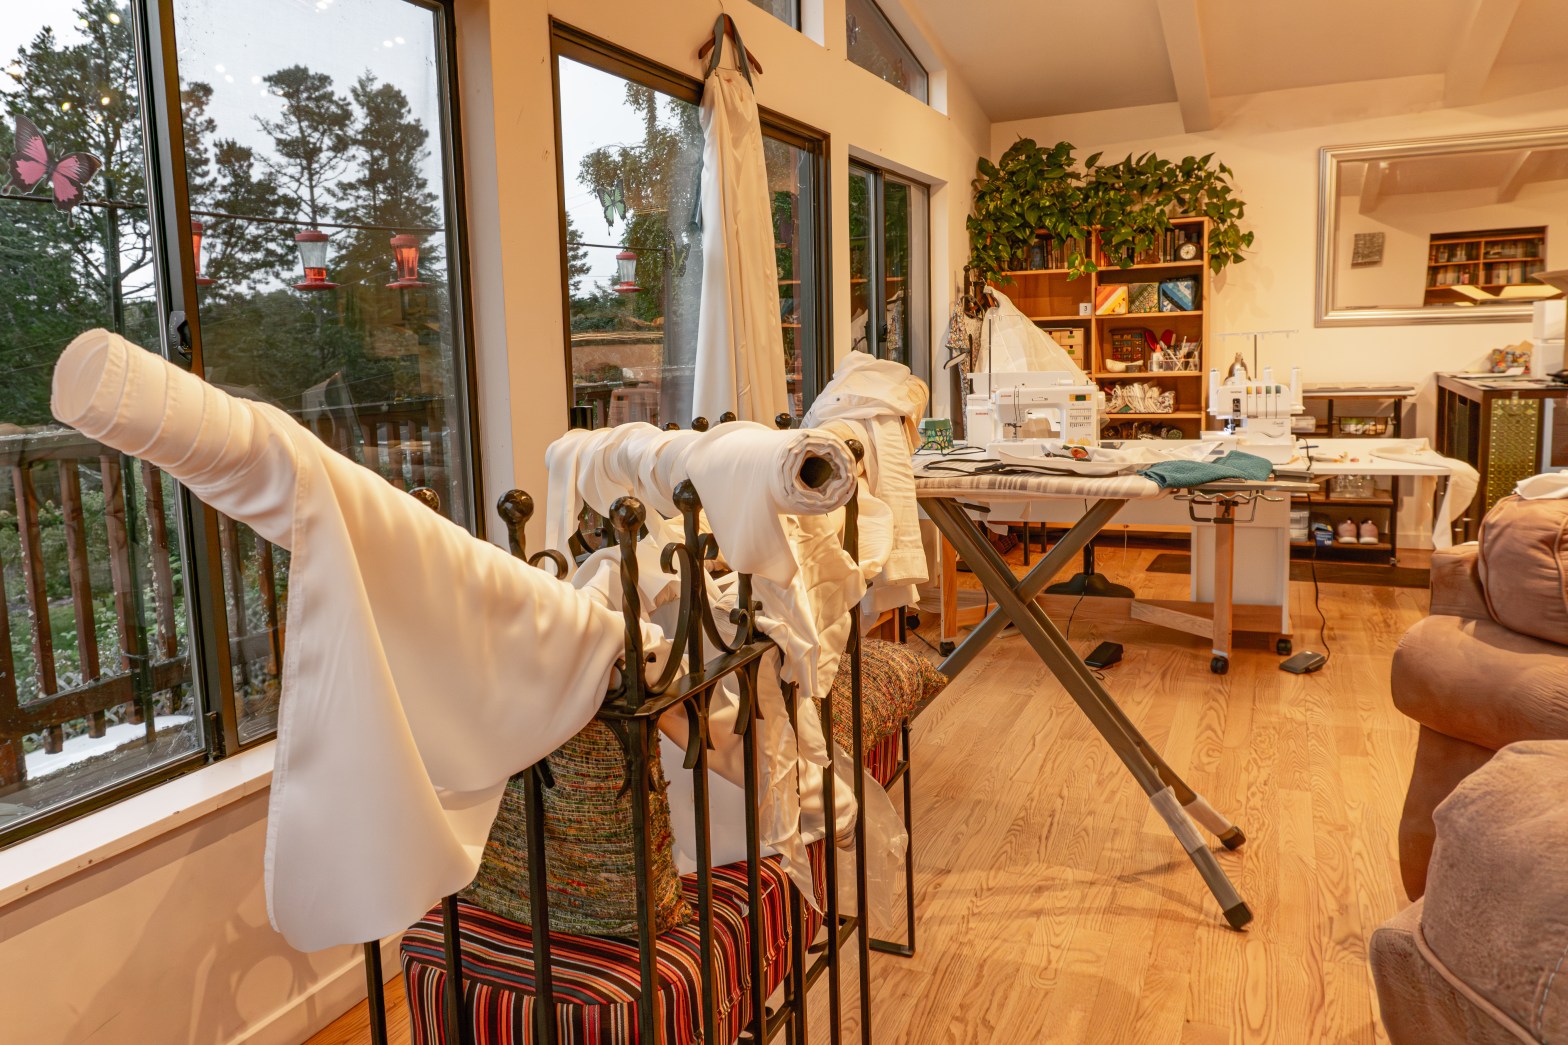
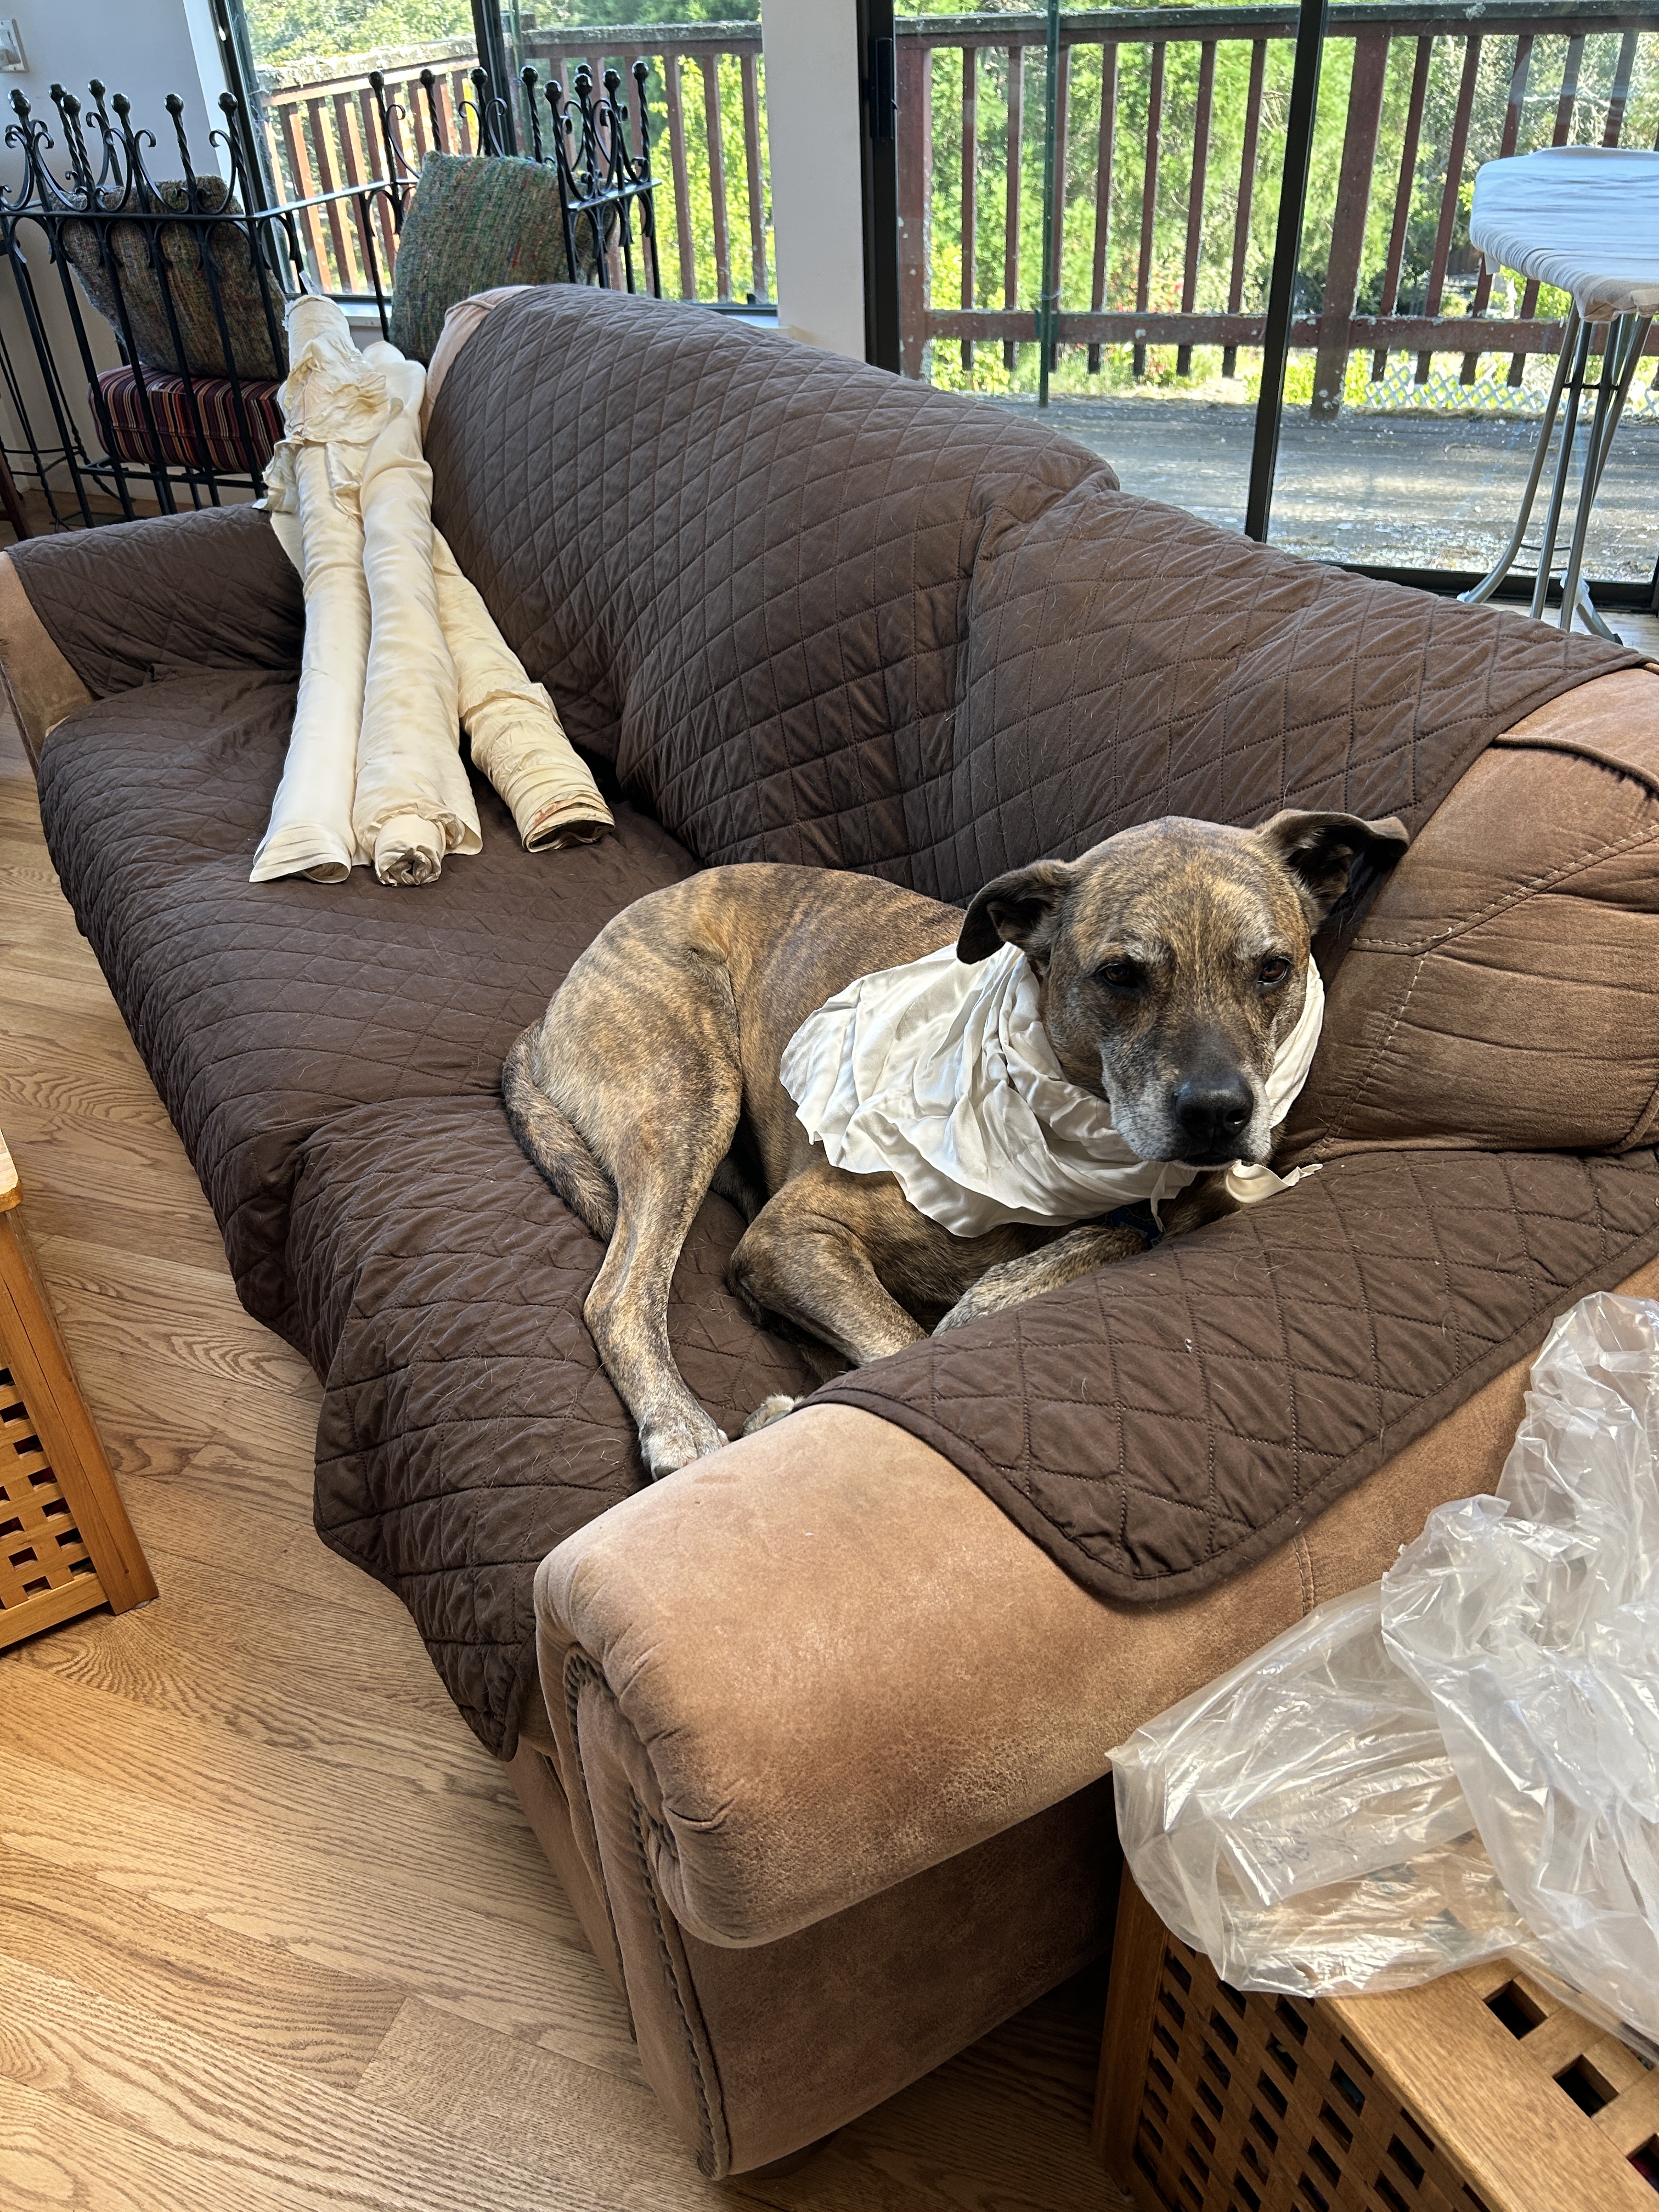
As I was finishing my first dress, my aunt reached out to me and said that her friend had offered to me some bolts of silk with which to make my dress. Having previously worked the wedding world, the silk was champagne and white colored and meant to be used for a project such as mine. It seemed that I had found my fabric for dress #2!
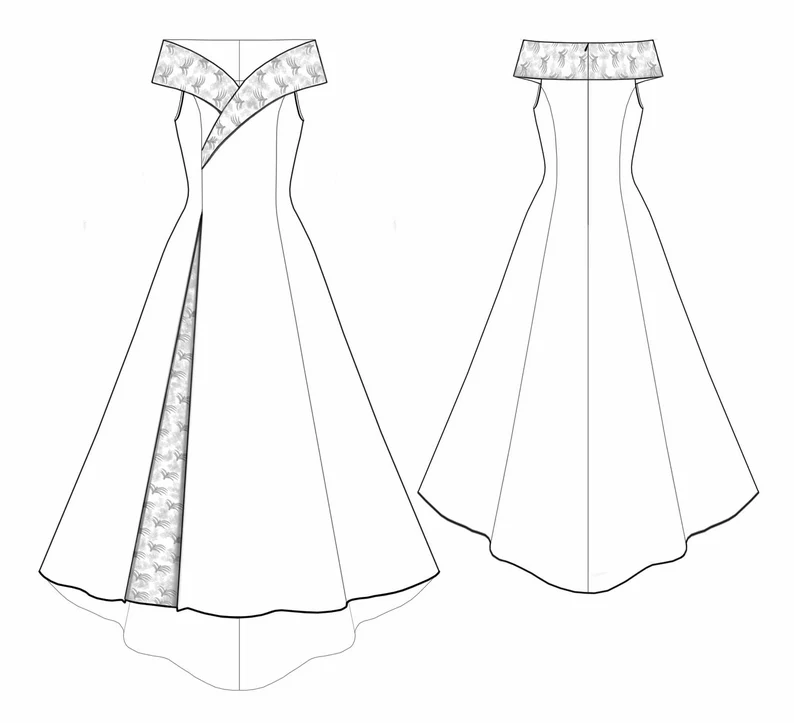
I had originally found this pattern on Etsy, which can be really hit or miss, in this case it was mostly a miss. Partly my fault, partly due to a not well-made pattern this was an exceedingly difficult project. Unfamiliar with making ball gown dresses with trains, my original impression of this dress was that it was a cute high-low style dress. There were no photos of happy customers with completed dresses which, in retrospect, should have been my first indication to tread lightly and consider passing this one up. Not only that, but the stylized graphic of the dress looked different from the drawing above, which only added to my own confusion.
The only option for printing the pattern was on 150ish 8.5 x 11 pieces of paper which my mom and I did and then painstakingly taped together. Despite the alignment square printing at the correct size, many of the sheets of paper did not line up correctly. It was clear once we had all of the pieces taped and cut that I was looking at a ball gown with a train and I felt some hesitation over the amount of fabric I was going to need to create this dress (this part happened before my aunt’s friend had offered her silk). I also quickly realized how complicated this dress was going to be, which meant I would have a tight timeline — the muslin would need to be made while I was in Indiana, the dress would need to be made during the short two week span while I was at home in California where my aunt was, and hopefully I would be able to limit any final alterations to being completed during the one week I would be in California again in December before the party or they would need to be things I could do in Indiana without easy access to a sewing machine.
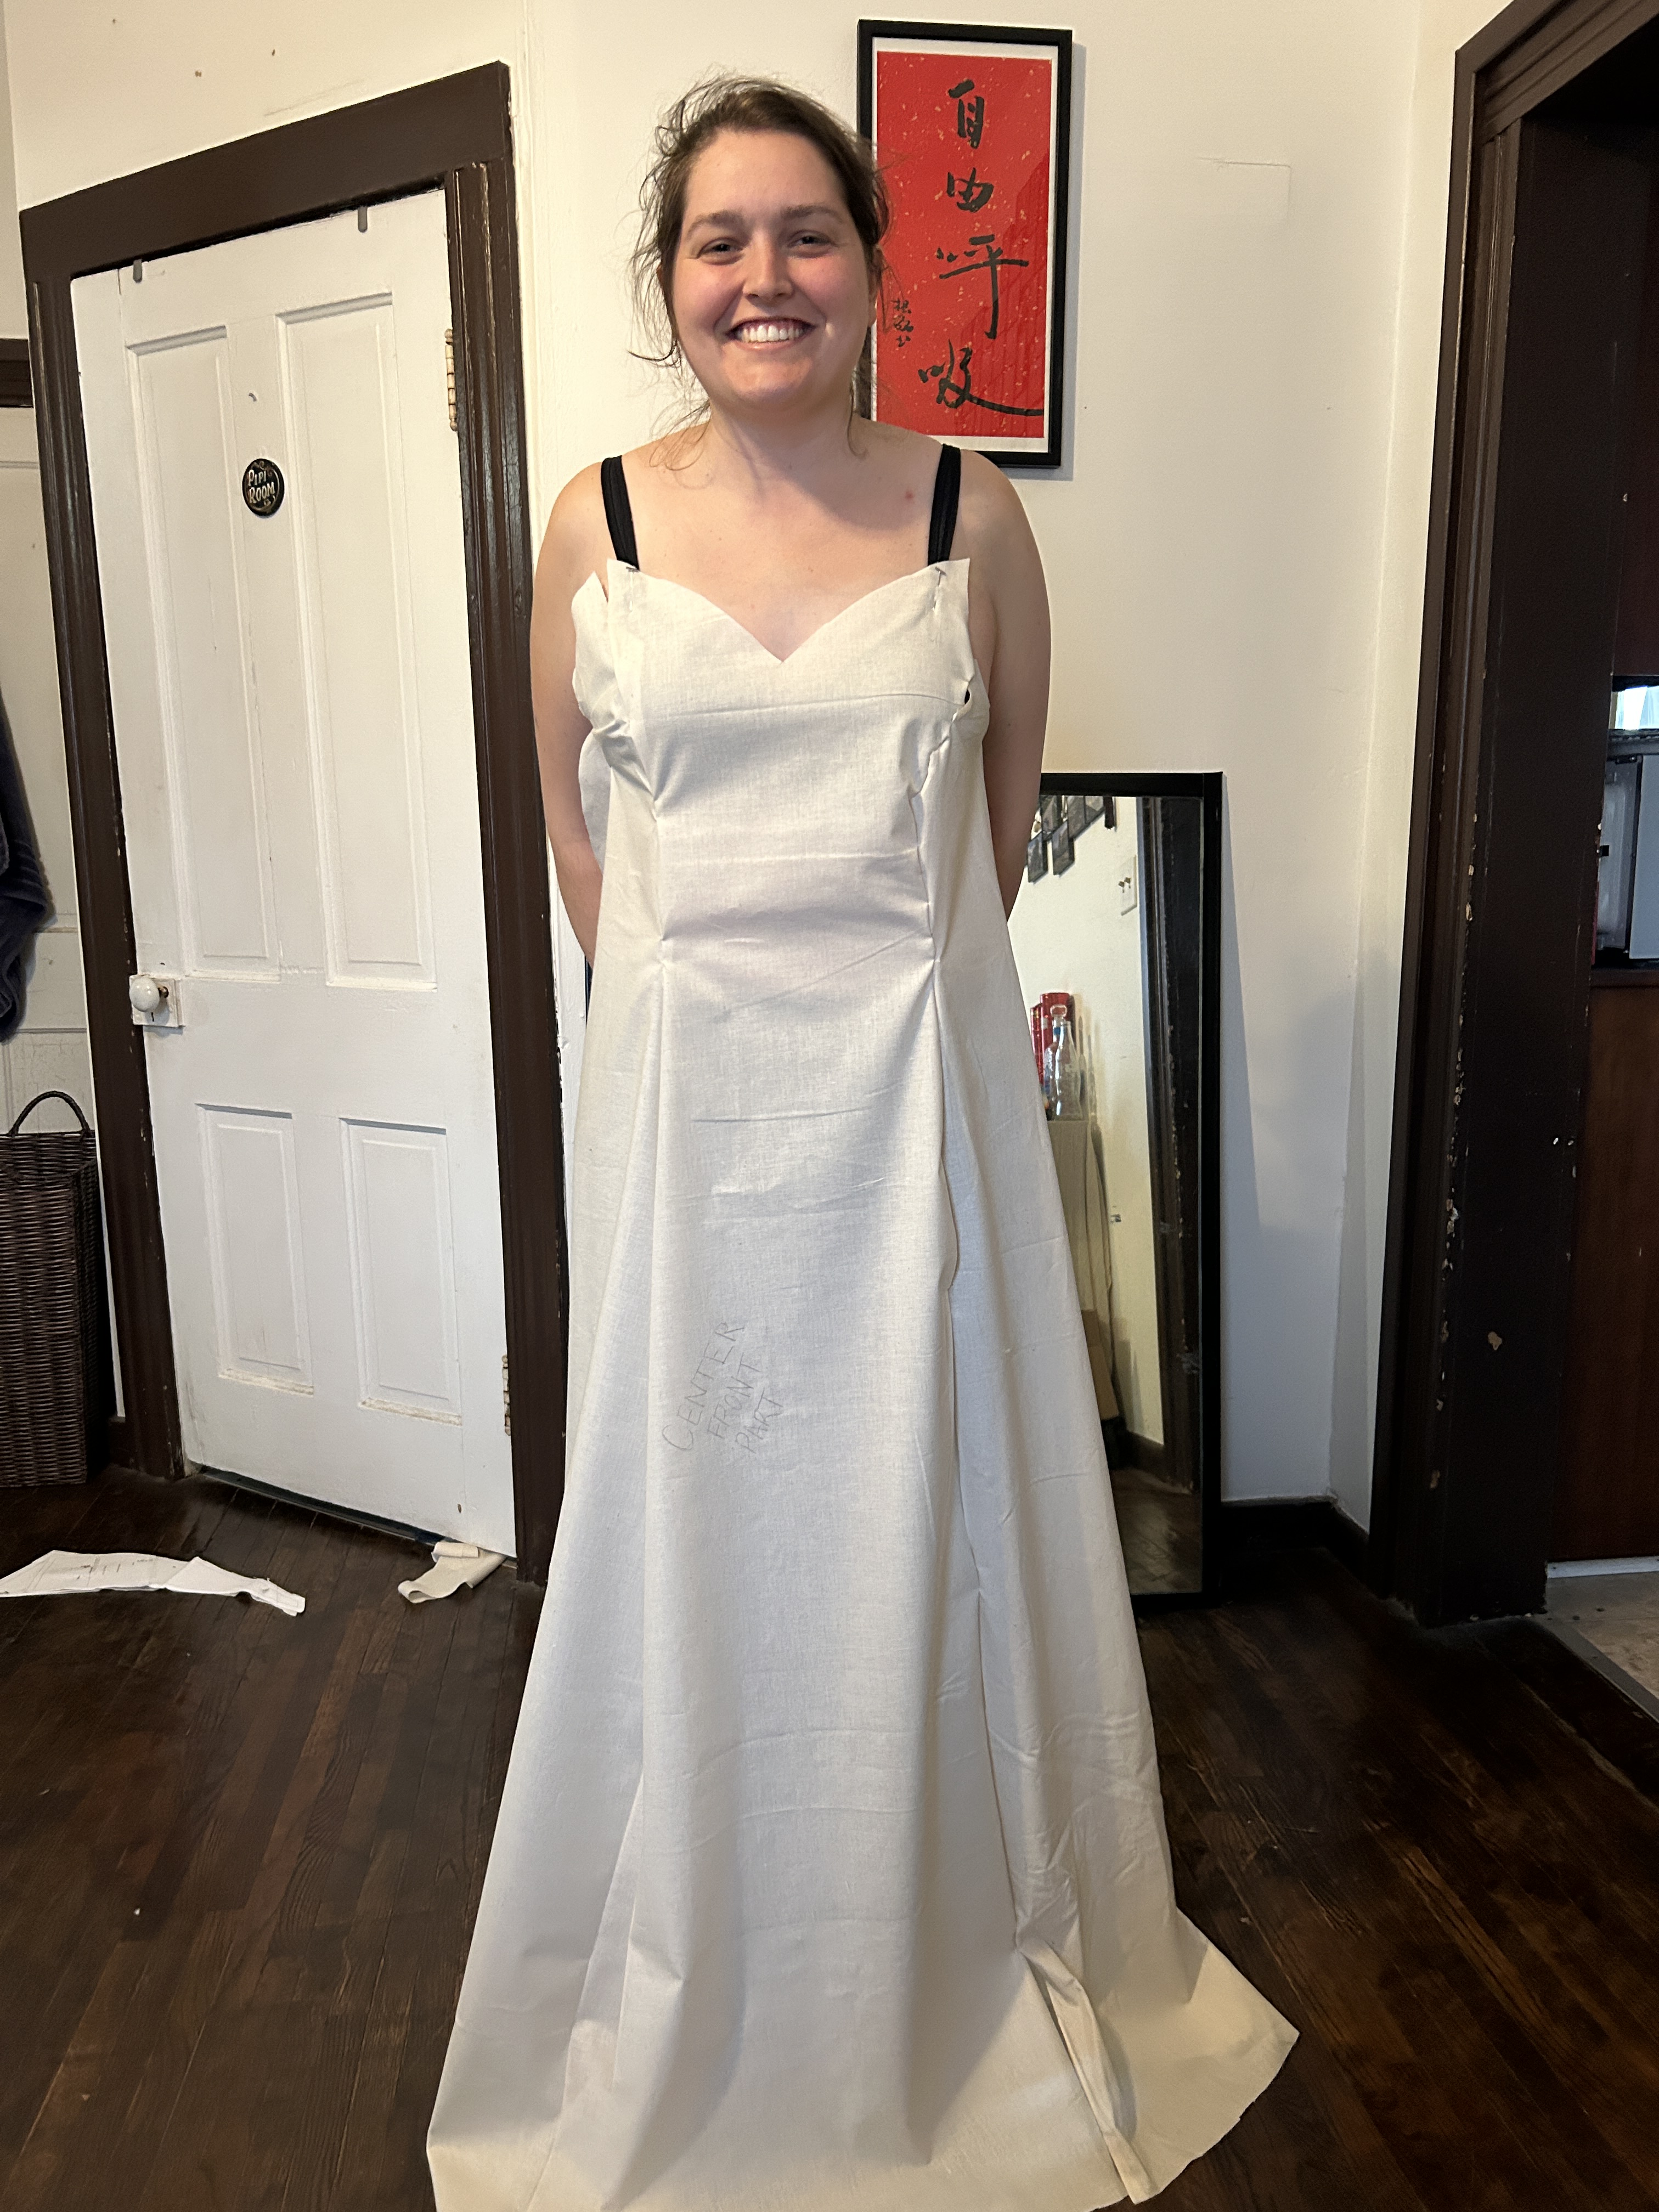
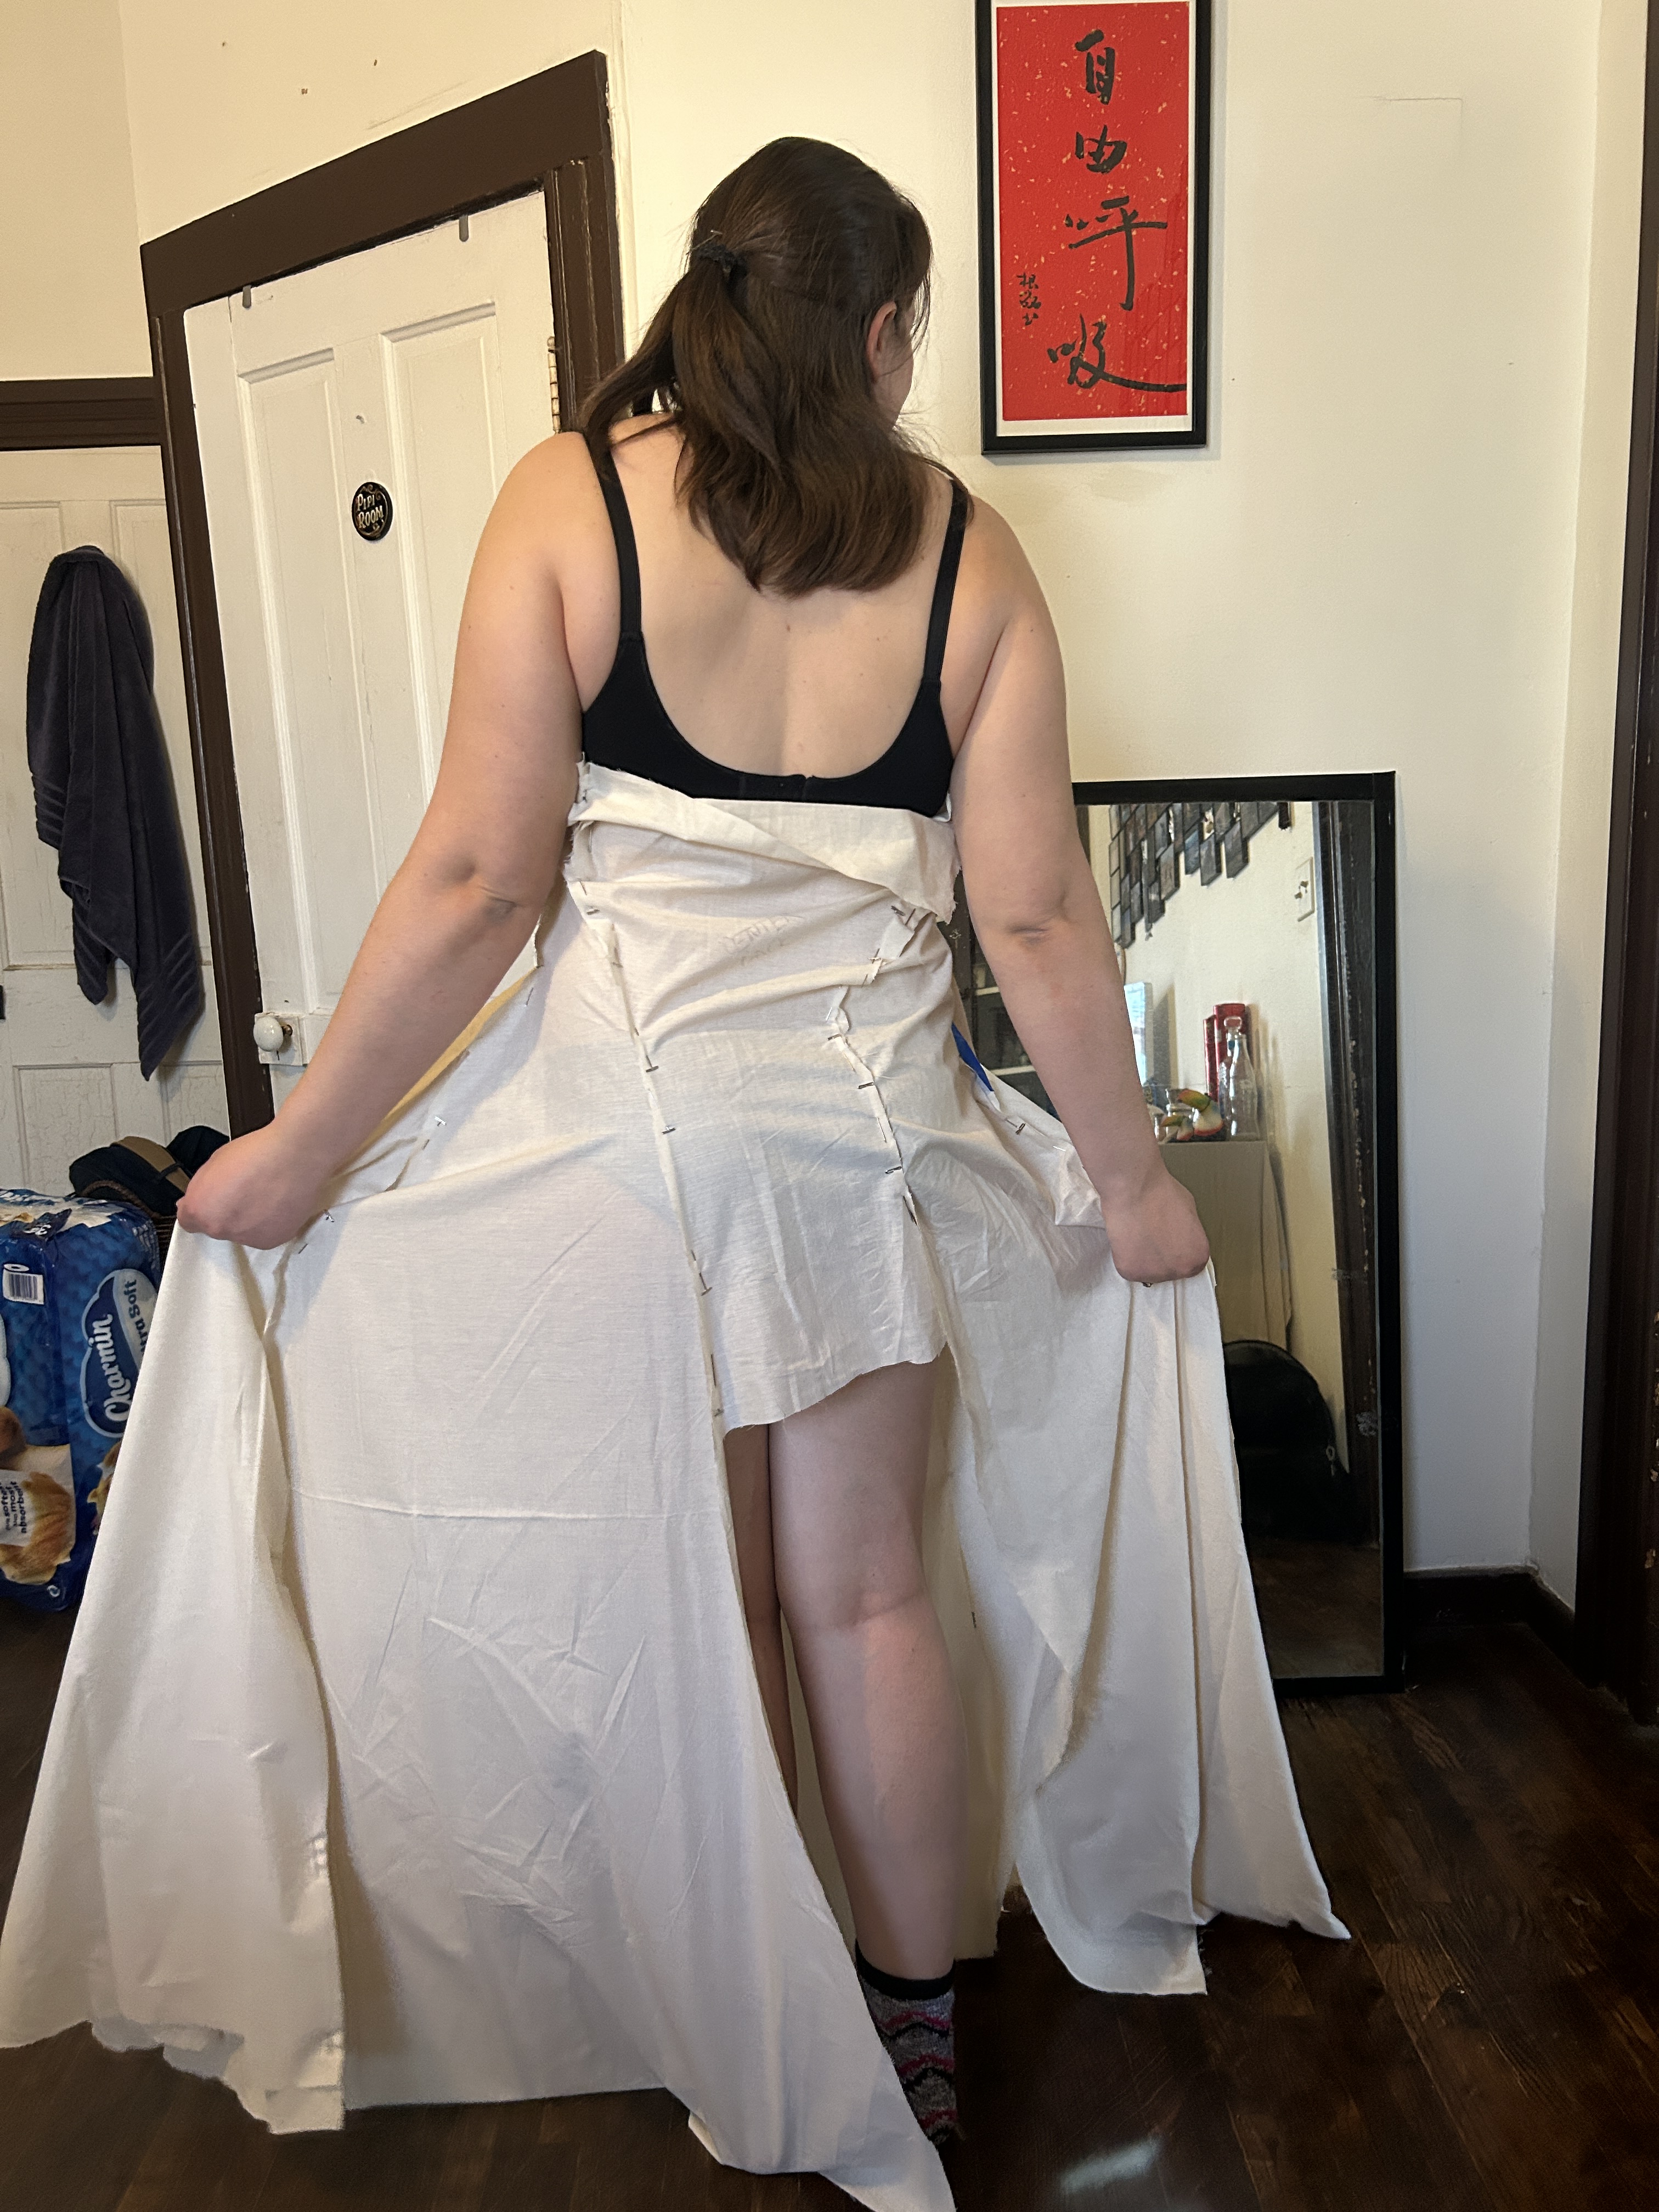
I began making the muslin when my mother-in-law was in town — I realized that I would need assistance trying to get the fit correct and she knew a thing or two about sewing and pinning. Her help ended up being invaluable as the fit was so far off. Between the two of us we had the muslin version fitting well enough that I was ready to take it to California. It took about 8 yards of muslin fabric to cut all of the pieces so I was doubly glad that my aunt’s friend had donated fabric for me to use.
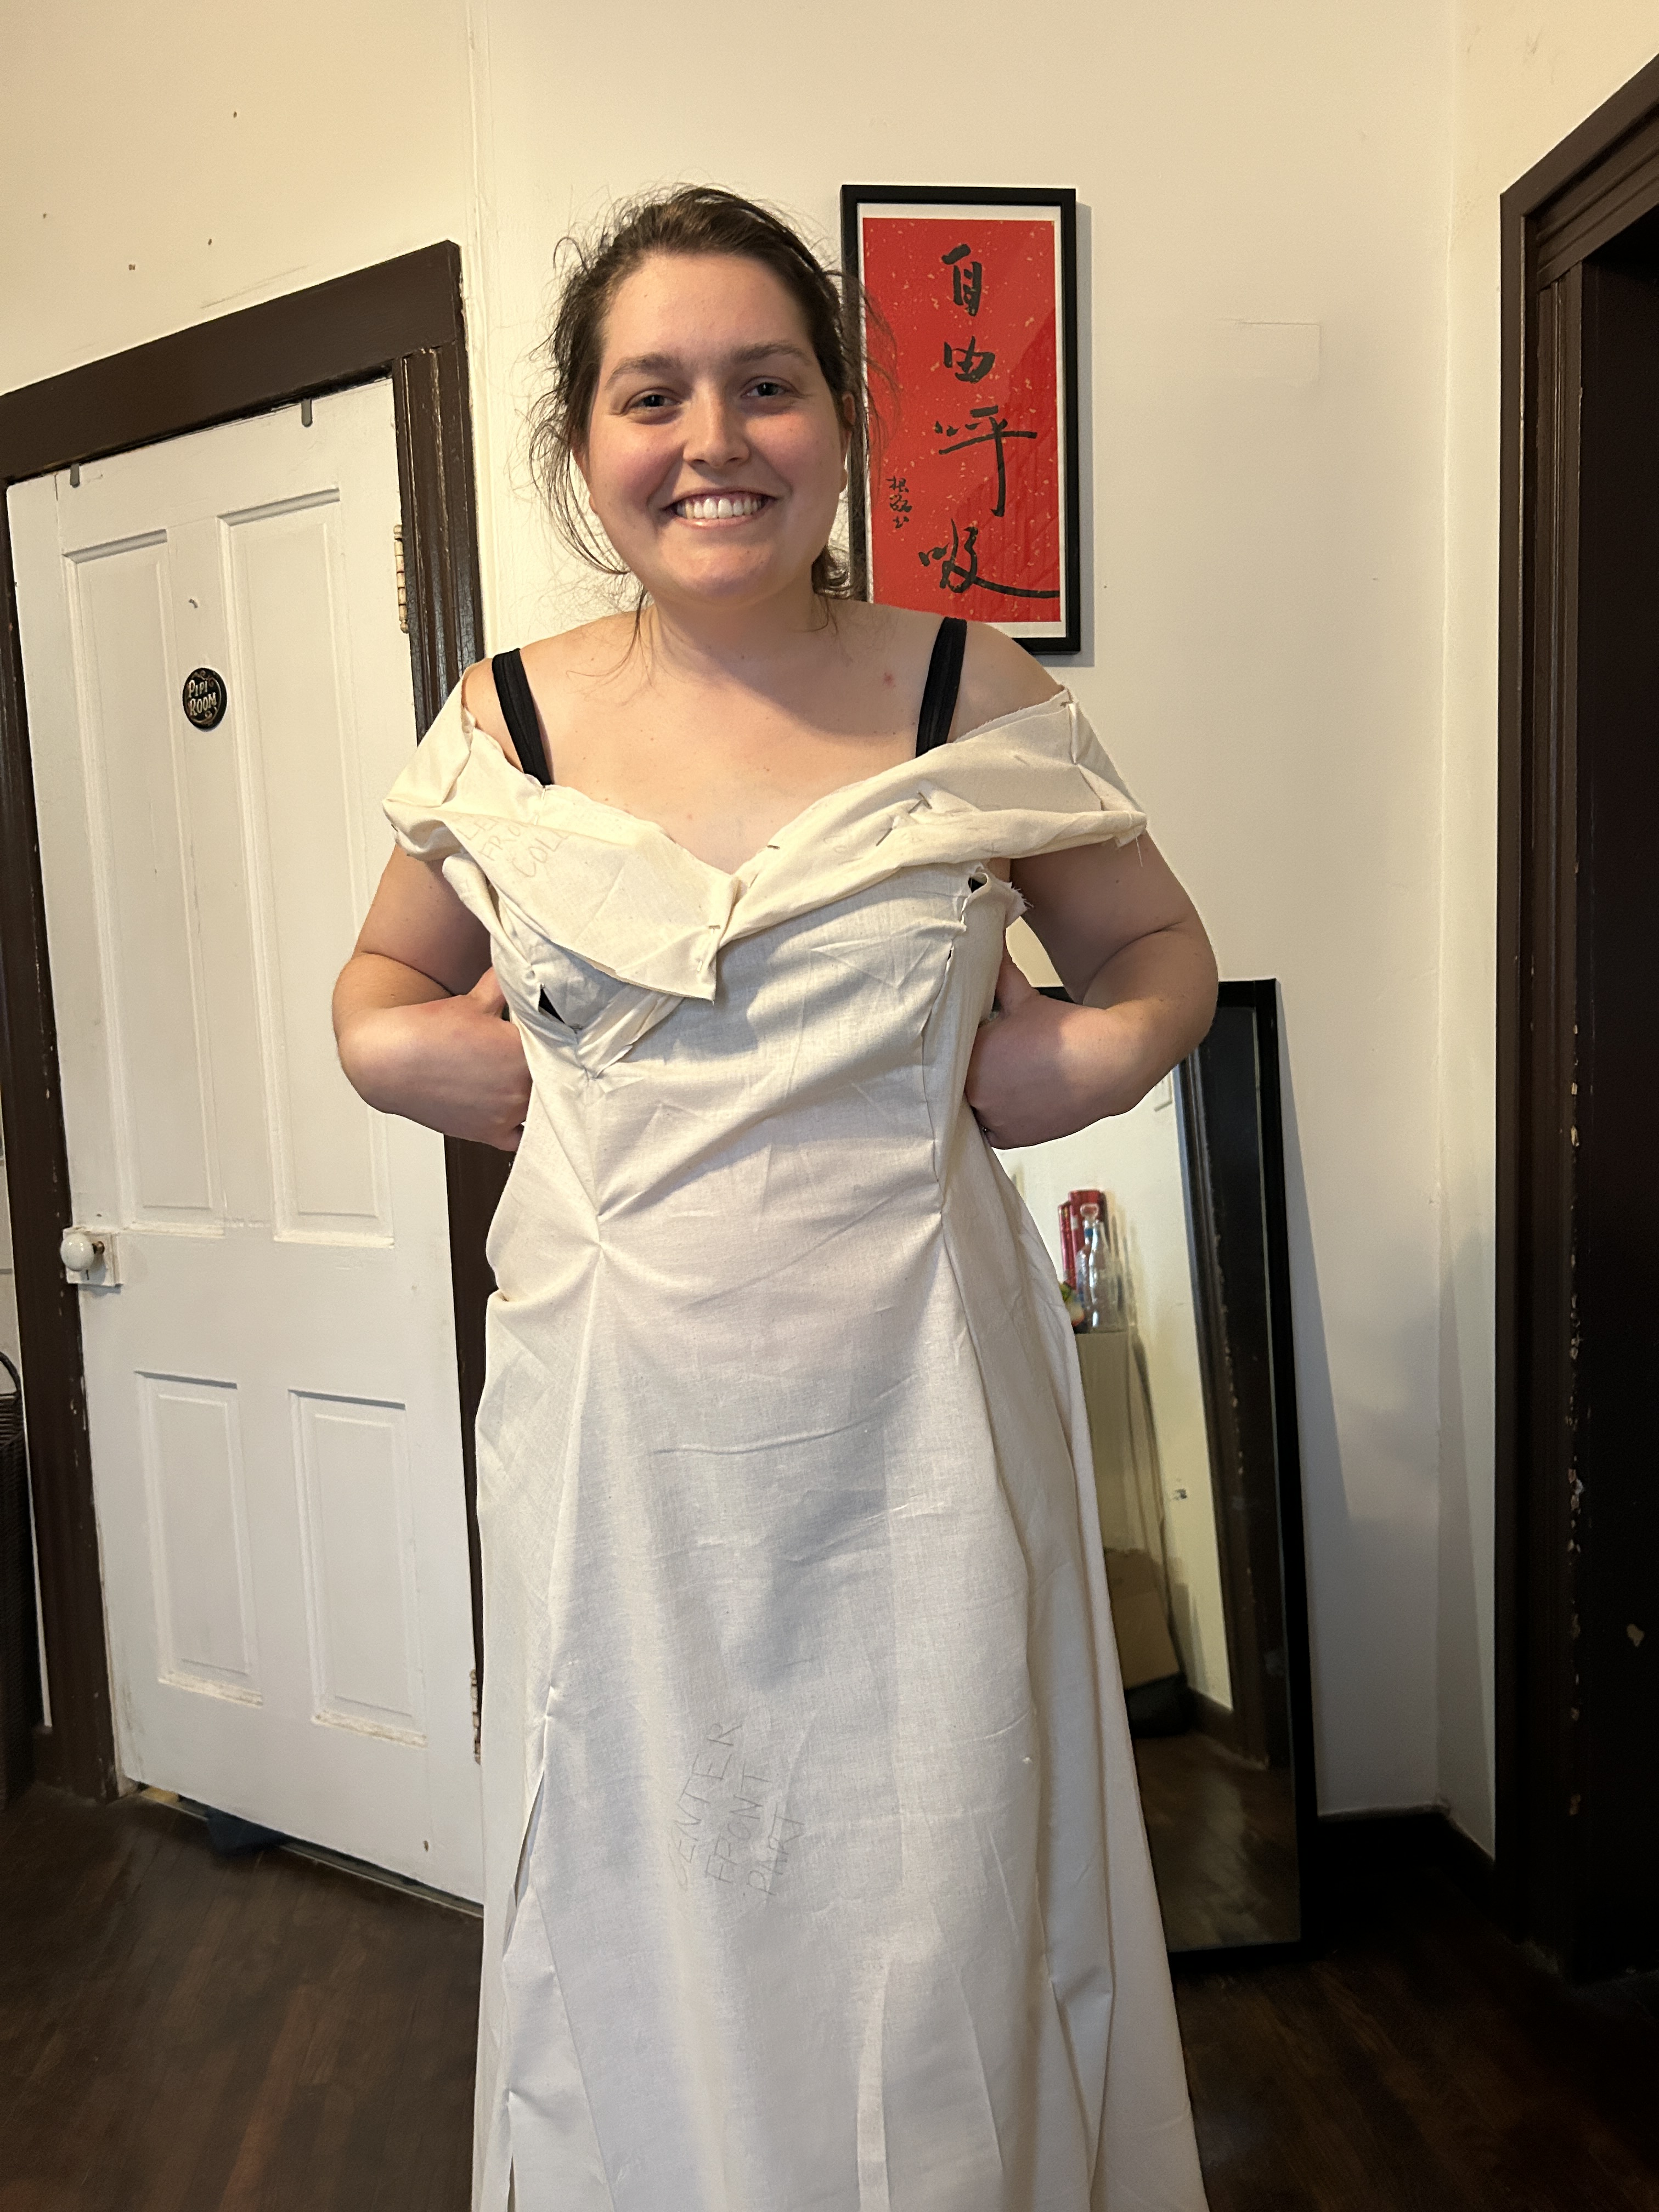
With all the pieces cut out and sewn together, I could see that the pattern had some huge issues, pattern pieces weren’t lining up correctly, the princess seam was far pointier than anything I had seen before, the back and the shoulder sash were so teeny they clearly needed to be sized up to fit me, and one pattern piece was missing entirely while one of the back pieces had been printed twice. Additionally, the front of the dress didn’t have a seam down the center to tuck the shoulder sash into, which would require some creative re-engineering of the should sash to get it right. Of all of these pattern issues, I claim responsibility for only one of them — the back piece which I thought was only one piece, was technically supposed to be cut twice, which would have solved a few of the problems I was experiencing. Not realizing it was supposed to be cut twice, I re-drew the center back piece to fit me, added two sections to the shoulder sash so it would fit around my shoulders, and tweaked the fit in a number of other places.

Another trip to the sewing machine in the maker space on campus and I had the muslin version more or less fitting correctly, invisible zipper installed on the first try, and I knew what needed to happen when I cut out the final pieces.
The trip to California wasn’t for another couple months so I wiled away the time by cutting all the seams to a nice 5/8ths of an inch, marking all of the pieces with a pen so I would know where things lined up, where the zipper should be installed (because the zipper I chose was far too long), and where I should maybe add an inch to hem (which I subsequently forgot to add). Then I tore out all of my stitches and the pieces were rolled up and packed in my carry on to fly to California.
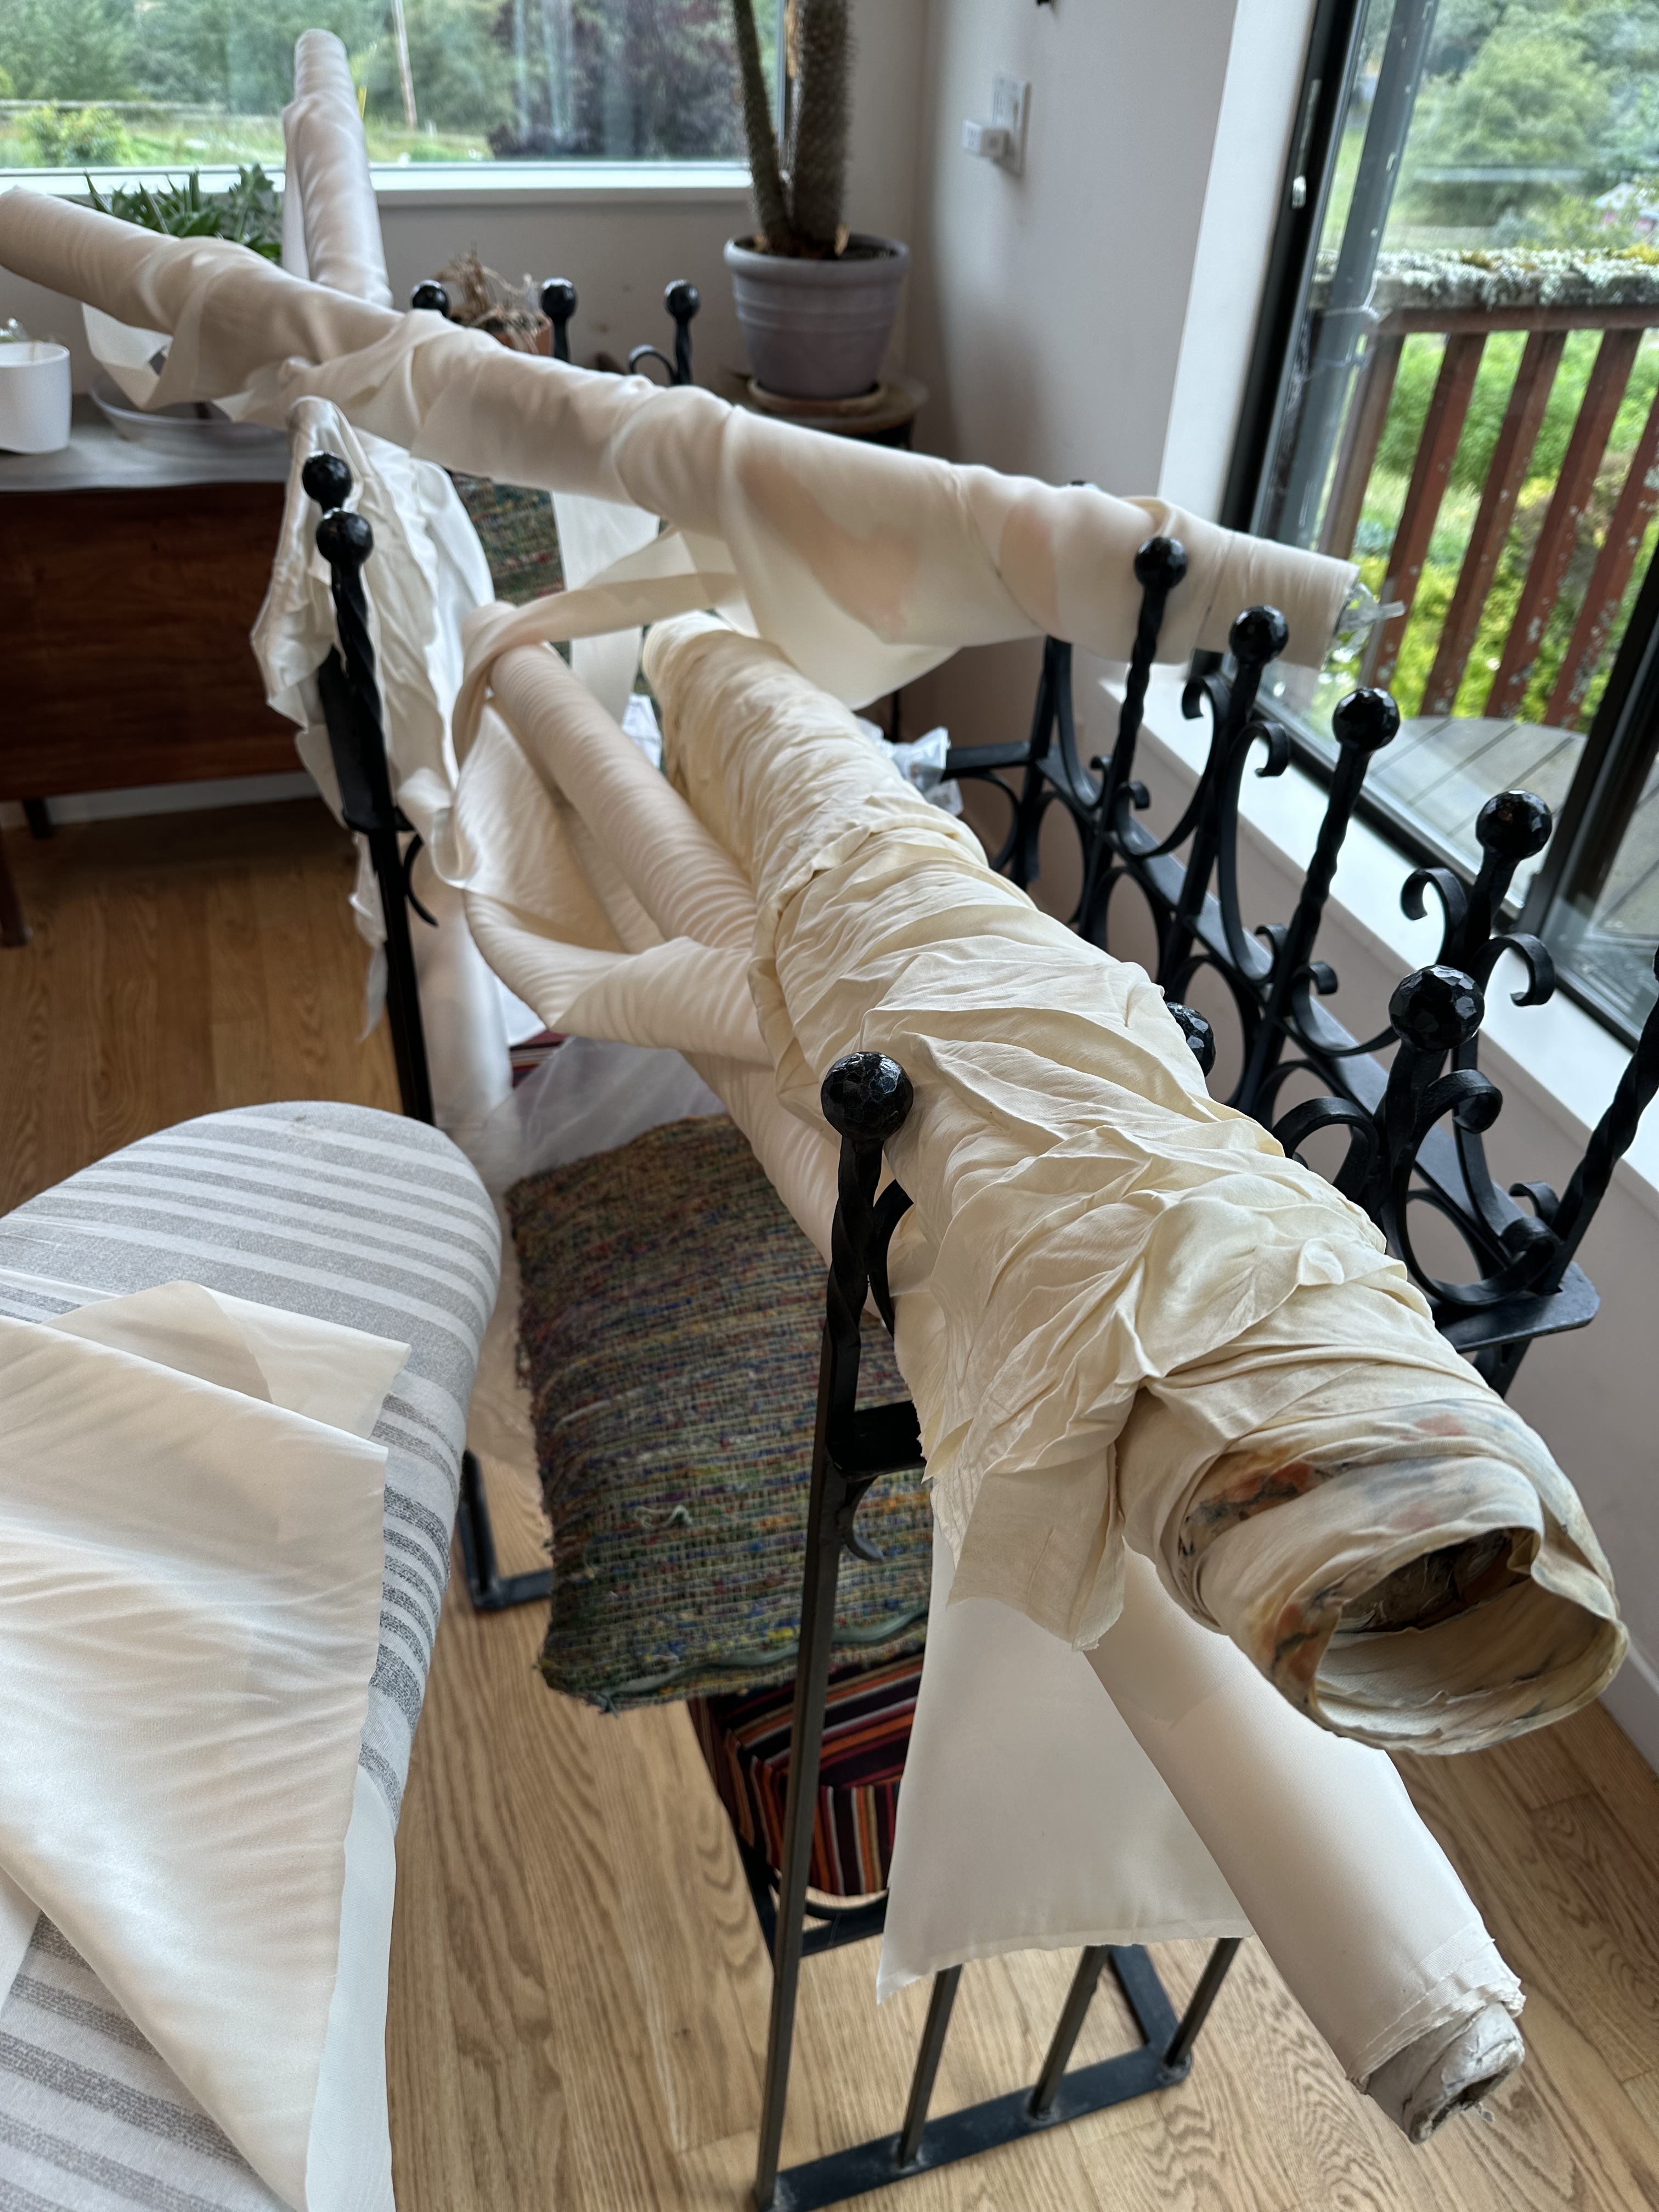


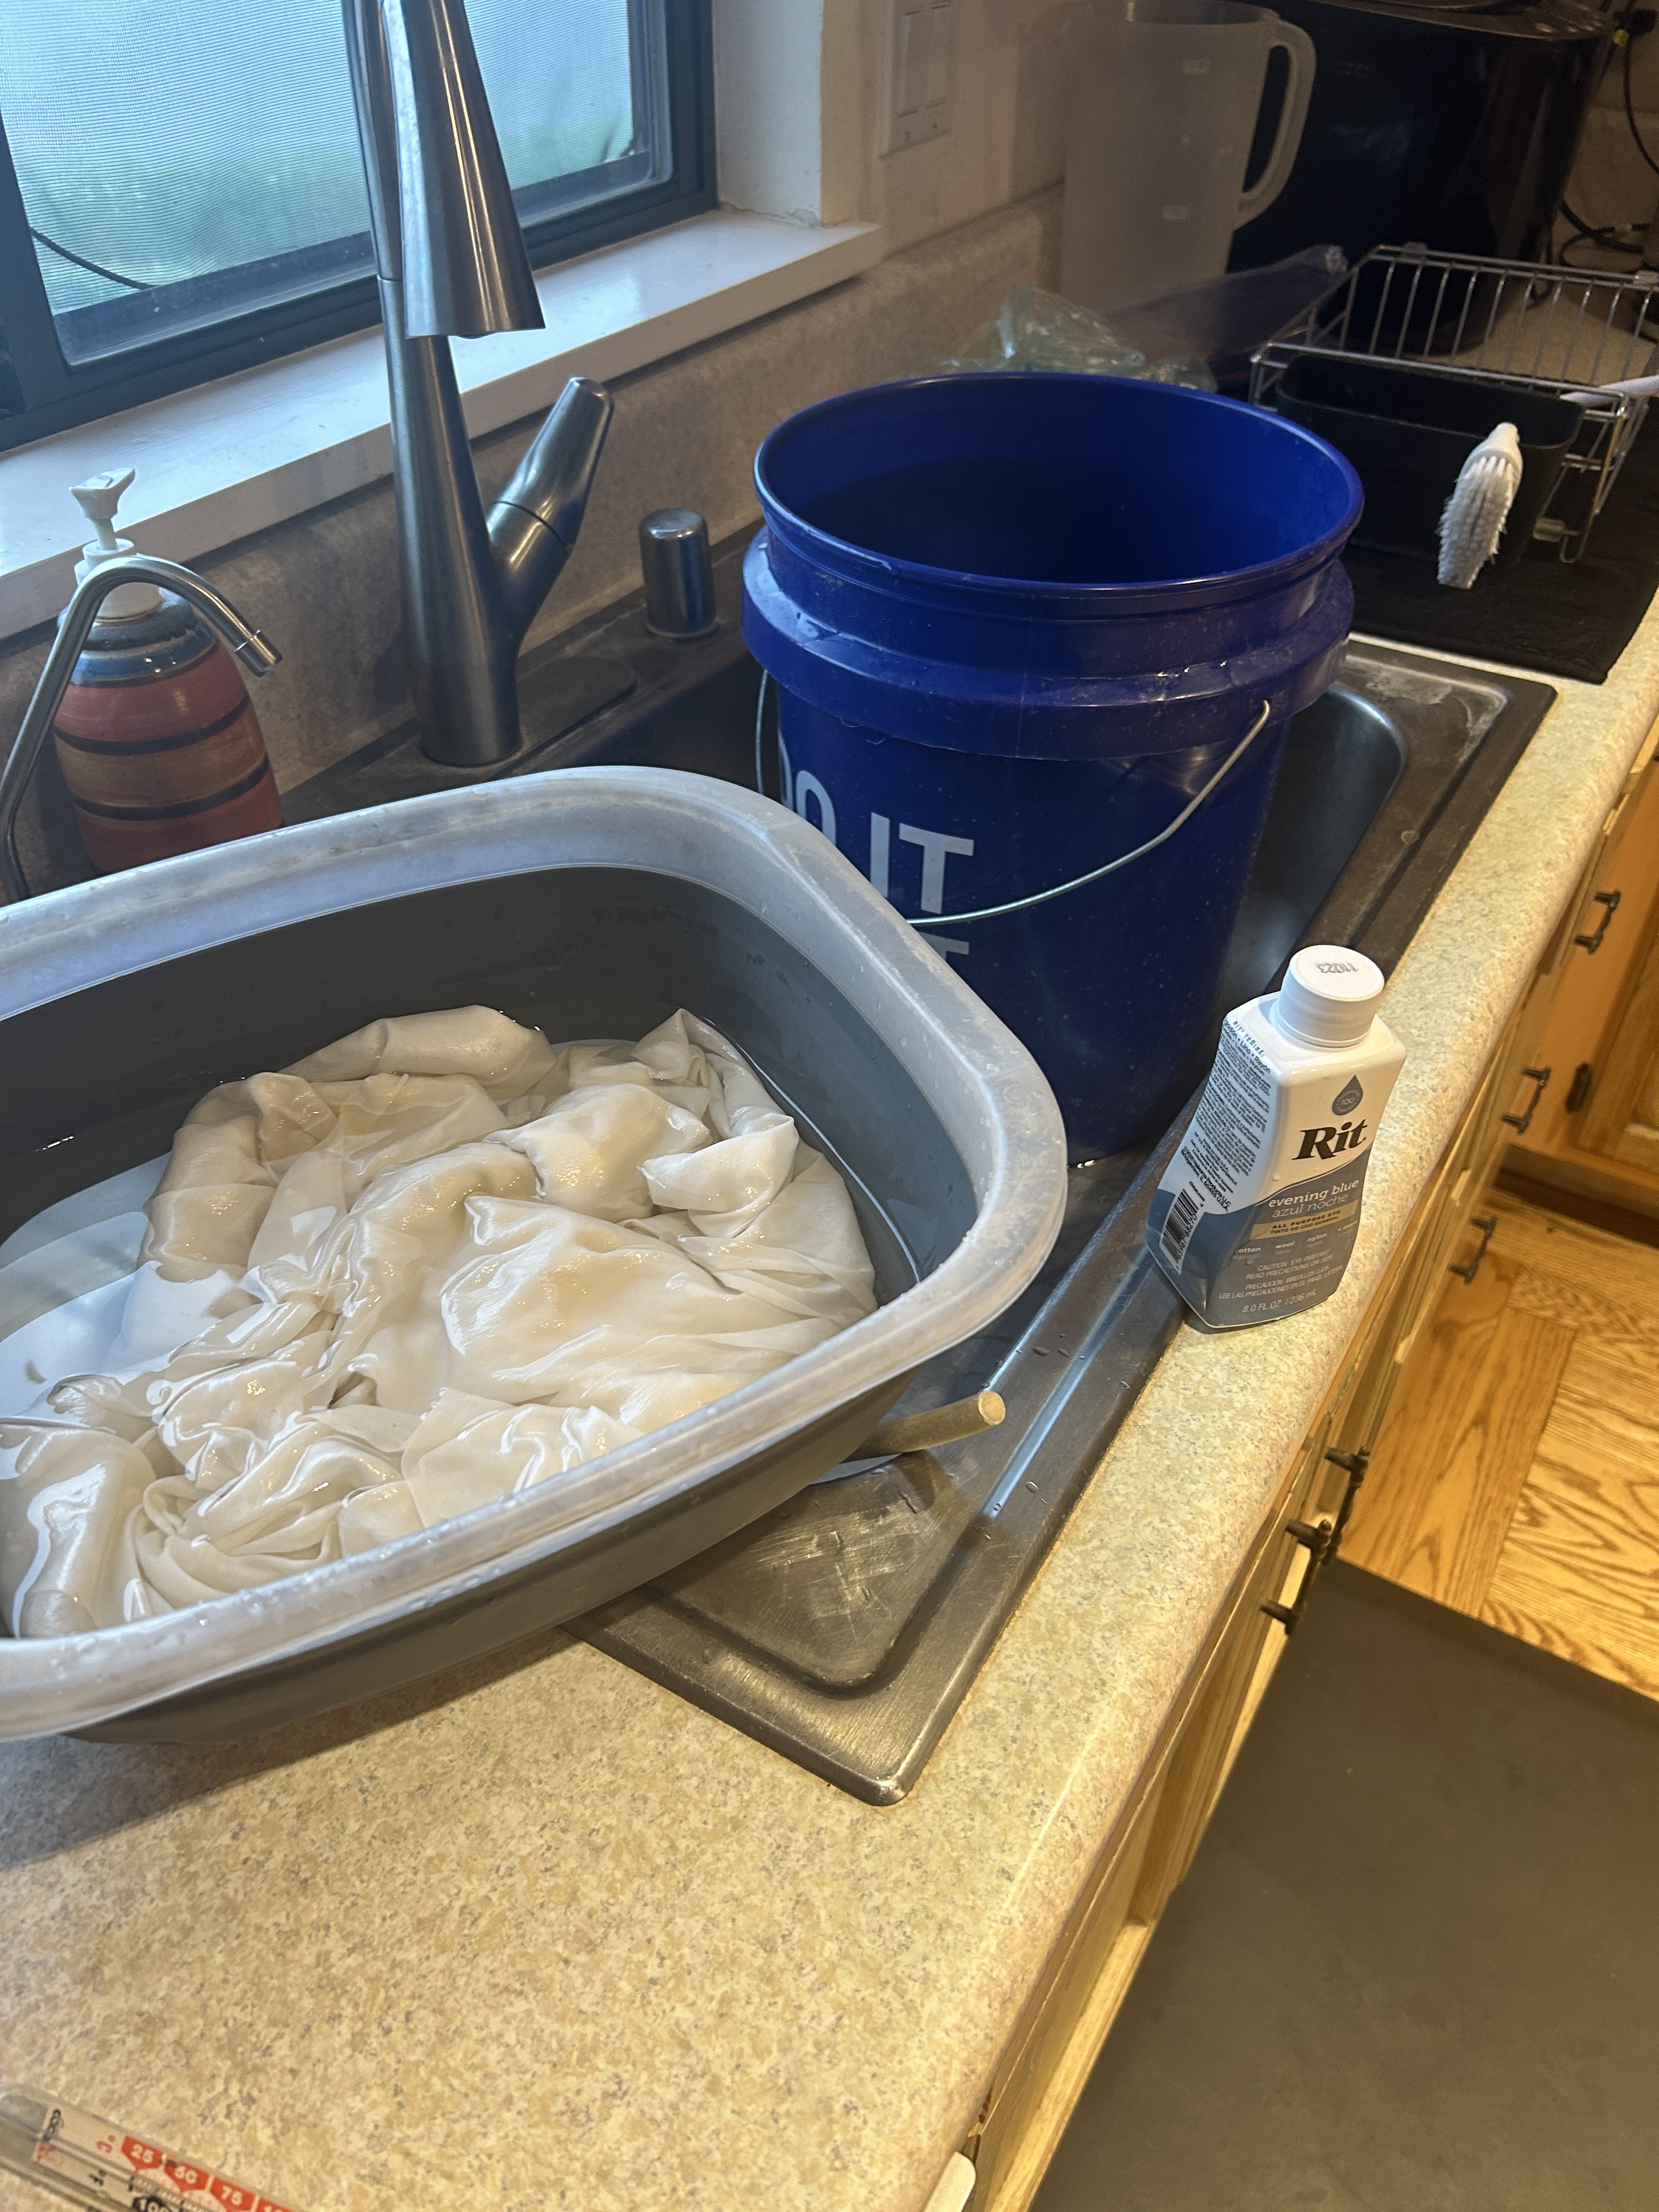
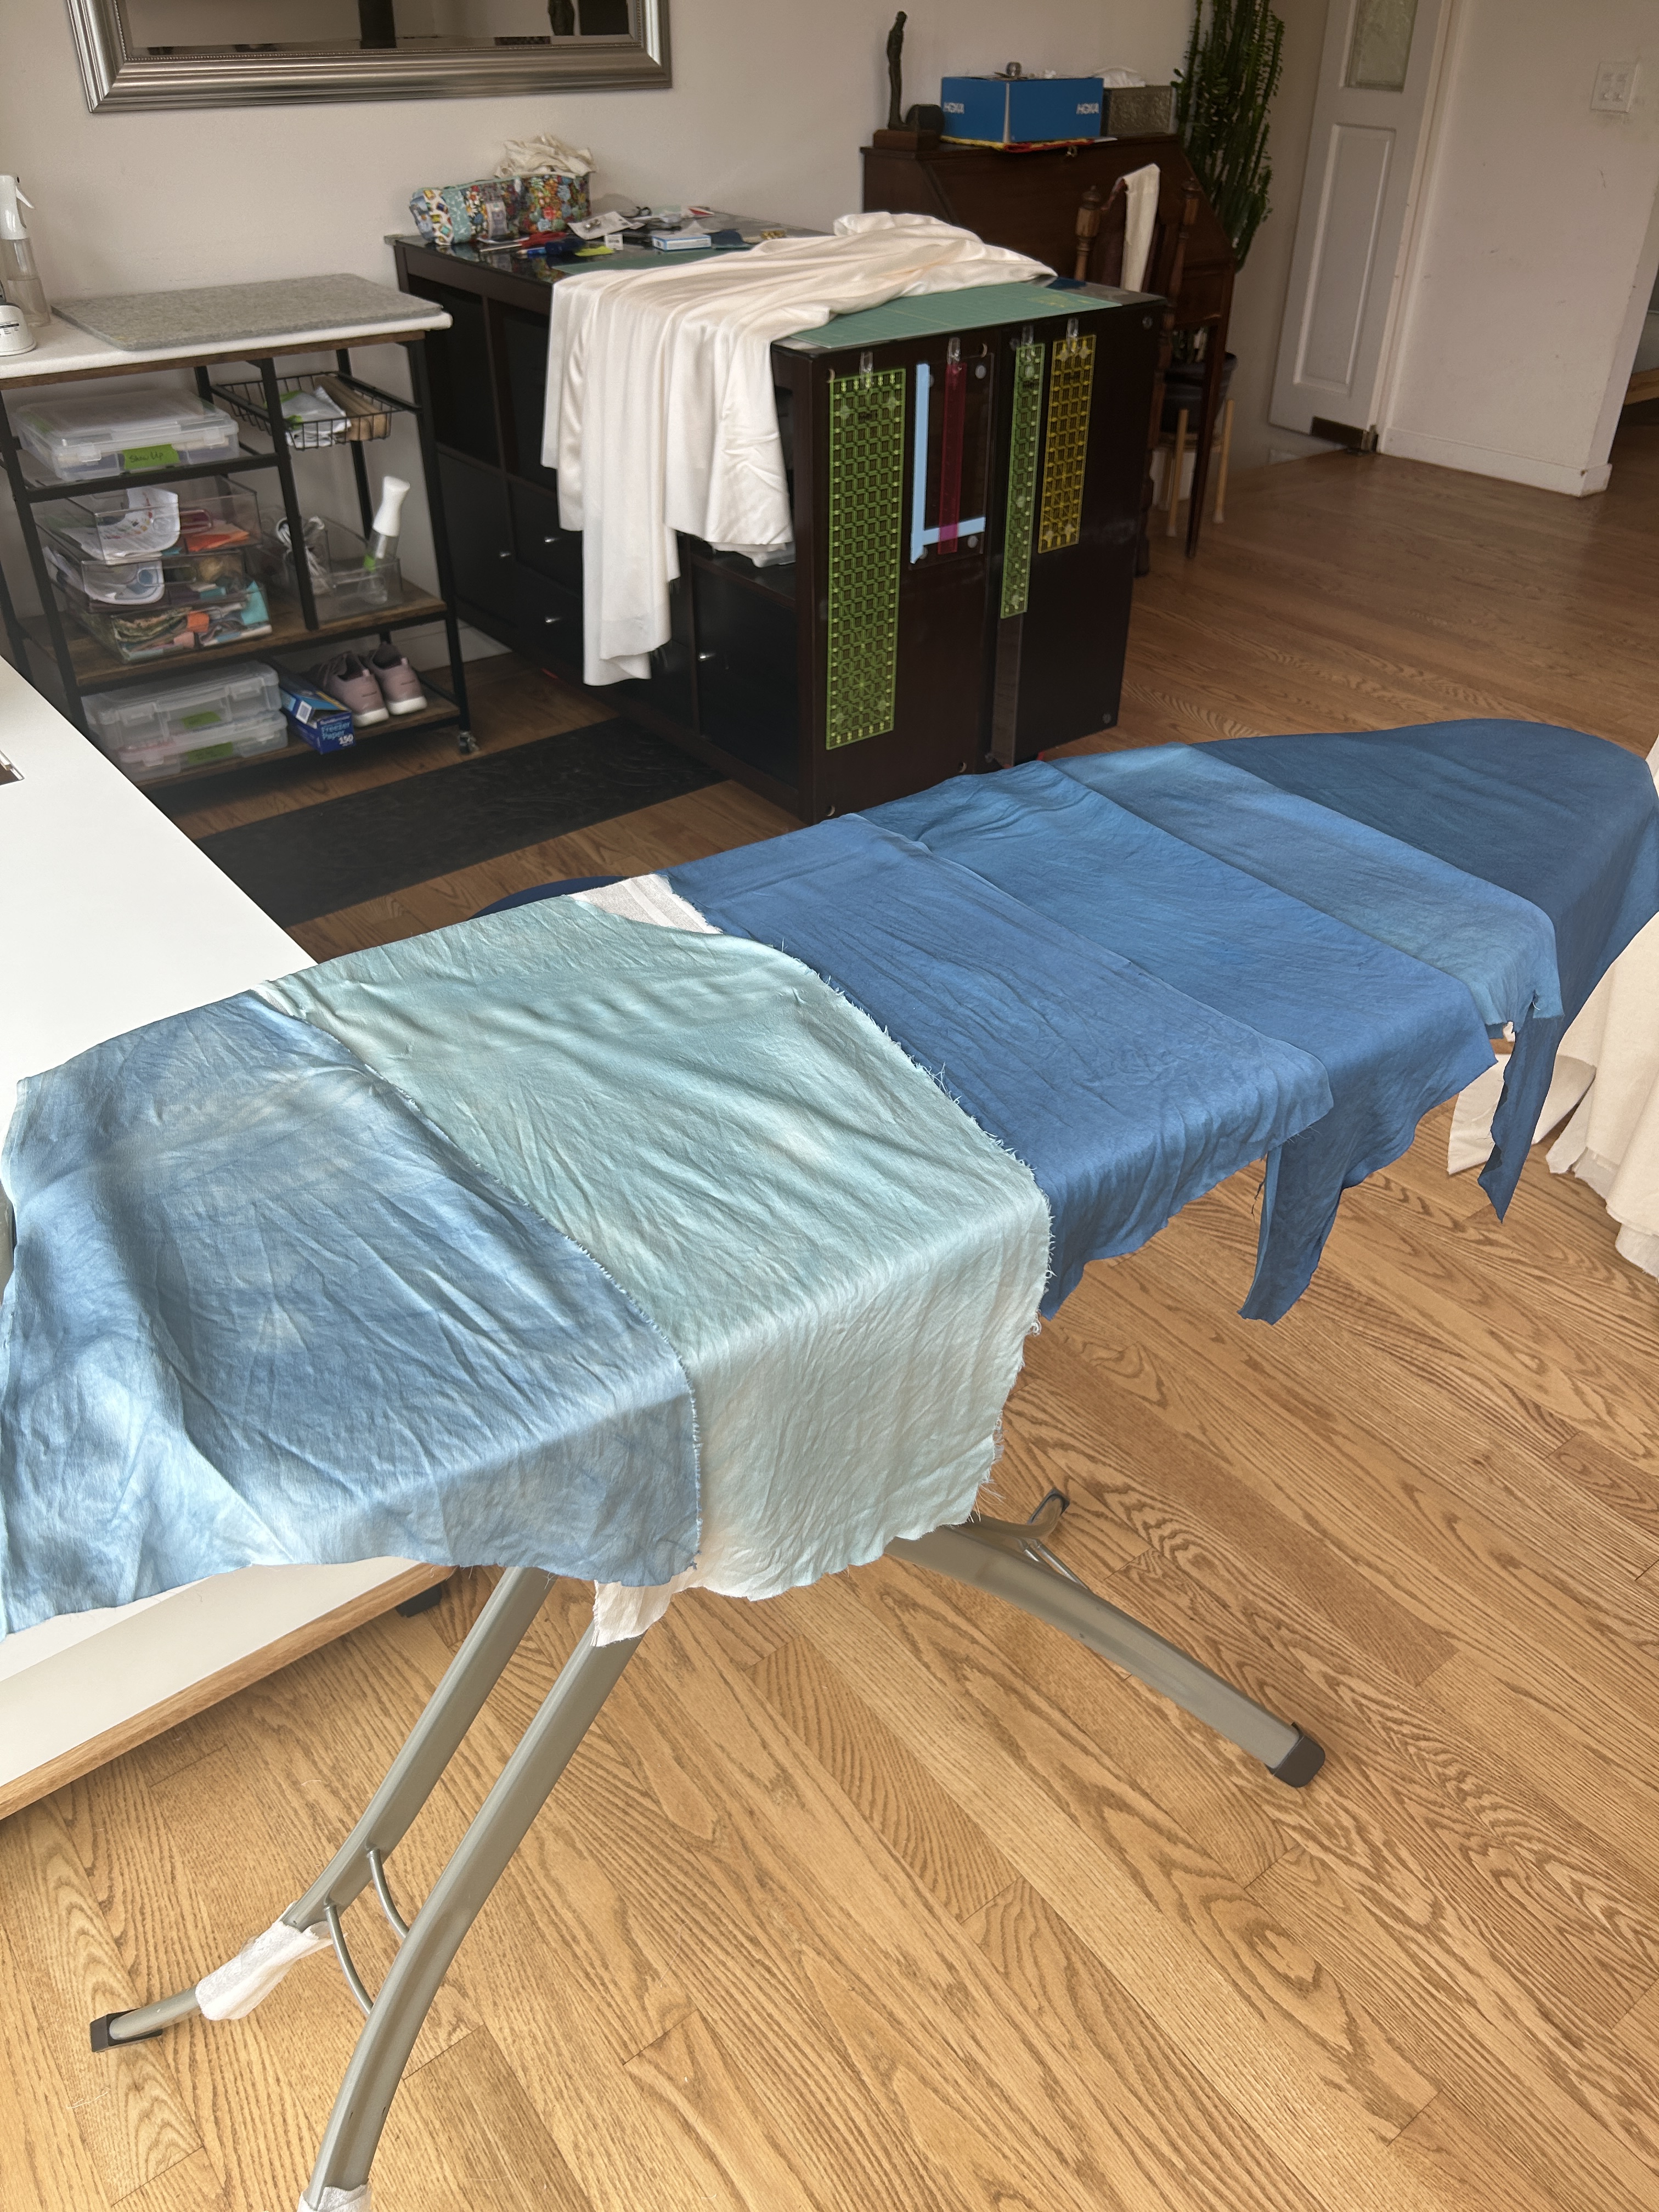
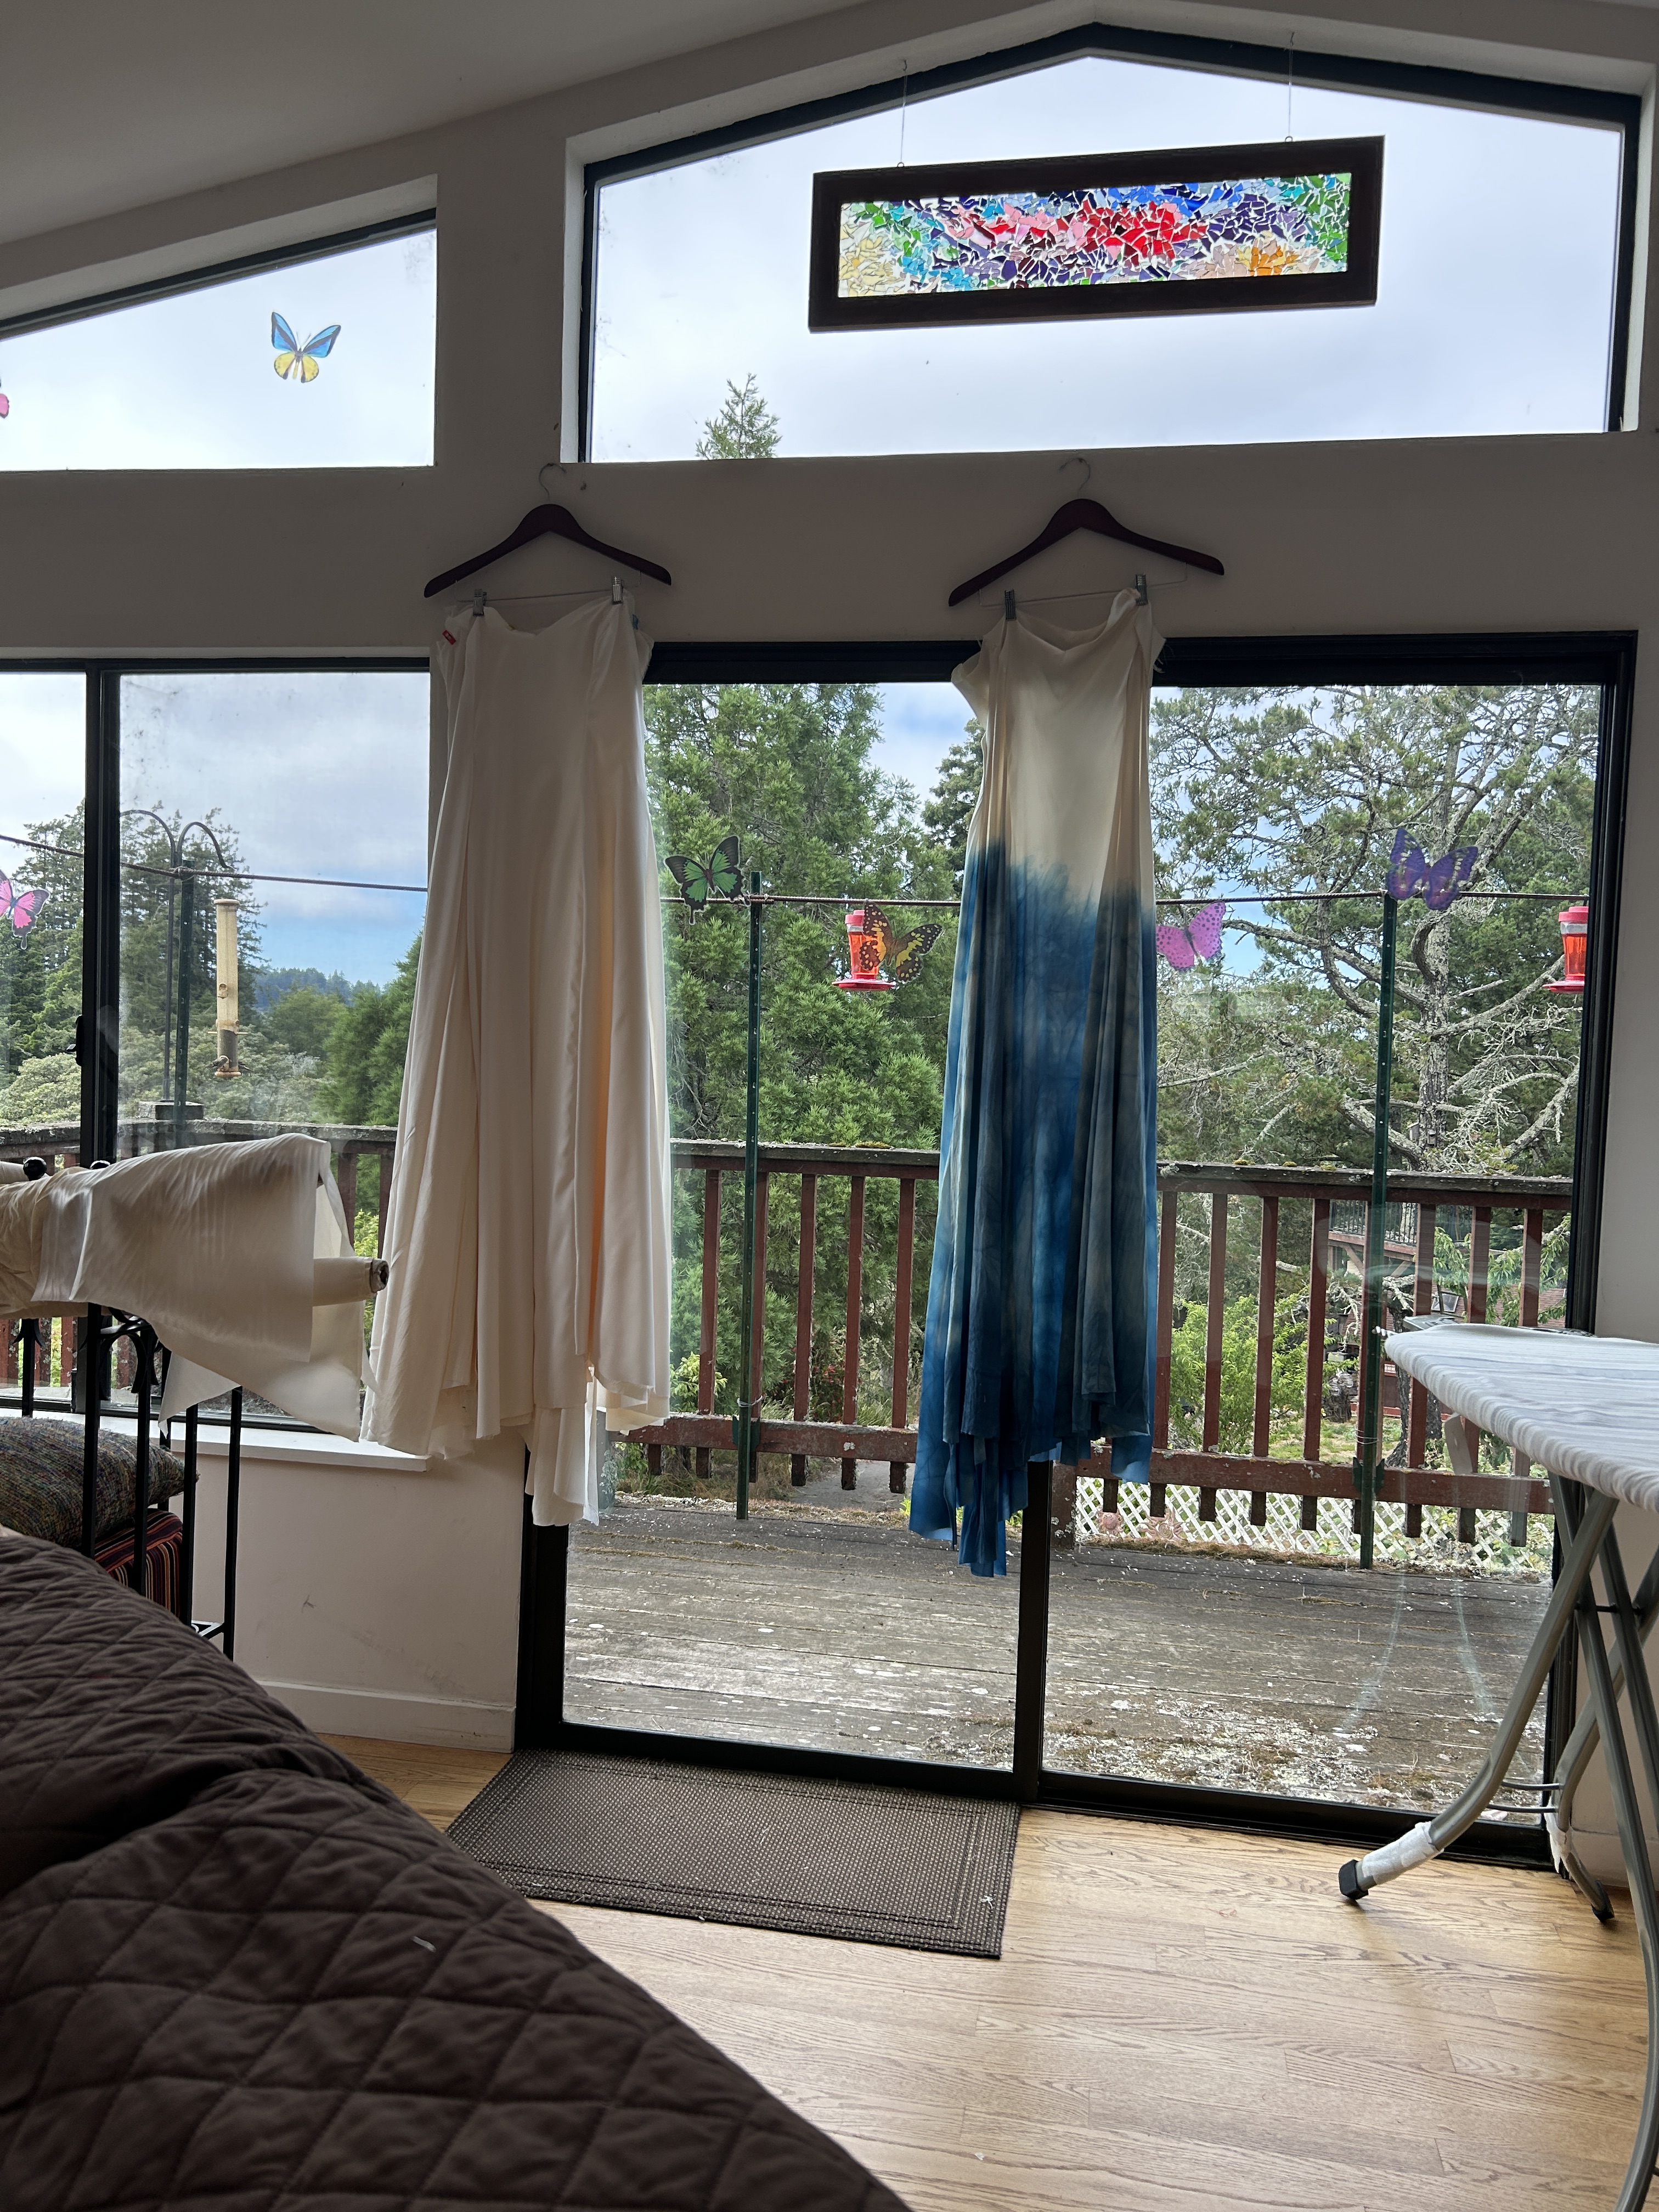
Once I arrived in California it all hands go — I had about two weeks in total and I wanted to get the dress pieces sewn together and dyed before my aunt joined me so that she and I could focus on the construction of the dress. Because I was planning on dyeing the bottom layer blue to stick with the theme of the first dress, I would need to add a layer in between the dyed layer and the top layer — clearly outside of the pattern and I wanted my aunt’s help to sort out how to attach the three layers together. I knew in theory what needed to happen, but I wasn’t sure about what order made the most sense.
So I spent a rushed four days cutting and marking the fabric (a day long task in itself that my mom assisted with), sewing all of the pieces together (and assuring my mom and myself that we’d sort out the very mismatched hem when the petticoat arrived), and then doing a test dye and a final dye of the fabric to pick what color to use (the Instagram poll I put on my story had responses from two friends who disagreed so I went with the color closest to my previous dress).


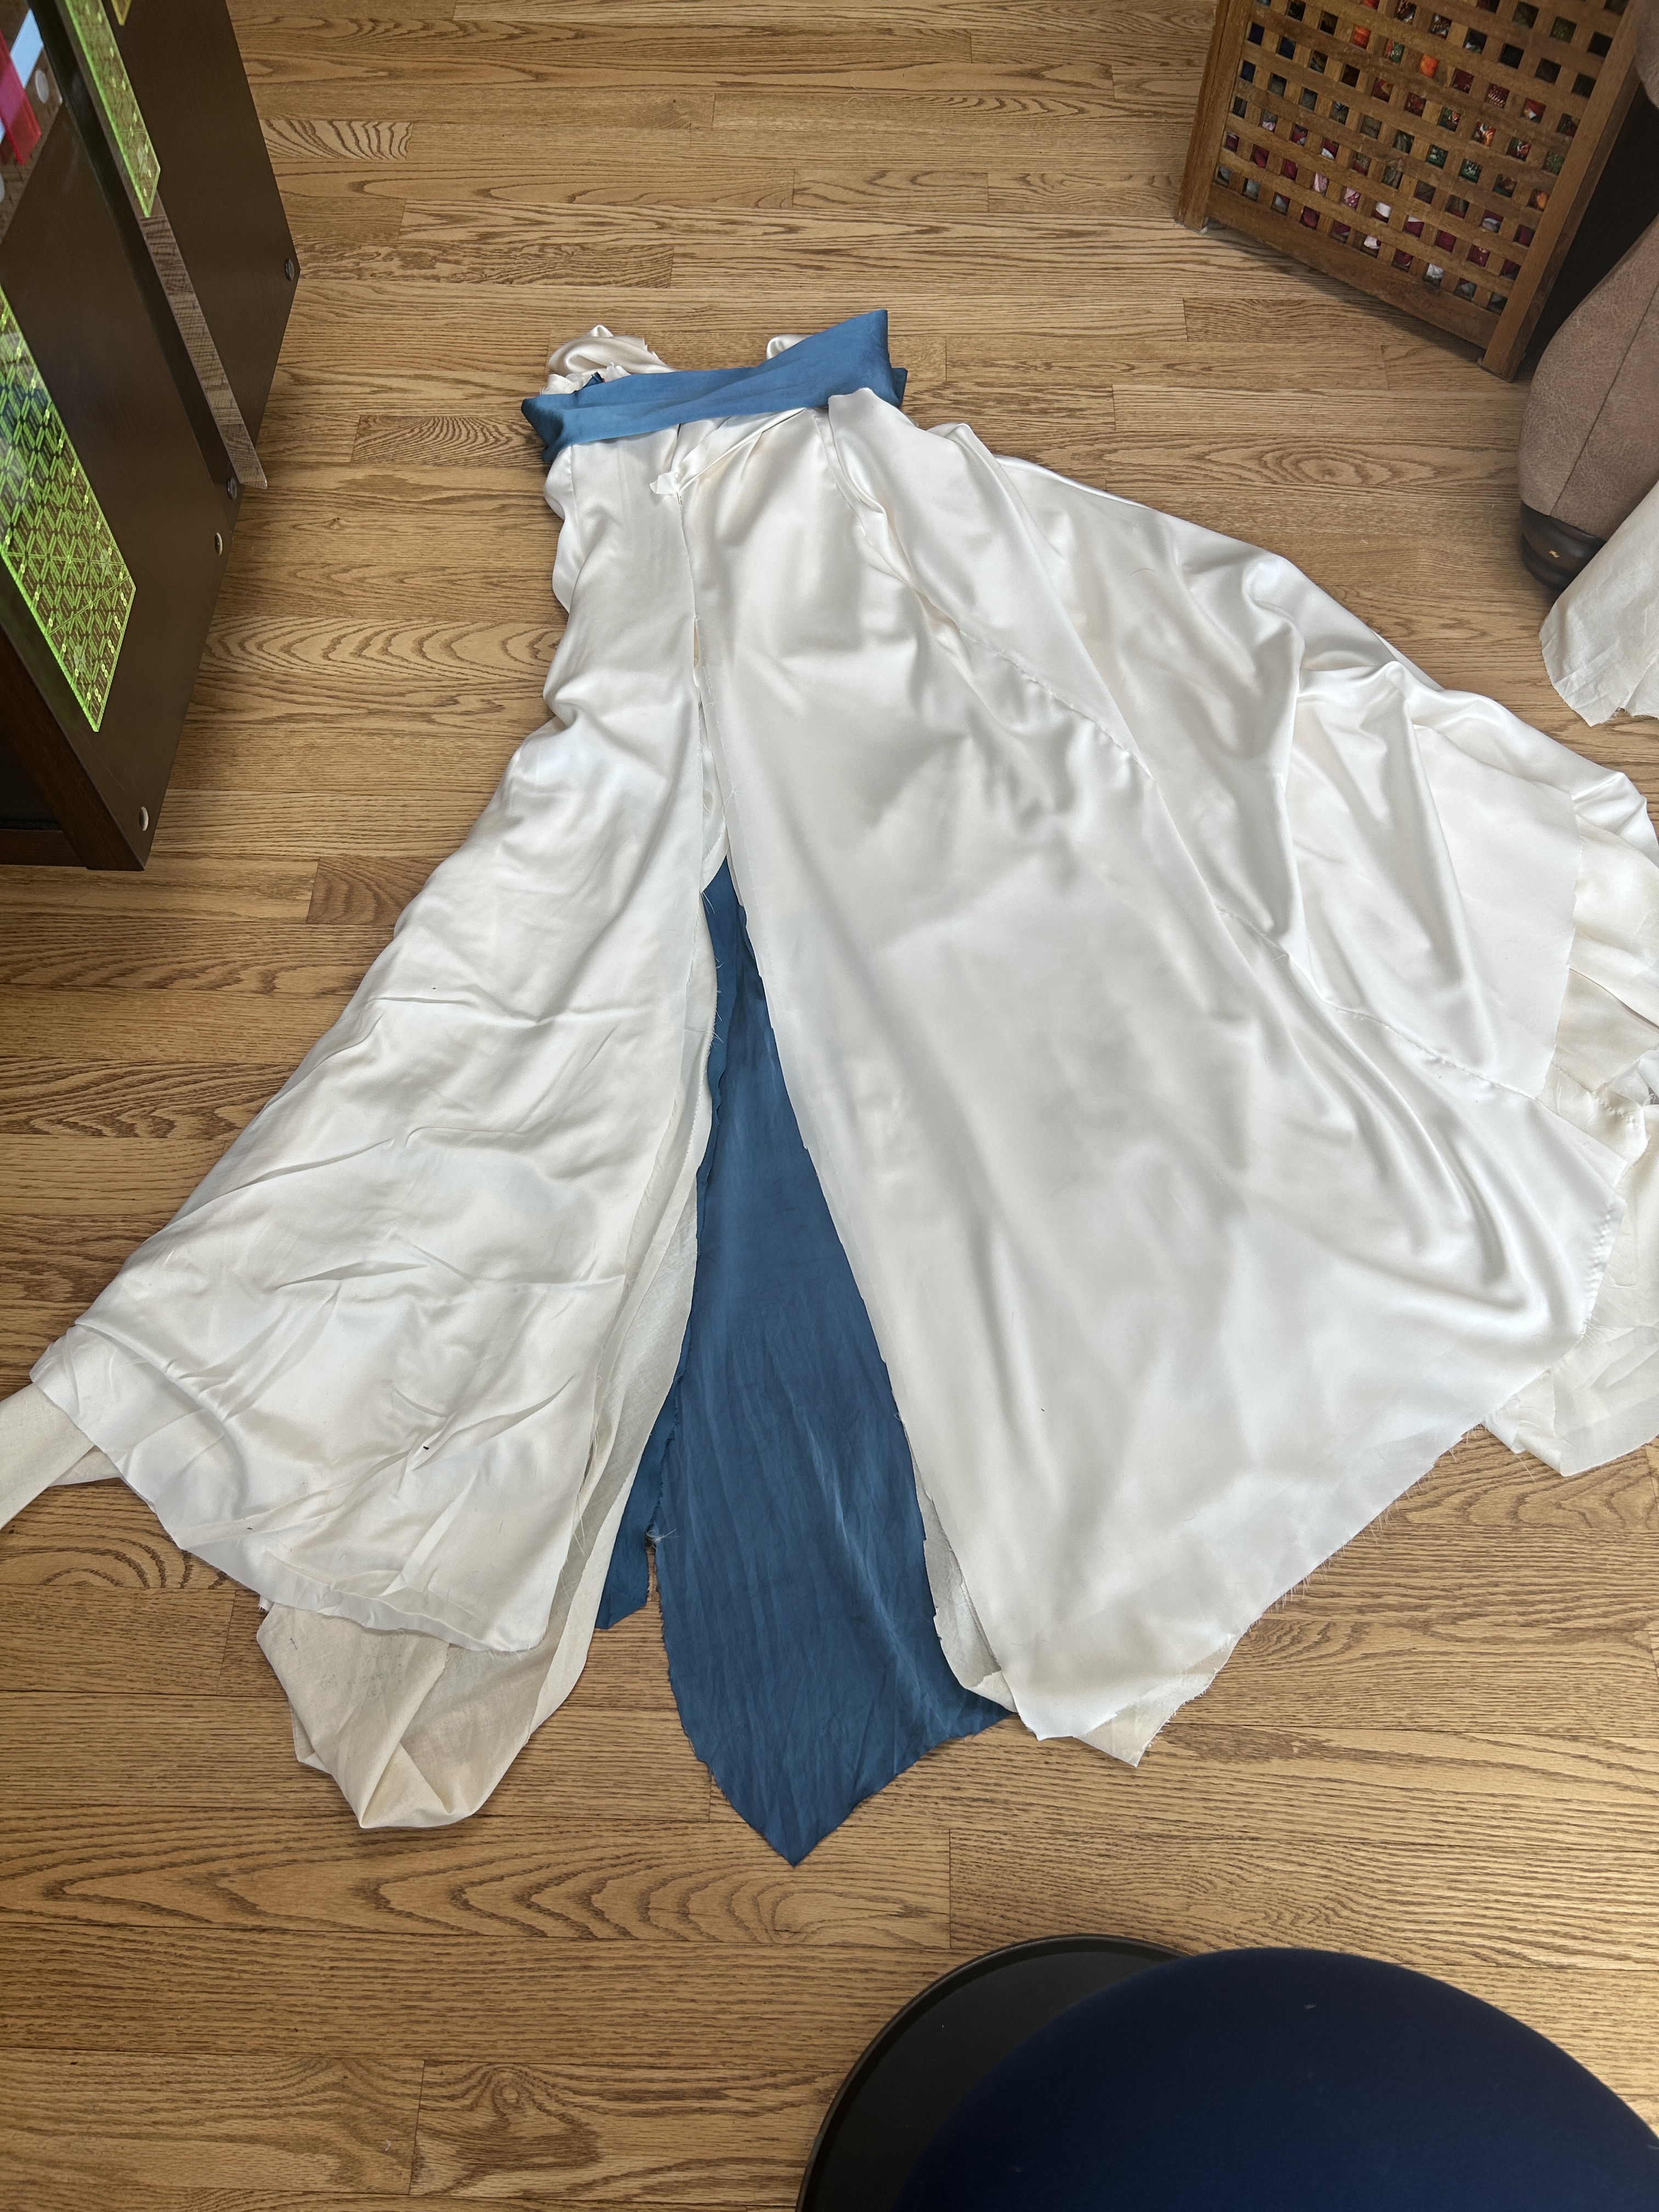


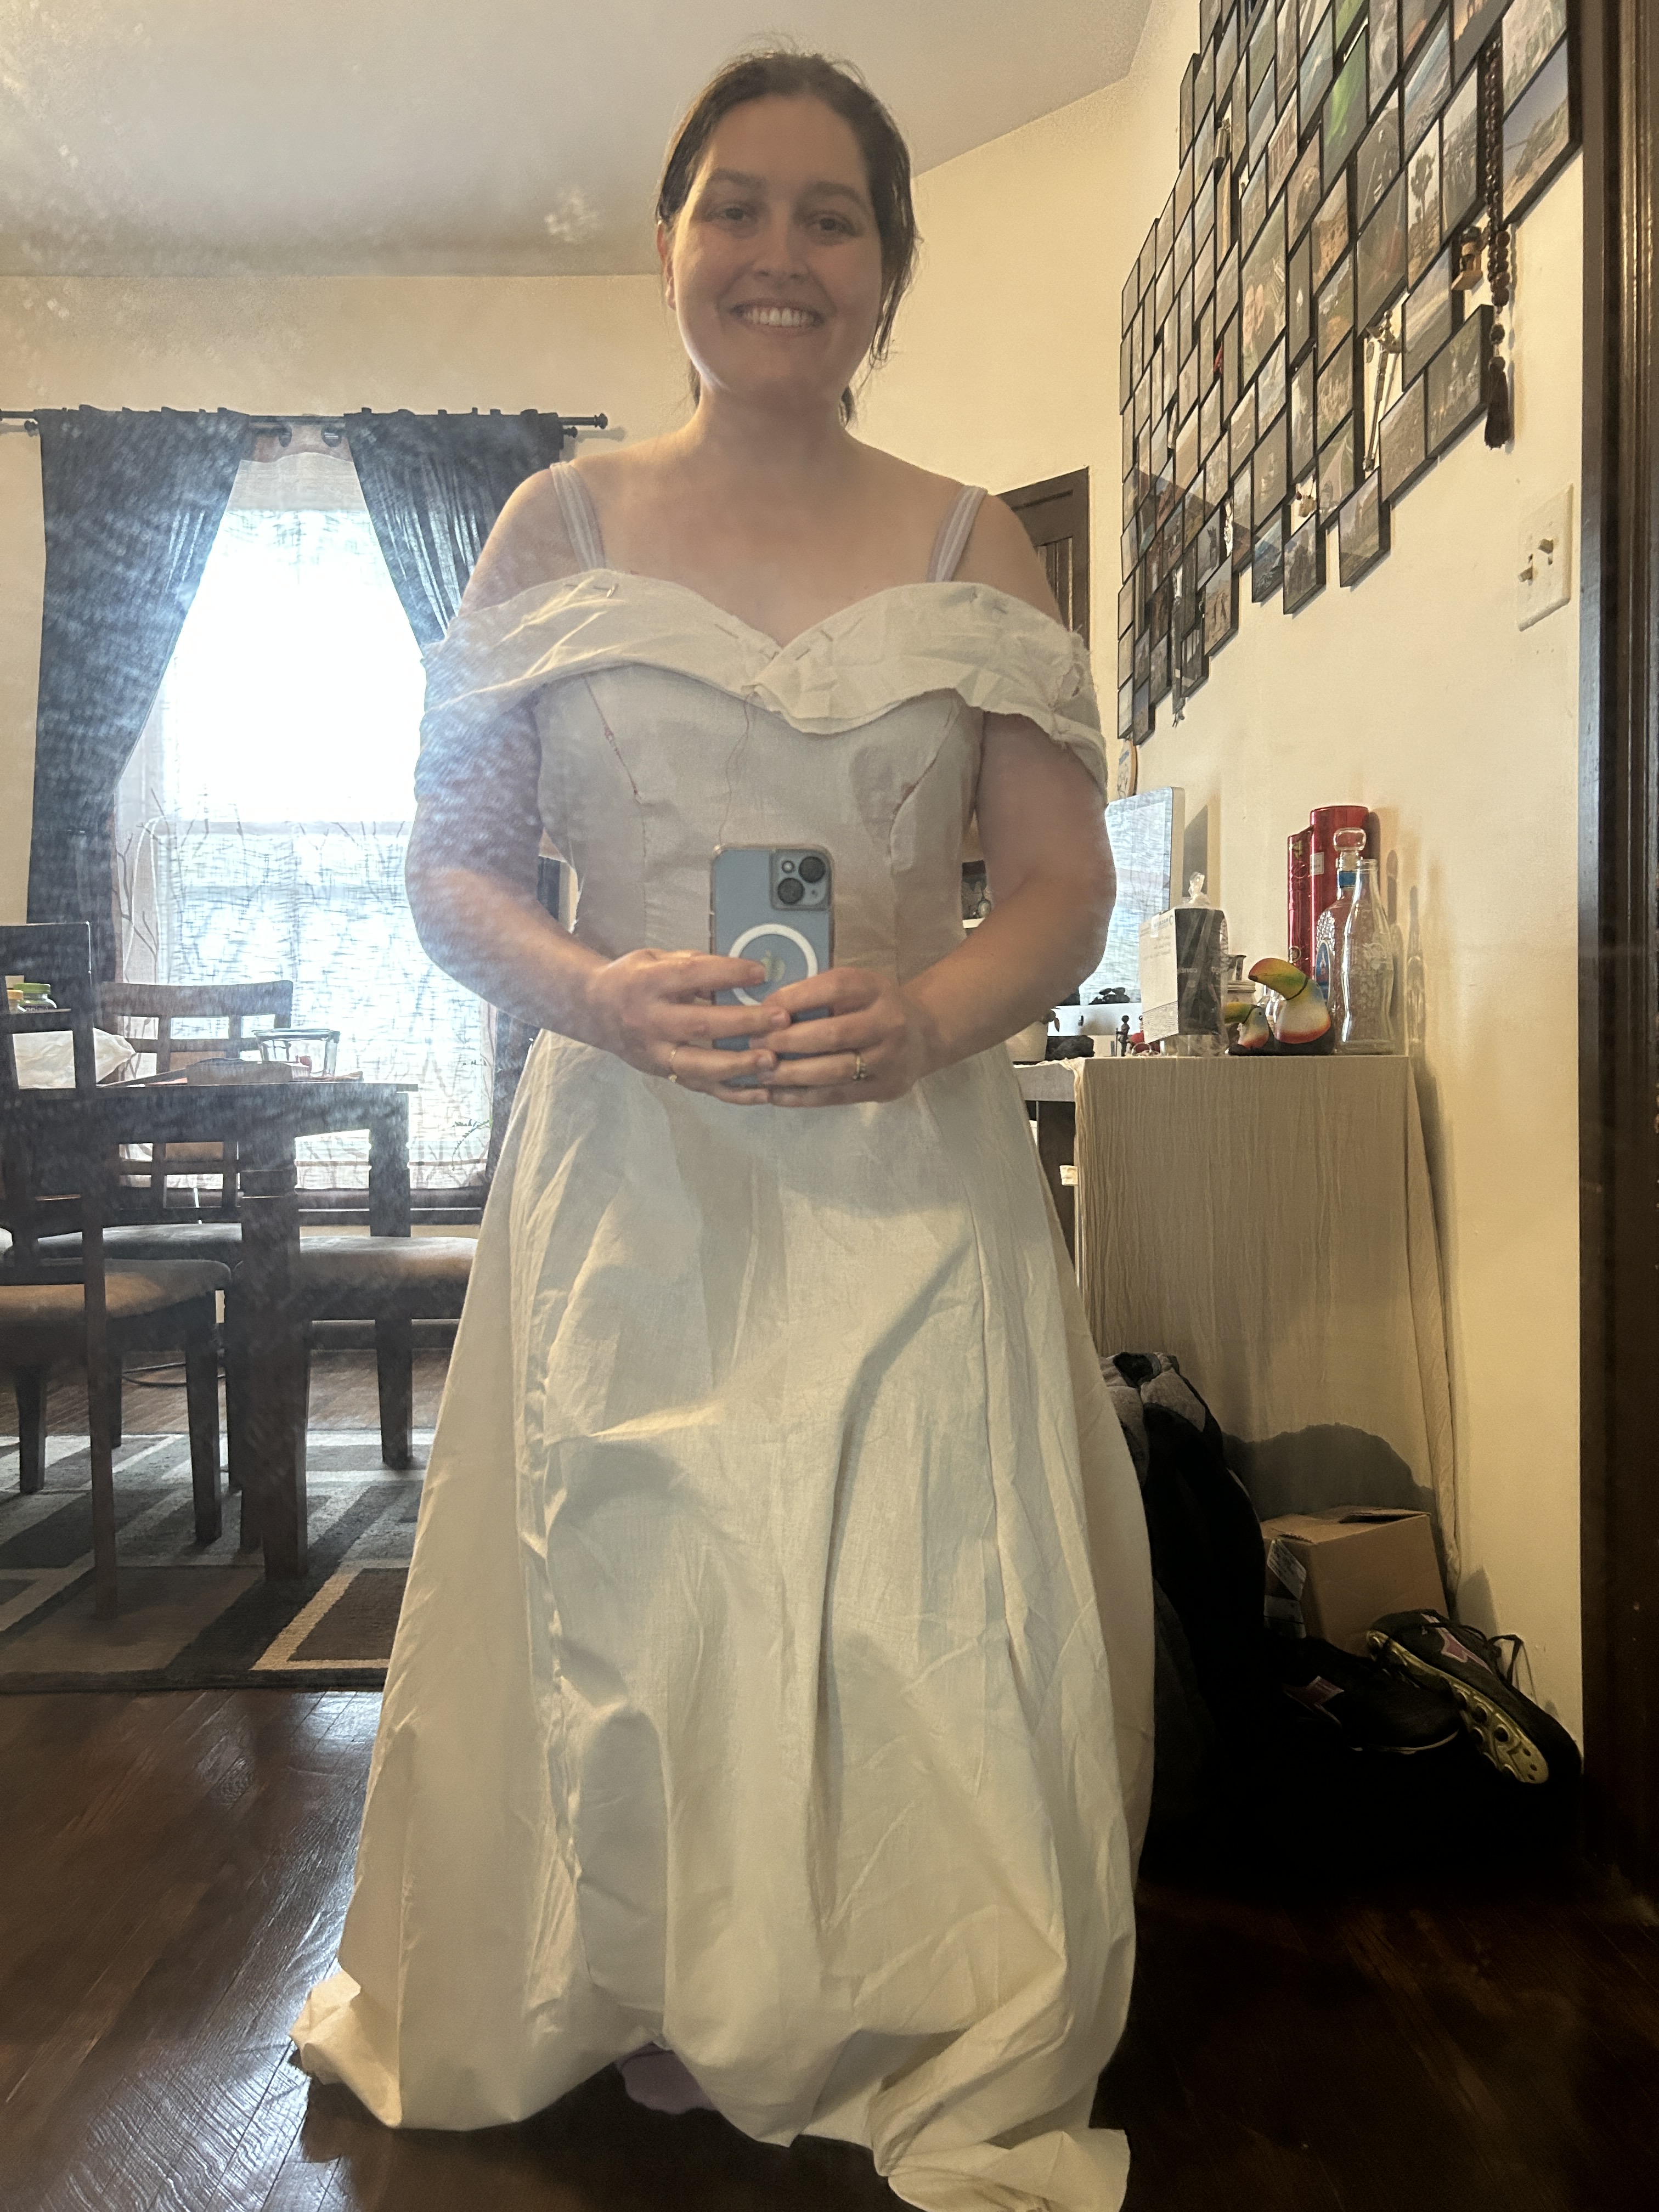
When my aunt arrived I was ready for assembly — or at least, I thought I was. When I tried on the three layers together the poor cut of the princess seam made itself apparent and we spent quite a few hours trouble shooting the bust, finally pulling out a completely different pattern with a princess seam to examine the cut, doing a slight adjustment to the cut and then re-sewing that piece together. With that completed, the added lining and the outer layer were sewed together at the seam and the invisible zipper was added (got it right on the first try again!). There was still some puffiness to the outside and my aunt recommended I tack the two layers together along the princess seam and added to safety pins for me to do so once the dress was done.
There was also some puffiness on the back side which we adjusted and adjusted and re-sewed, and fixed the cut, until it was also more or less sitting correctly. And I was willing to tolerate some folding on the back — hopefully the sash would hide it.
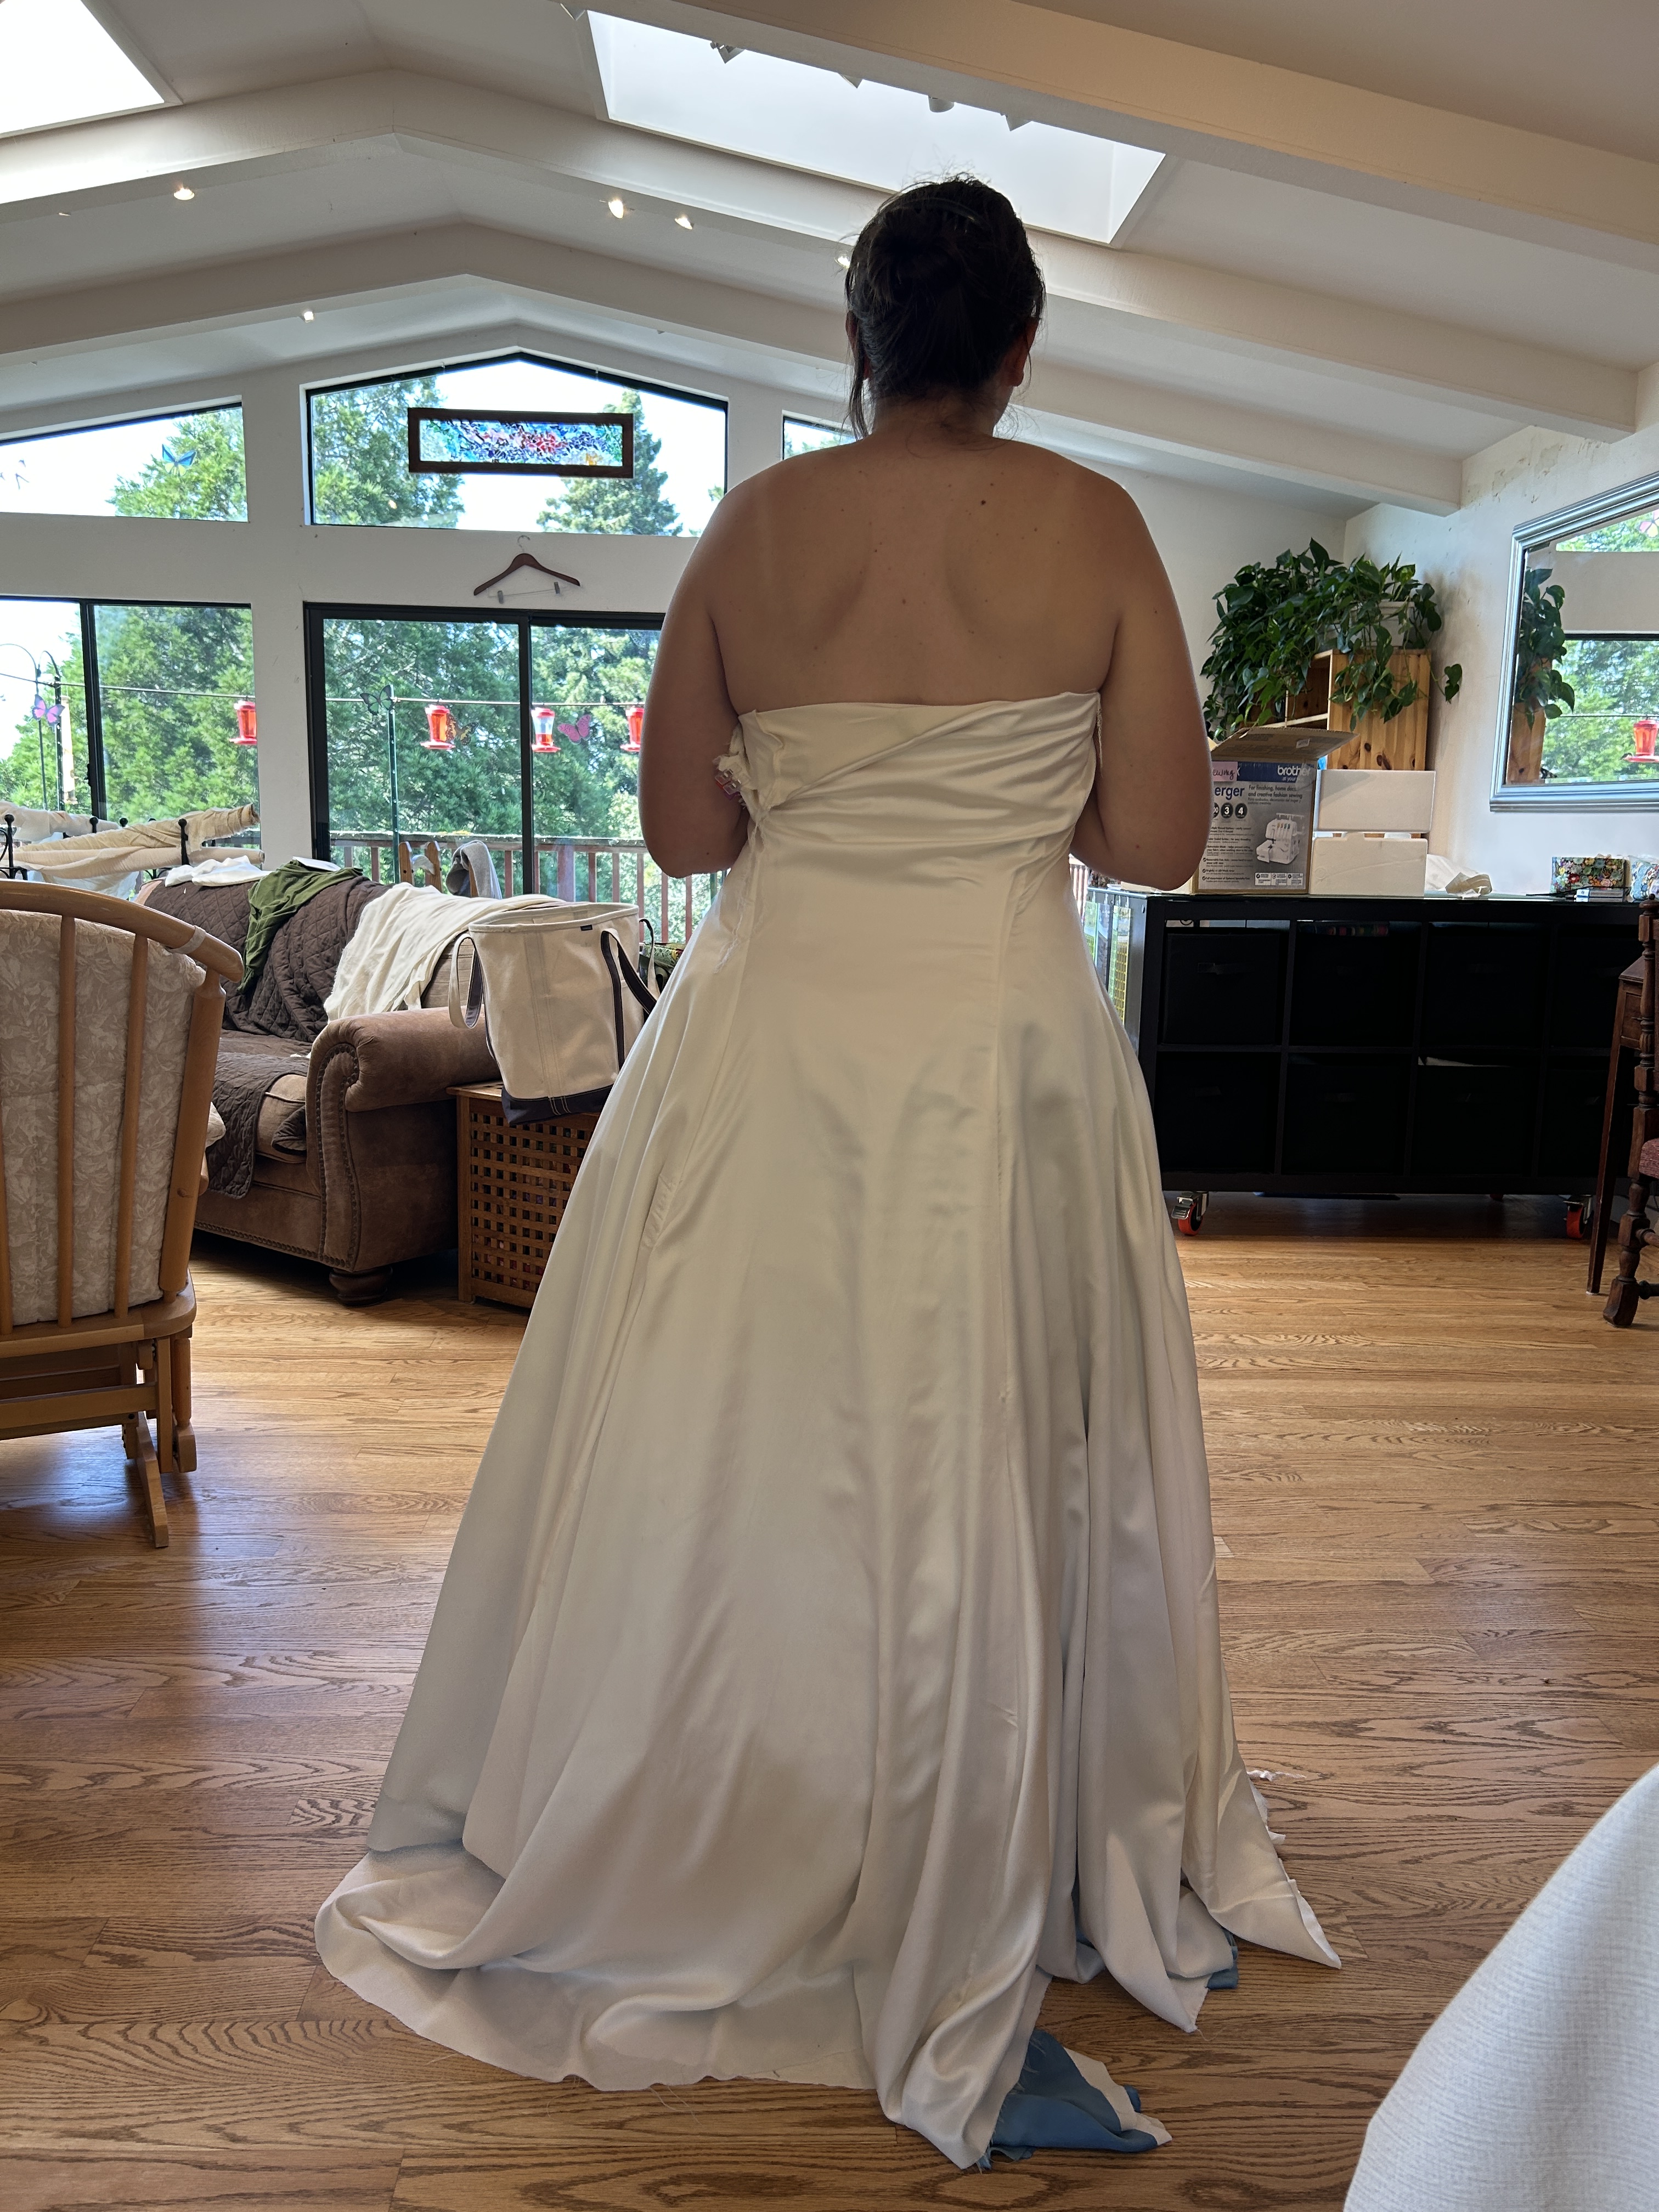

At that point we called it a day so we could attempt the final seam — attaching the shoulder sash and the three layers together at the neckline — with fresh eyes.
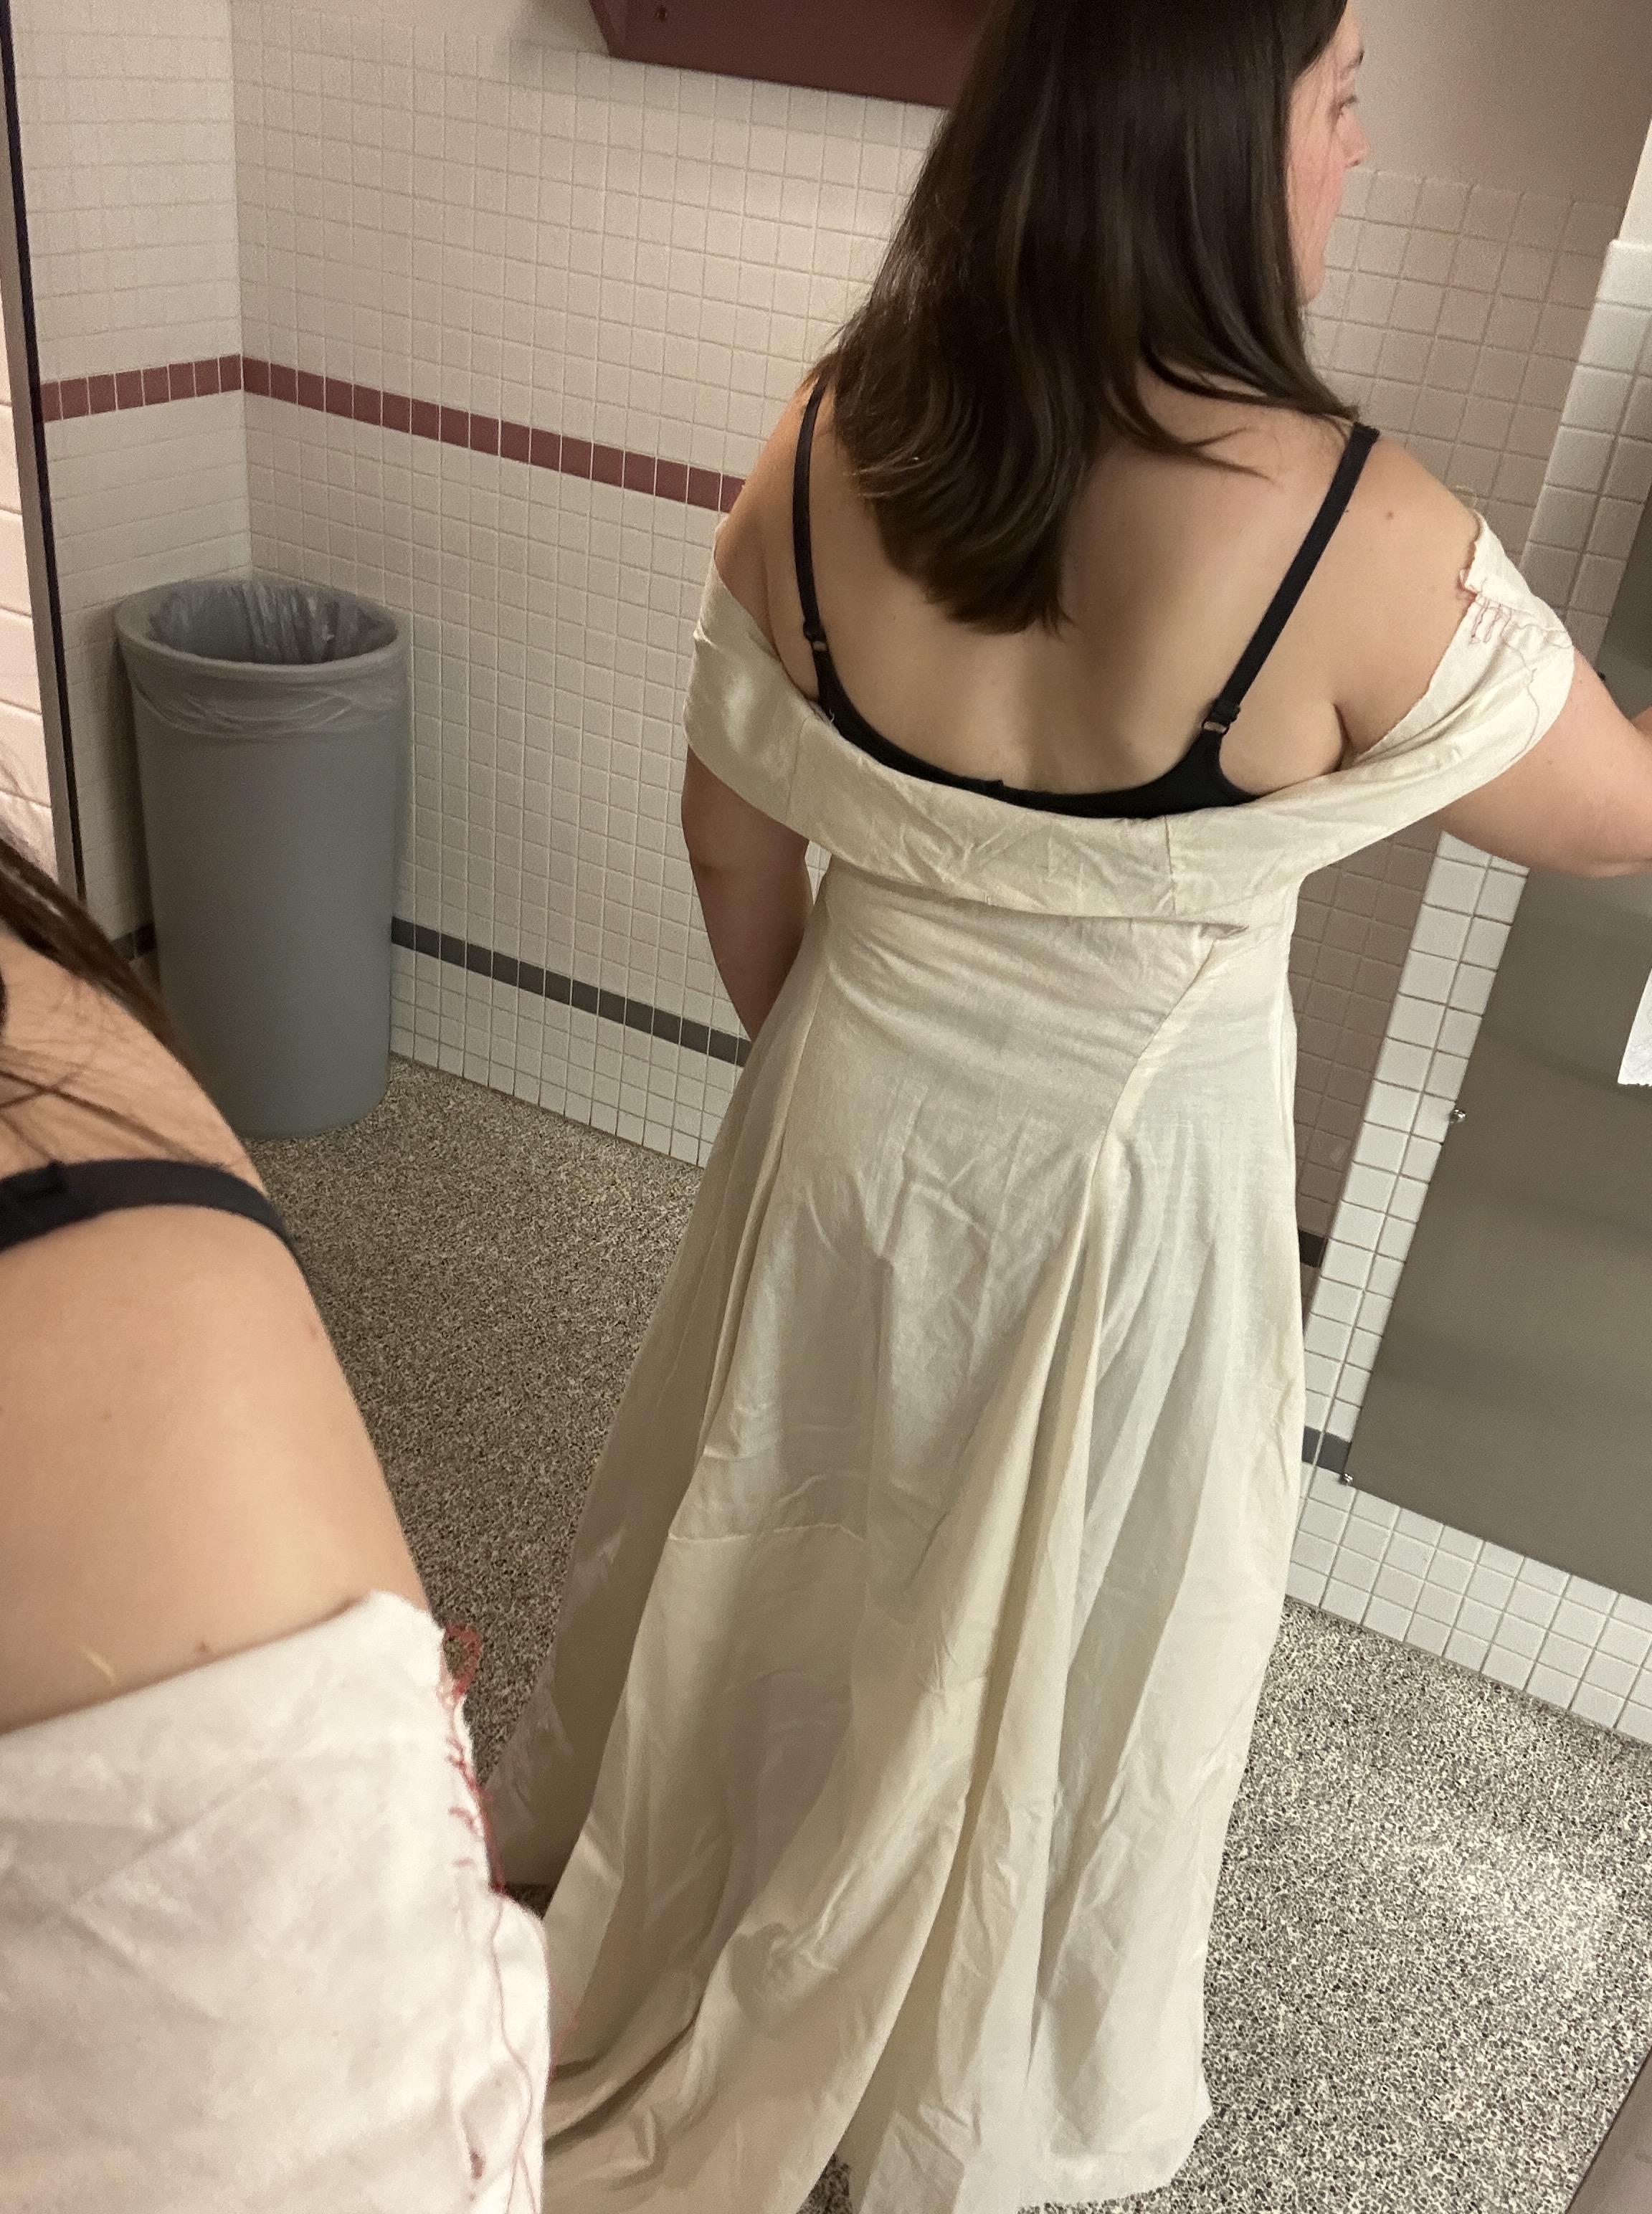
The pattern came with very few instructions, so it was lucky that last year my aunt and I create a dress that had a neckline that needed to be constructed in a similar manner to the sash — parts of it had to be sewn wrong sides together (the parts that lay over my shoulders) while the parts along the dress needed to retain the raw edge which would get sewn into the many layers.
It was at this point that we ran into trouble with the sash — it was intended to be sewn into one of the seams running down the front of the dress. I had decided early on that I really didn’t like that look and hadn’t left an opening in the seam for it. But without going into that seam, I was left with two raw edges that needed to be sewn into one another in a non-obvious way on a v-neck design. In the end, we scrapped the v-neck part and borrowed a quilting technique that I’d seen my mom do a million times on her quilt edges to join to pieces of fabric with no raw edges. The result was a visible seam that generally disappears into the quilt edge. On the dress it left a visible seam that didn’t disappear and, because the ends were asymmetrical, it also created a funky asymmetrical sash across the front.


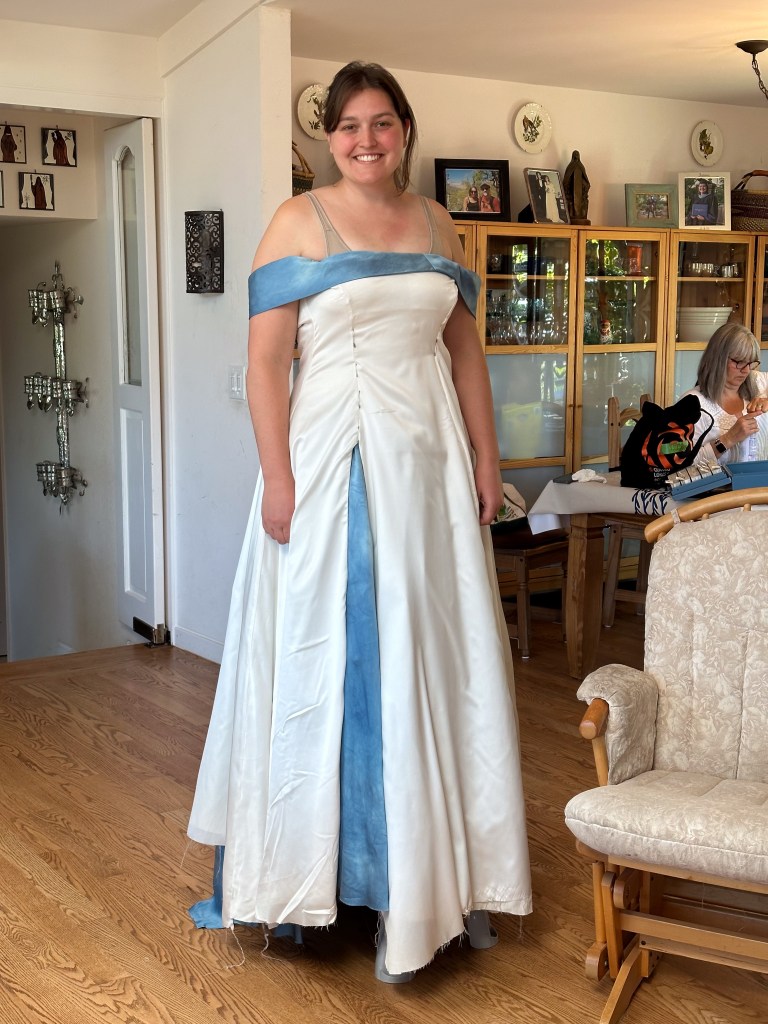
We were pretty proud of this little innovation but outside opinions reached a consensus that something decorative would need to be placed over the seam to provide some continuity, hide the seam, and make the asymmetry feel purposeful. A silk flower perhaps. That could be a problem for another day.
The final task was to sort out the hem. And after a long day, we were both tired and I hopped up on a stool thinking that would help but in the end it took the floor too far away and we quit in exhaustion deciding it would be better to perhaps take it to a seamstress rather than messing up the hem.

The next day, on a fresh night of sleep, I had some thoughts in the back of my head about how to deal with cutting the hem. Unfortunately I wouldn’t be seeing my aunt again on this trip, but one of my mom’s friends would be over that evening and she had spent some time sewing clothes in the past before more recently adopting quilting. With some encouragement I explained my predicament to her — and she, as she had done many hems in the past, had some ideas about what to do which were similar to what I had been thinking. So that evening I stood on the floor and she took a little ruler and marked an inch and a half away from where the dress fell to the floor. The bottom layer which my aunt had cut, was actually cut almost perfectly, despite the exhaustion of the previous evening so we left it alone and focused on the two outer layers.
I went back and basted along those lines and then we once again looked at the hem, shortened some sections further, lengthened some sections and once we had it as ready as it could be, I took some scissors and slowly cut along the basted edge to remove all of the excess fabric. Then I removed the basting (because it was basted up in about an inch and a half seam) and a did a very small rolled hem around the entire outside edge. There were one or two places where the hem was too short because the pattern was too short (remember when I said I had marked areas to lengthen an inch and forgot to do so?) but overall I had a completed hem.
My mother-in-law happened to be in town so I brought the dress over to a family dinner with my partner’s family so she could see how far the dress had come in person. I sat on the couch, catching up with everyone as I cut the loose ends, pulled out left over basted stitches, and did the final tidying up of the dress. It was certainly a moment of celebration for us to see how far the dress had come from its little muslin copy four months prior.

This was my final day in California so I was glad that I wouldn’t need to try to send the dress and petticoat from California to Indiana just to send it back from Indiana to California again in December in time to drive it down to New Mexico for that last celebration…Now it was time to make a silk flower to go on the bodice…
I have no knowledge of making silk flowers, so I scoured YouTube to look at what people were doing. Honestly I hate watching YouTube tutorials, I’d much rather have text and photos and just read the instructions, so it shouldn’t be too surprising that I gave up on YouTube pretty quickly. On the other hand, we were heading to my grandma’s house next and after a life time of creatively sewing quilts, I had a feeling that she perhaps knew how to make a silk flower. I packed up a bunch of extra silk scraps that were just big enough that I was sure they could be used for something and would you know it, my grandma had some ideas about how to make silk flowers.
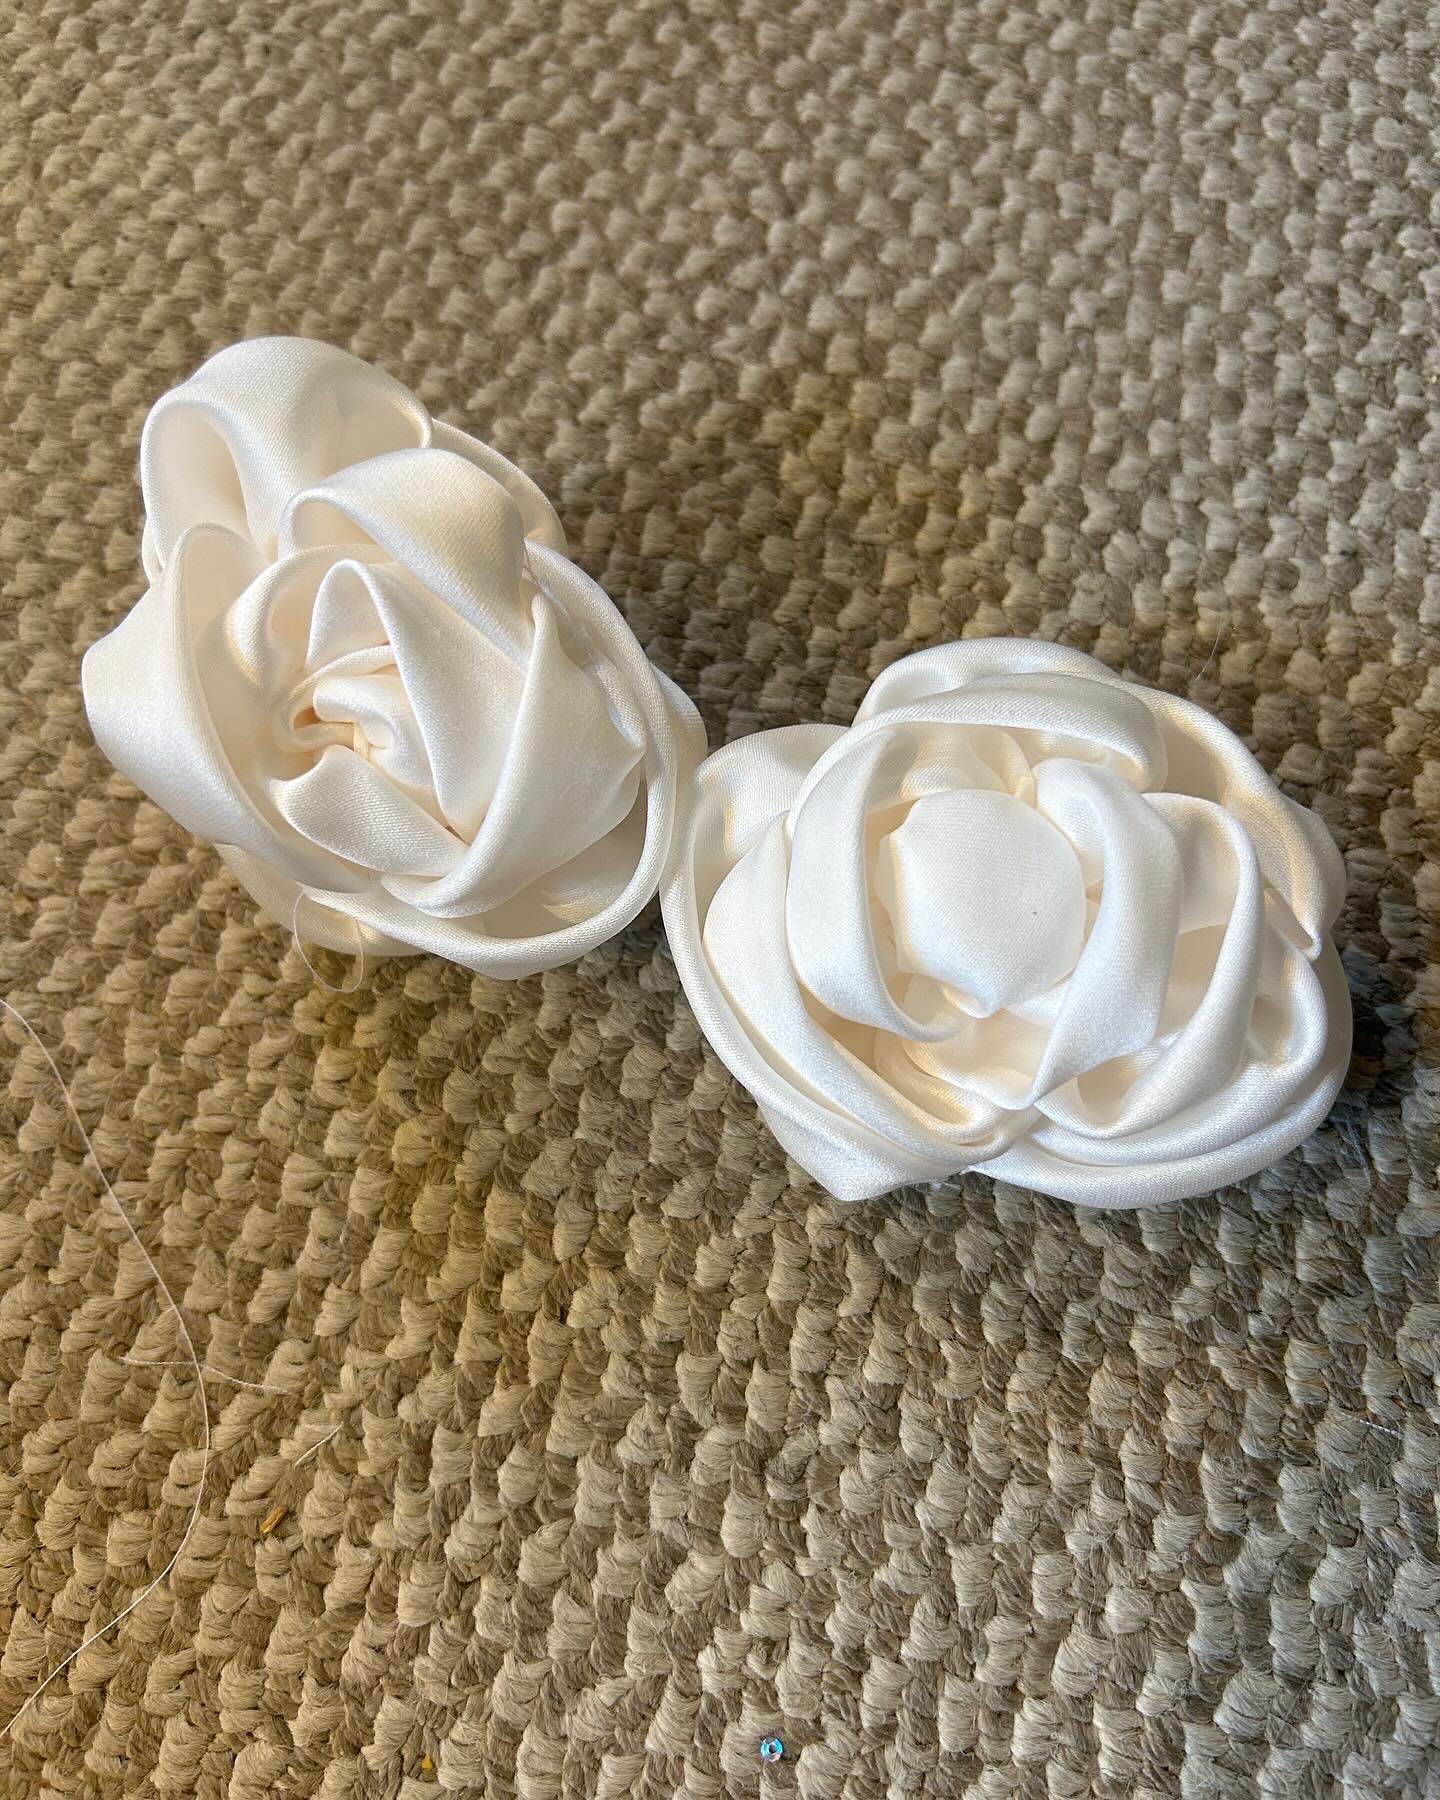
It took three attempts at the silk flower for me to be pleased with the result. It was a rather amusing process to make the silk as we were following instructions on the internet originally taken from a 1921 book on hat trimming. It gave me a new perspective on the hat trimming activities of the women in the regency era books I often read, as well as an understanding of their fear of crushing their silk flowers. These are incredibly delicate — if only because they’re hand-made and the stitching is questionable. Which says more about my hand stitching skills than it does about the general integrity of a silk flower, but certainly the silk gets crushed very easily.
With the dress finally completed in time for the final celebration, I can say that despite how challenging it was to make this dress it’s probably one of my proudest creations.
I sewed the dress, I hacked the pattern, I sorted out how to construct the entire thing and it was certainly the most difficult pattern I’ve ever attempted. But the feeling of accomplishment is far greater because this was a community effort. As much pride as I take in the work I put into the dress, I would not have been able to make it without the assistance of my mom, my aunt, my aunt’s friend, my mom’s friend, my mother-in-law, my grandma, and my partner, who all contributed to this project.
When we first conceived of our non-traditional wedding plan, we spent a lot of time trying to sort out what parts of weddings we valued — what we were we trying to take away from our wedding tour. One of the things that I had wanted most was opportunities to spend time with family. Of the few weddings I had attended, I was always struck by how little time the couple spent with their guests. They were being whisked away for a ceremony and then a photo op and then cloistered separately during dinner at a sweethearts table and I was hoping for something more from our approach. Part of that for me could be done through the construction of the wedding dresses. Both dresses took more than a hundred people hours of construction — quality time spent with family and friends (often who cheered me along on social media) in support of our wedding. And that felt like the core purpose of a wedding — a community coming together to support two people they loved. While these dresses won’t be worn often, I will always cherish the experience that gave me my wedding dresses, dresses made by many hands.