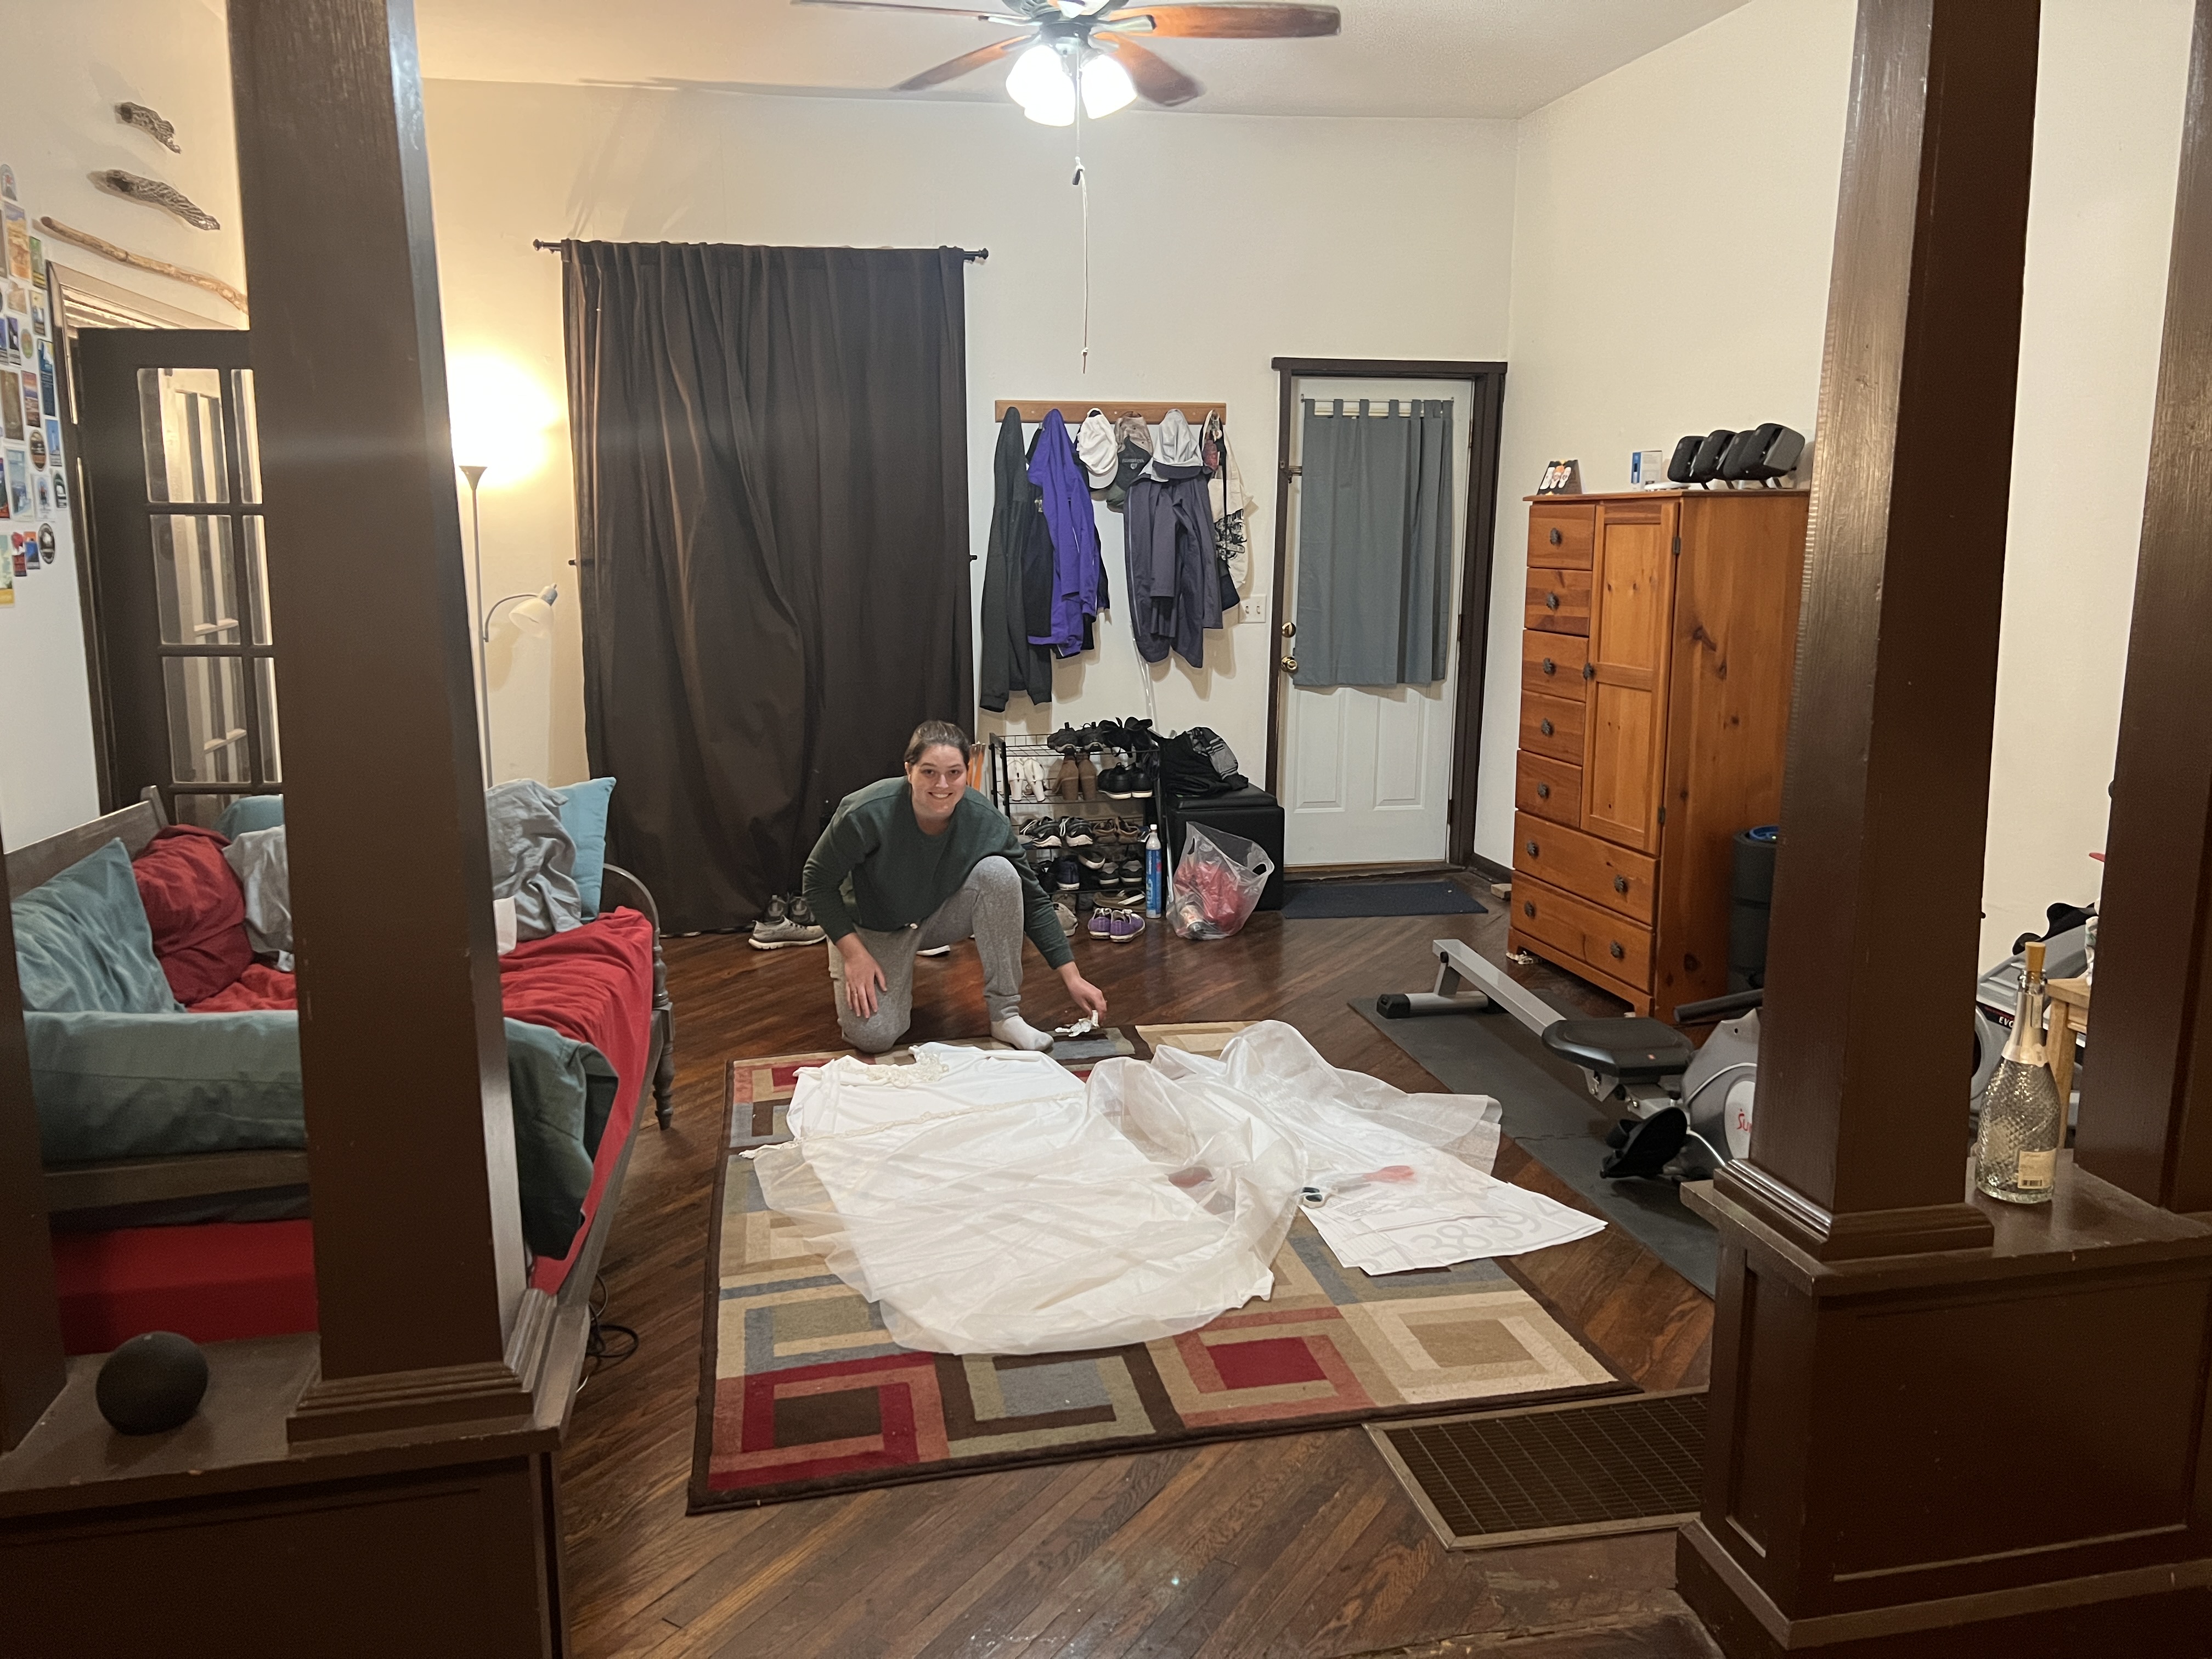
My partner and I knew from the beginning that we would be doing an entirely untraditional wedding. I wasn’t particularly into ceremonies and he wasn’t particularly into big weddings, but we had enough family members that a traditional wedding would both inevitably be big and very ceremonious. So we threw out the script and instead focused on what parts of weddings were things that we wanted to replicate — and for me, one of those was having quality time with my family members. We decided that rather than having one party, we’d have spaced out smaller parties with smaller groups of family and friends to give them quality time and to prolong the celebration — this wasn’t going to be a dress I only wore once. Having planned numerous events for work, I also find that I enjoy the planning process more than I generally enjoy the event itself, so I threw myself into the preparations and began to figure out how to include my friends and family in that process.
From the beginning, I was enamored with the idea of making my own wedding dress. It’s not often that a homemade fiber project would actually be cheaper than something store-bought, but the reality of wedding dresses meant that a store-bought dress would cost a fortune and a homemade dress (although perhaps somewhat more basic than a store-bought one) would be far less expensive and I could tailor it to my own tastes and style.
The first step for me was to find patterns and try on dresses. My aunt counseled me to just buy my dress if I found one I loved and then I headed to the store with my best friend to try on dresses.
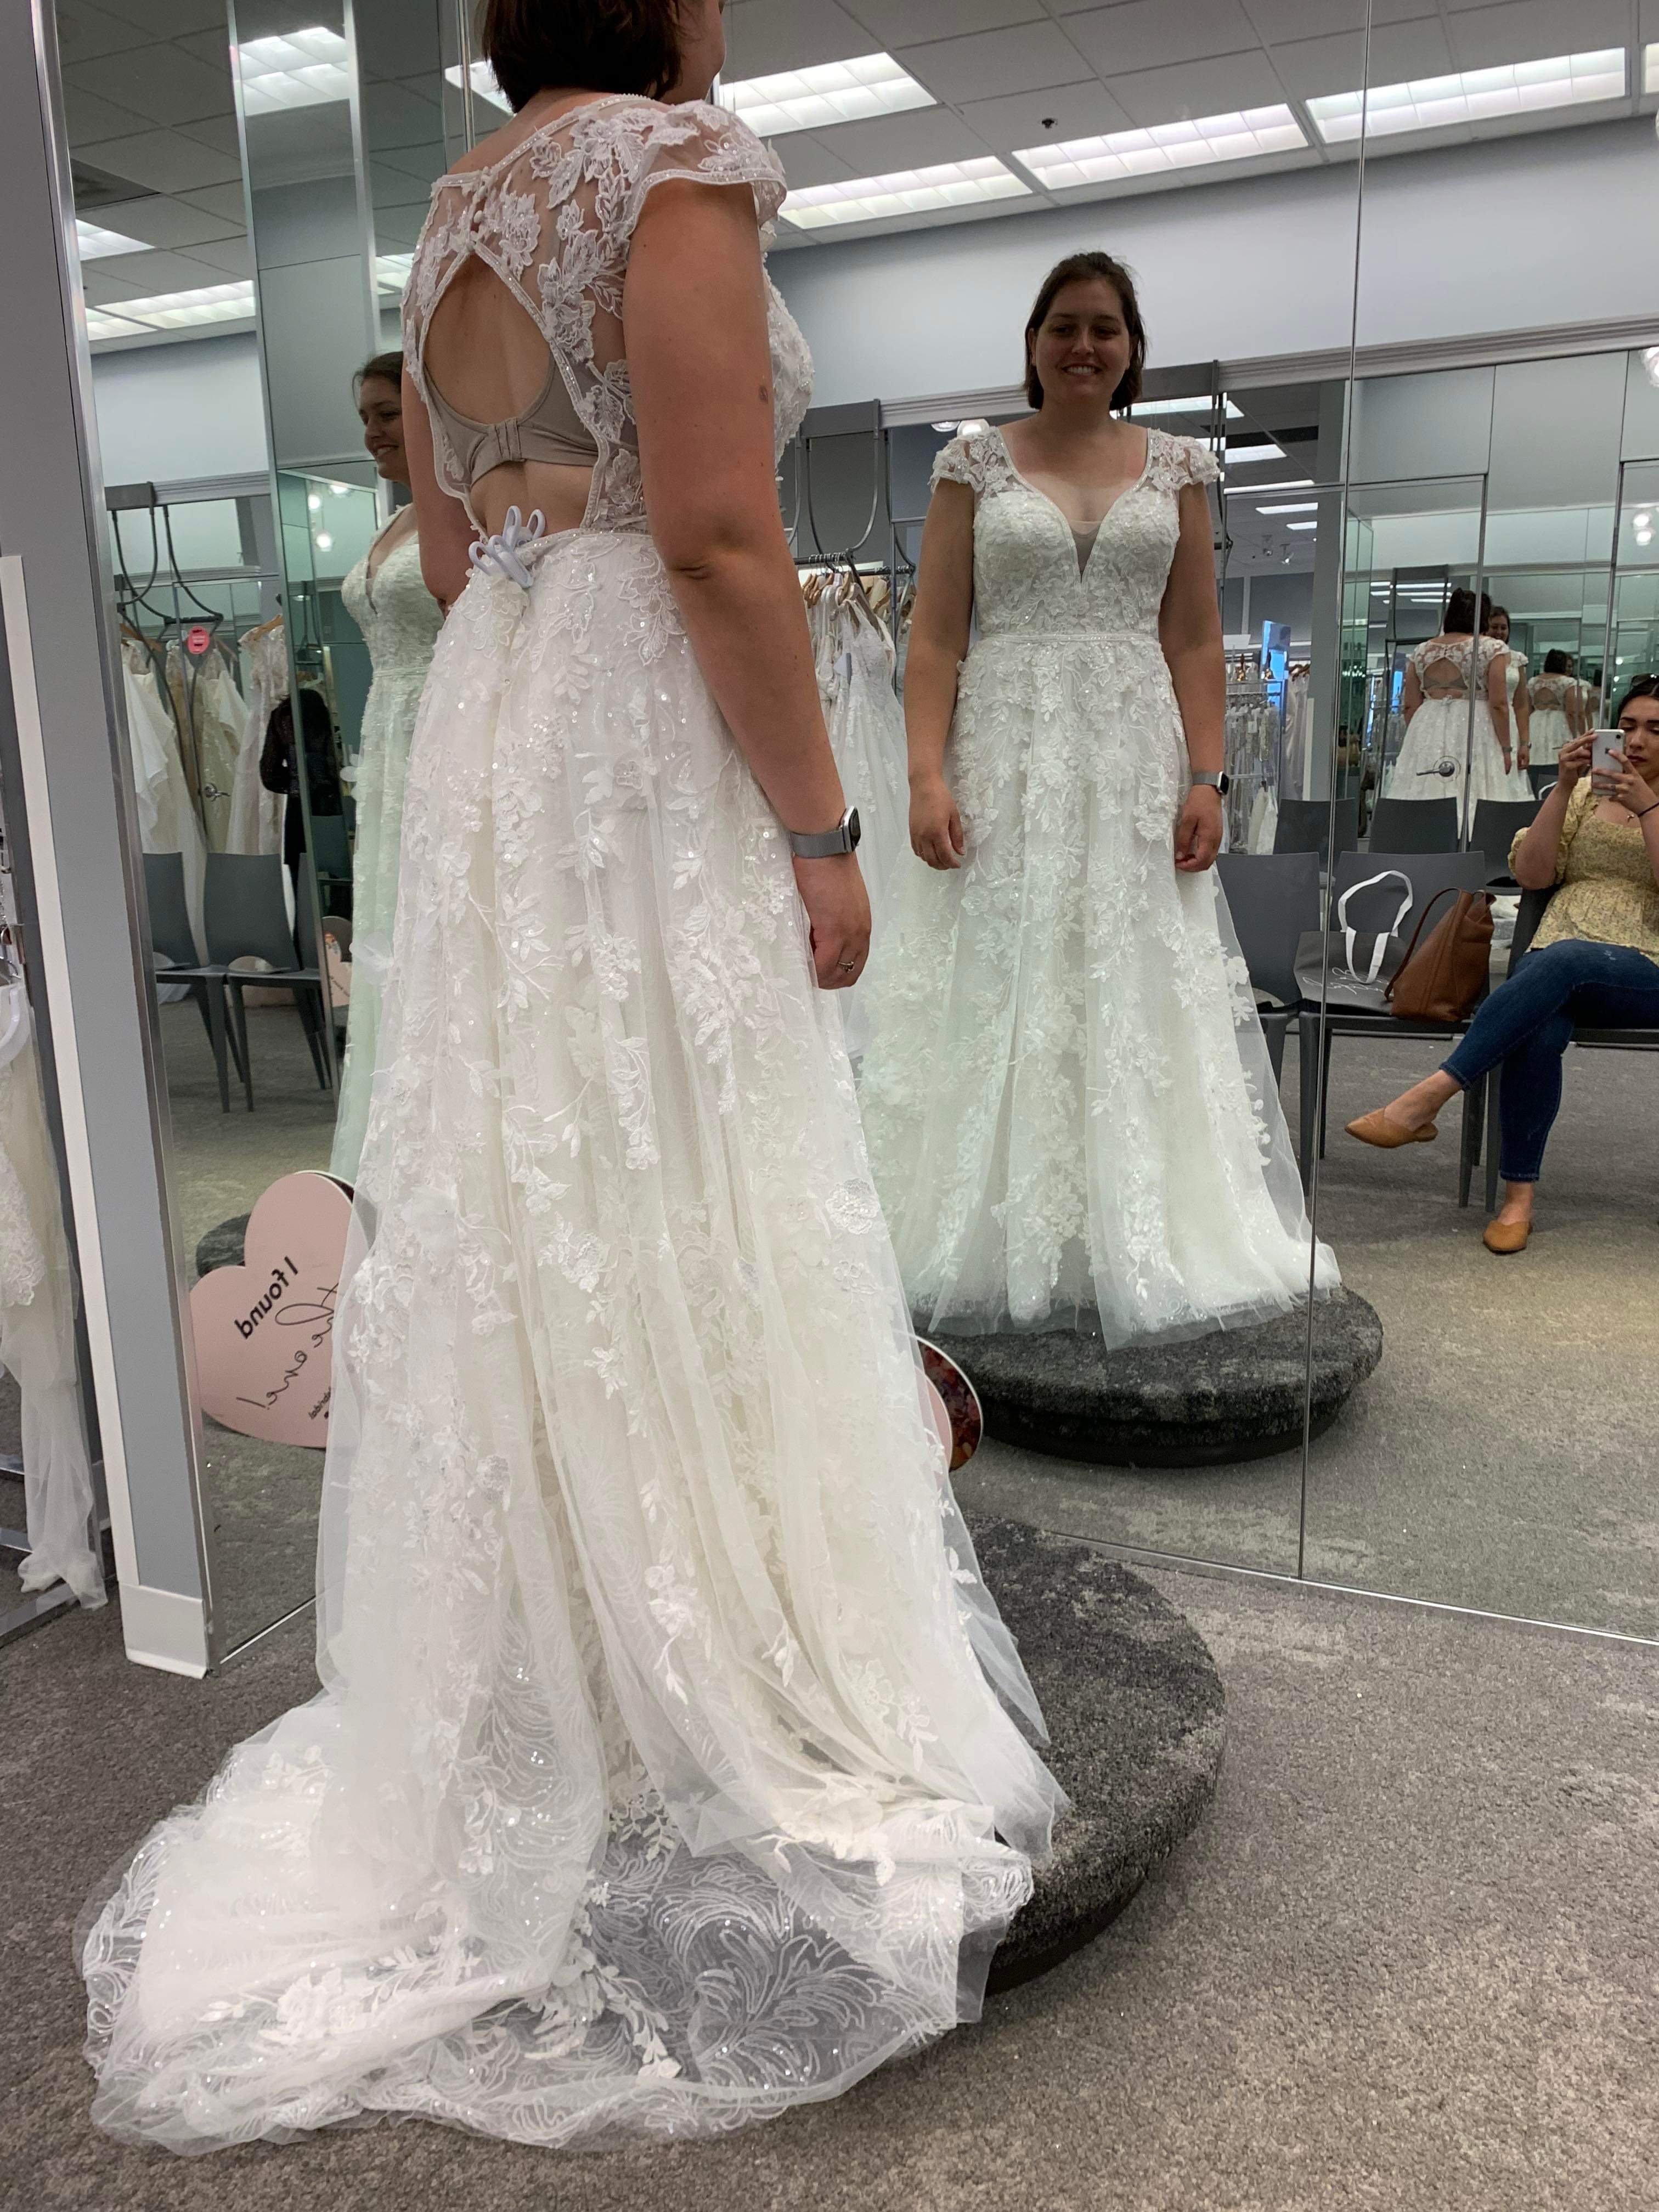
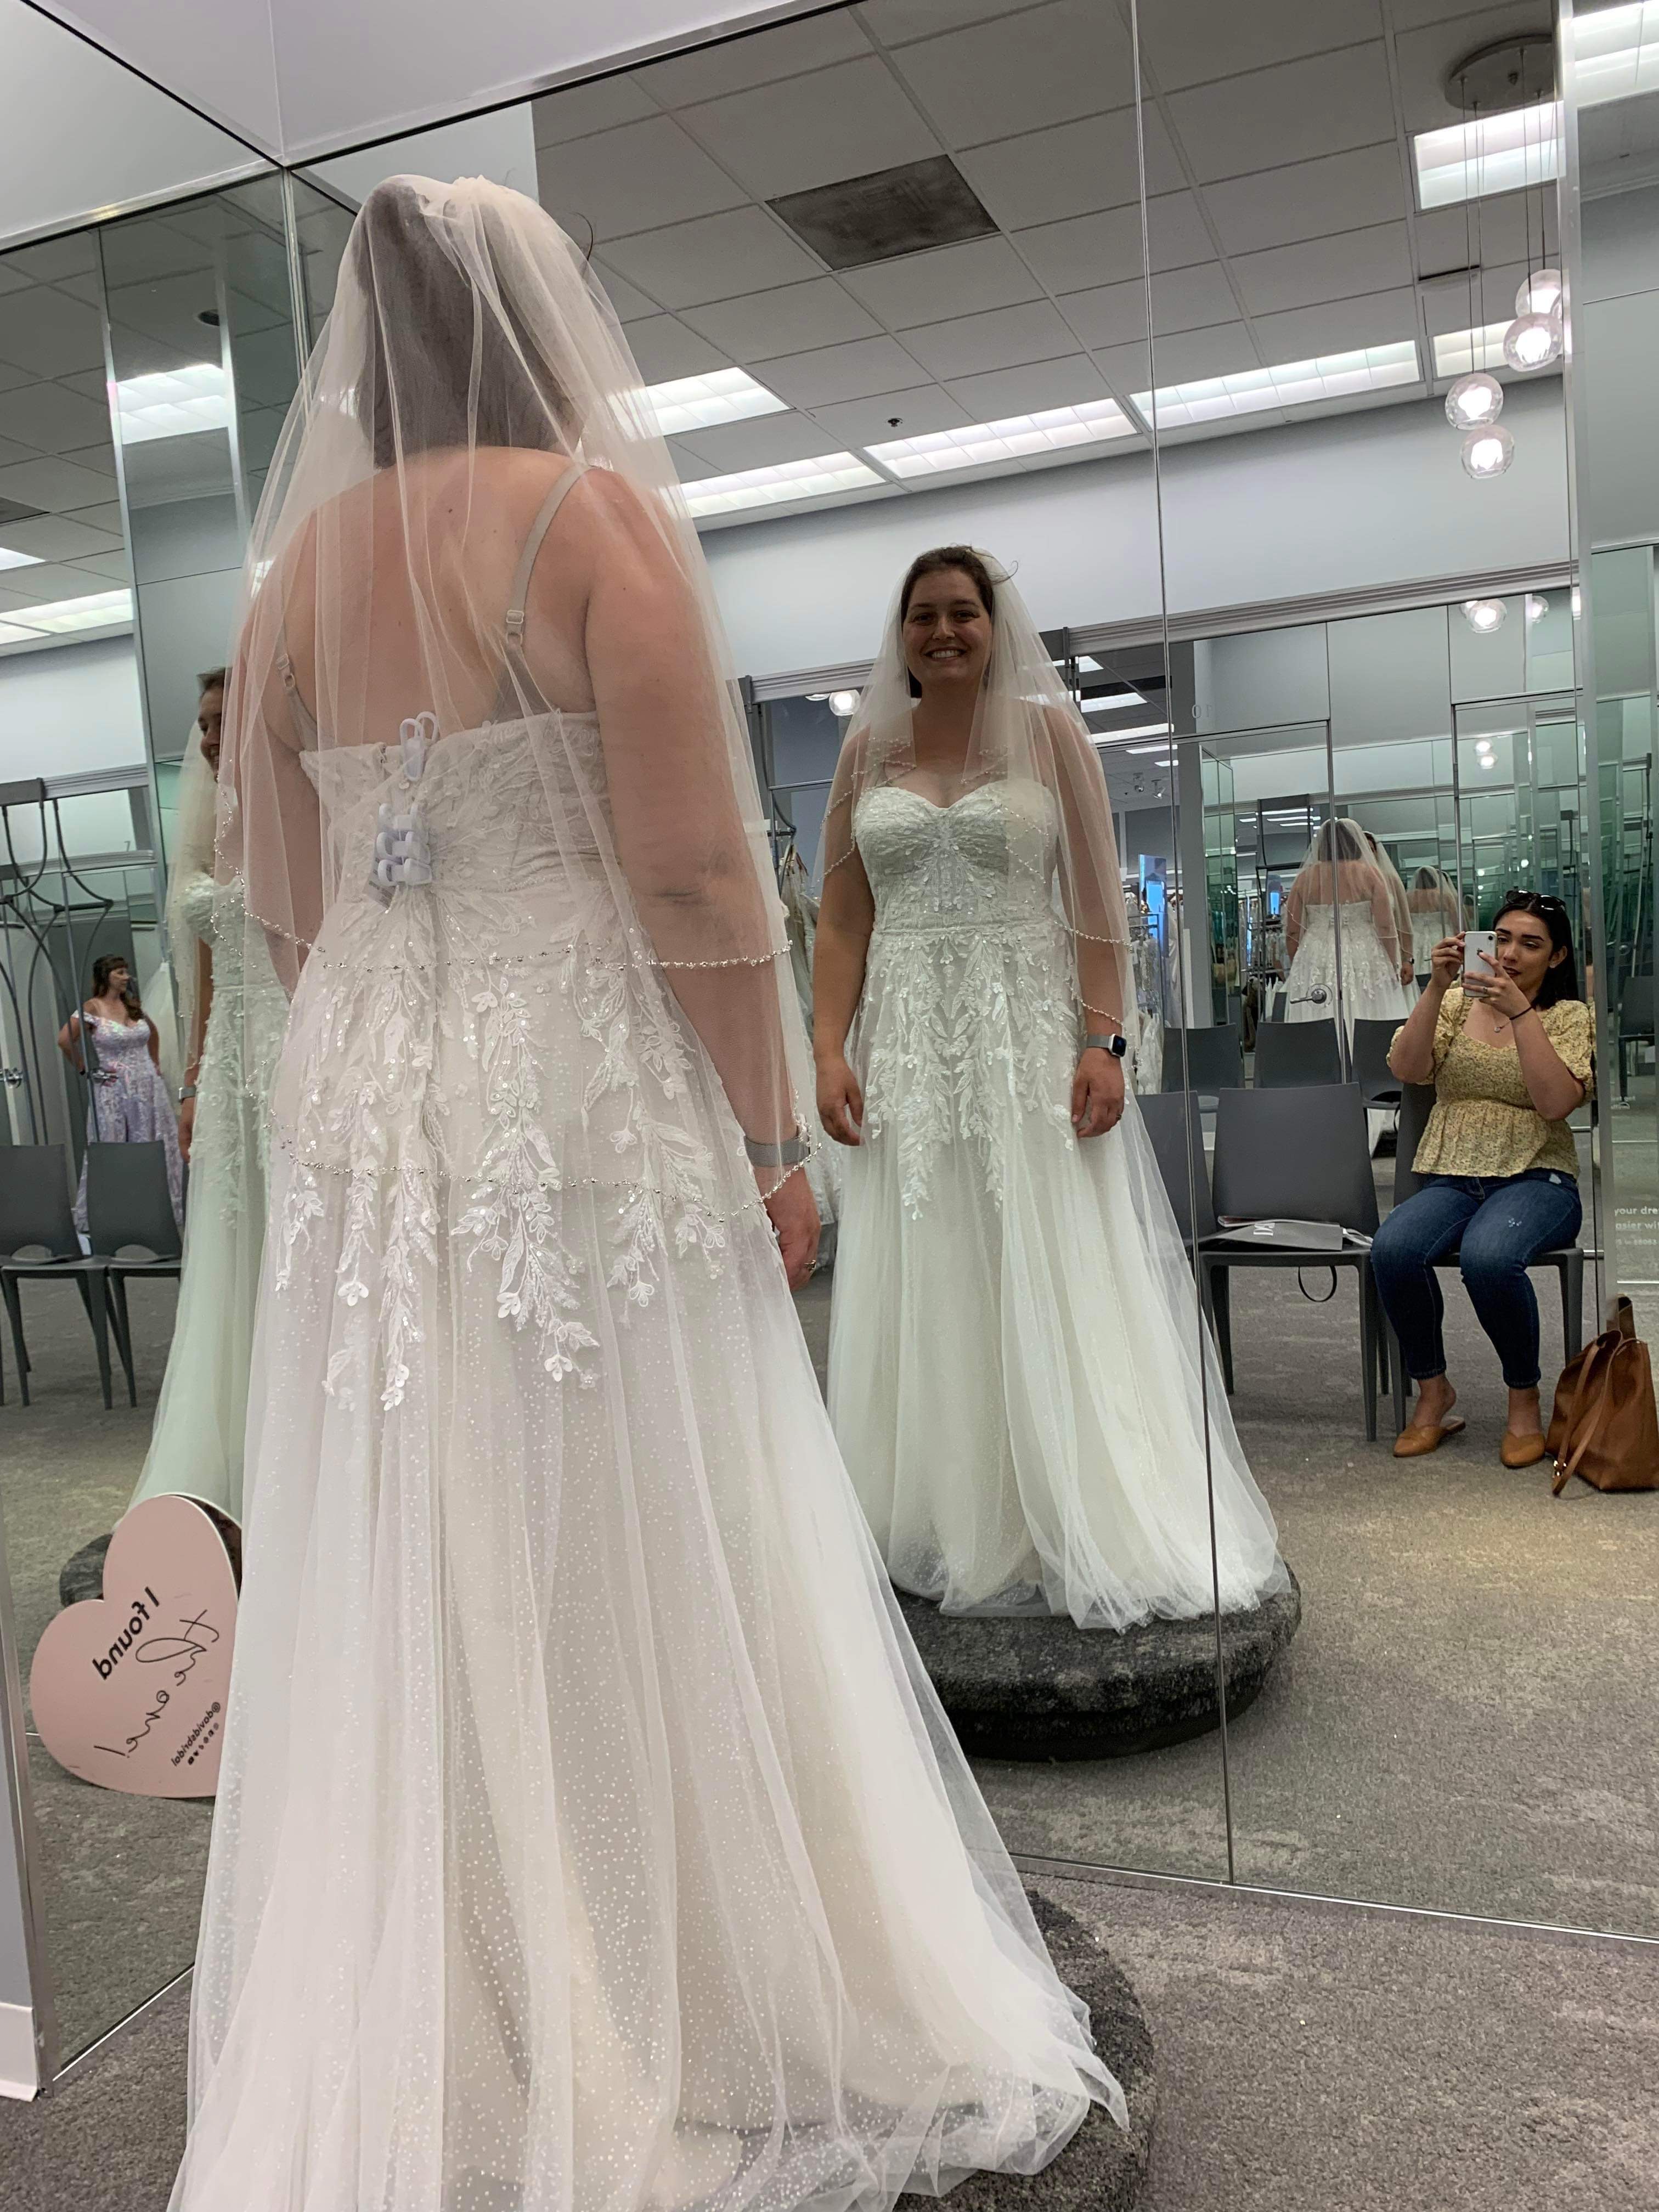
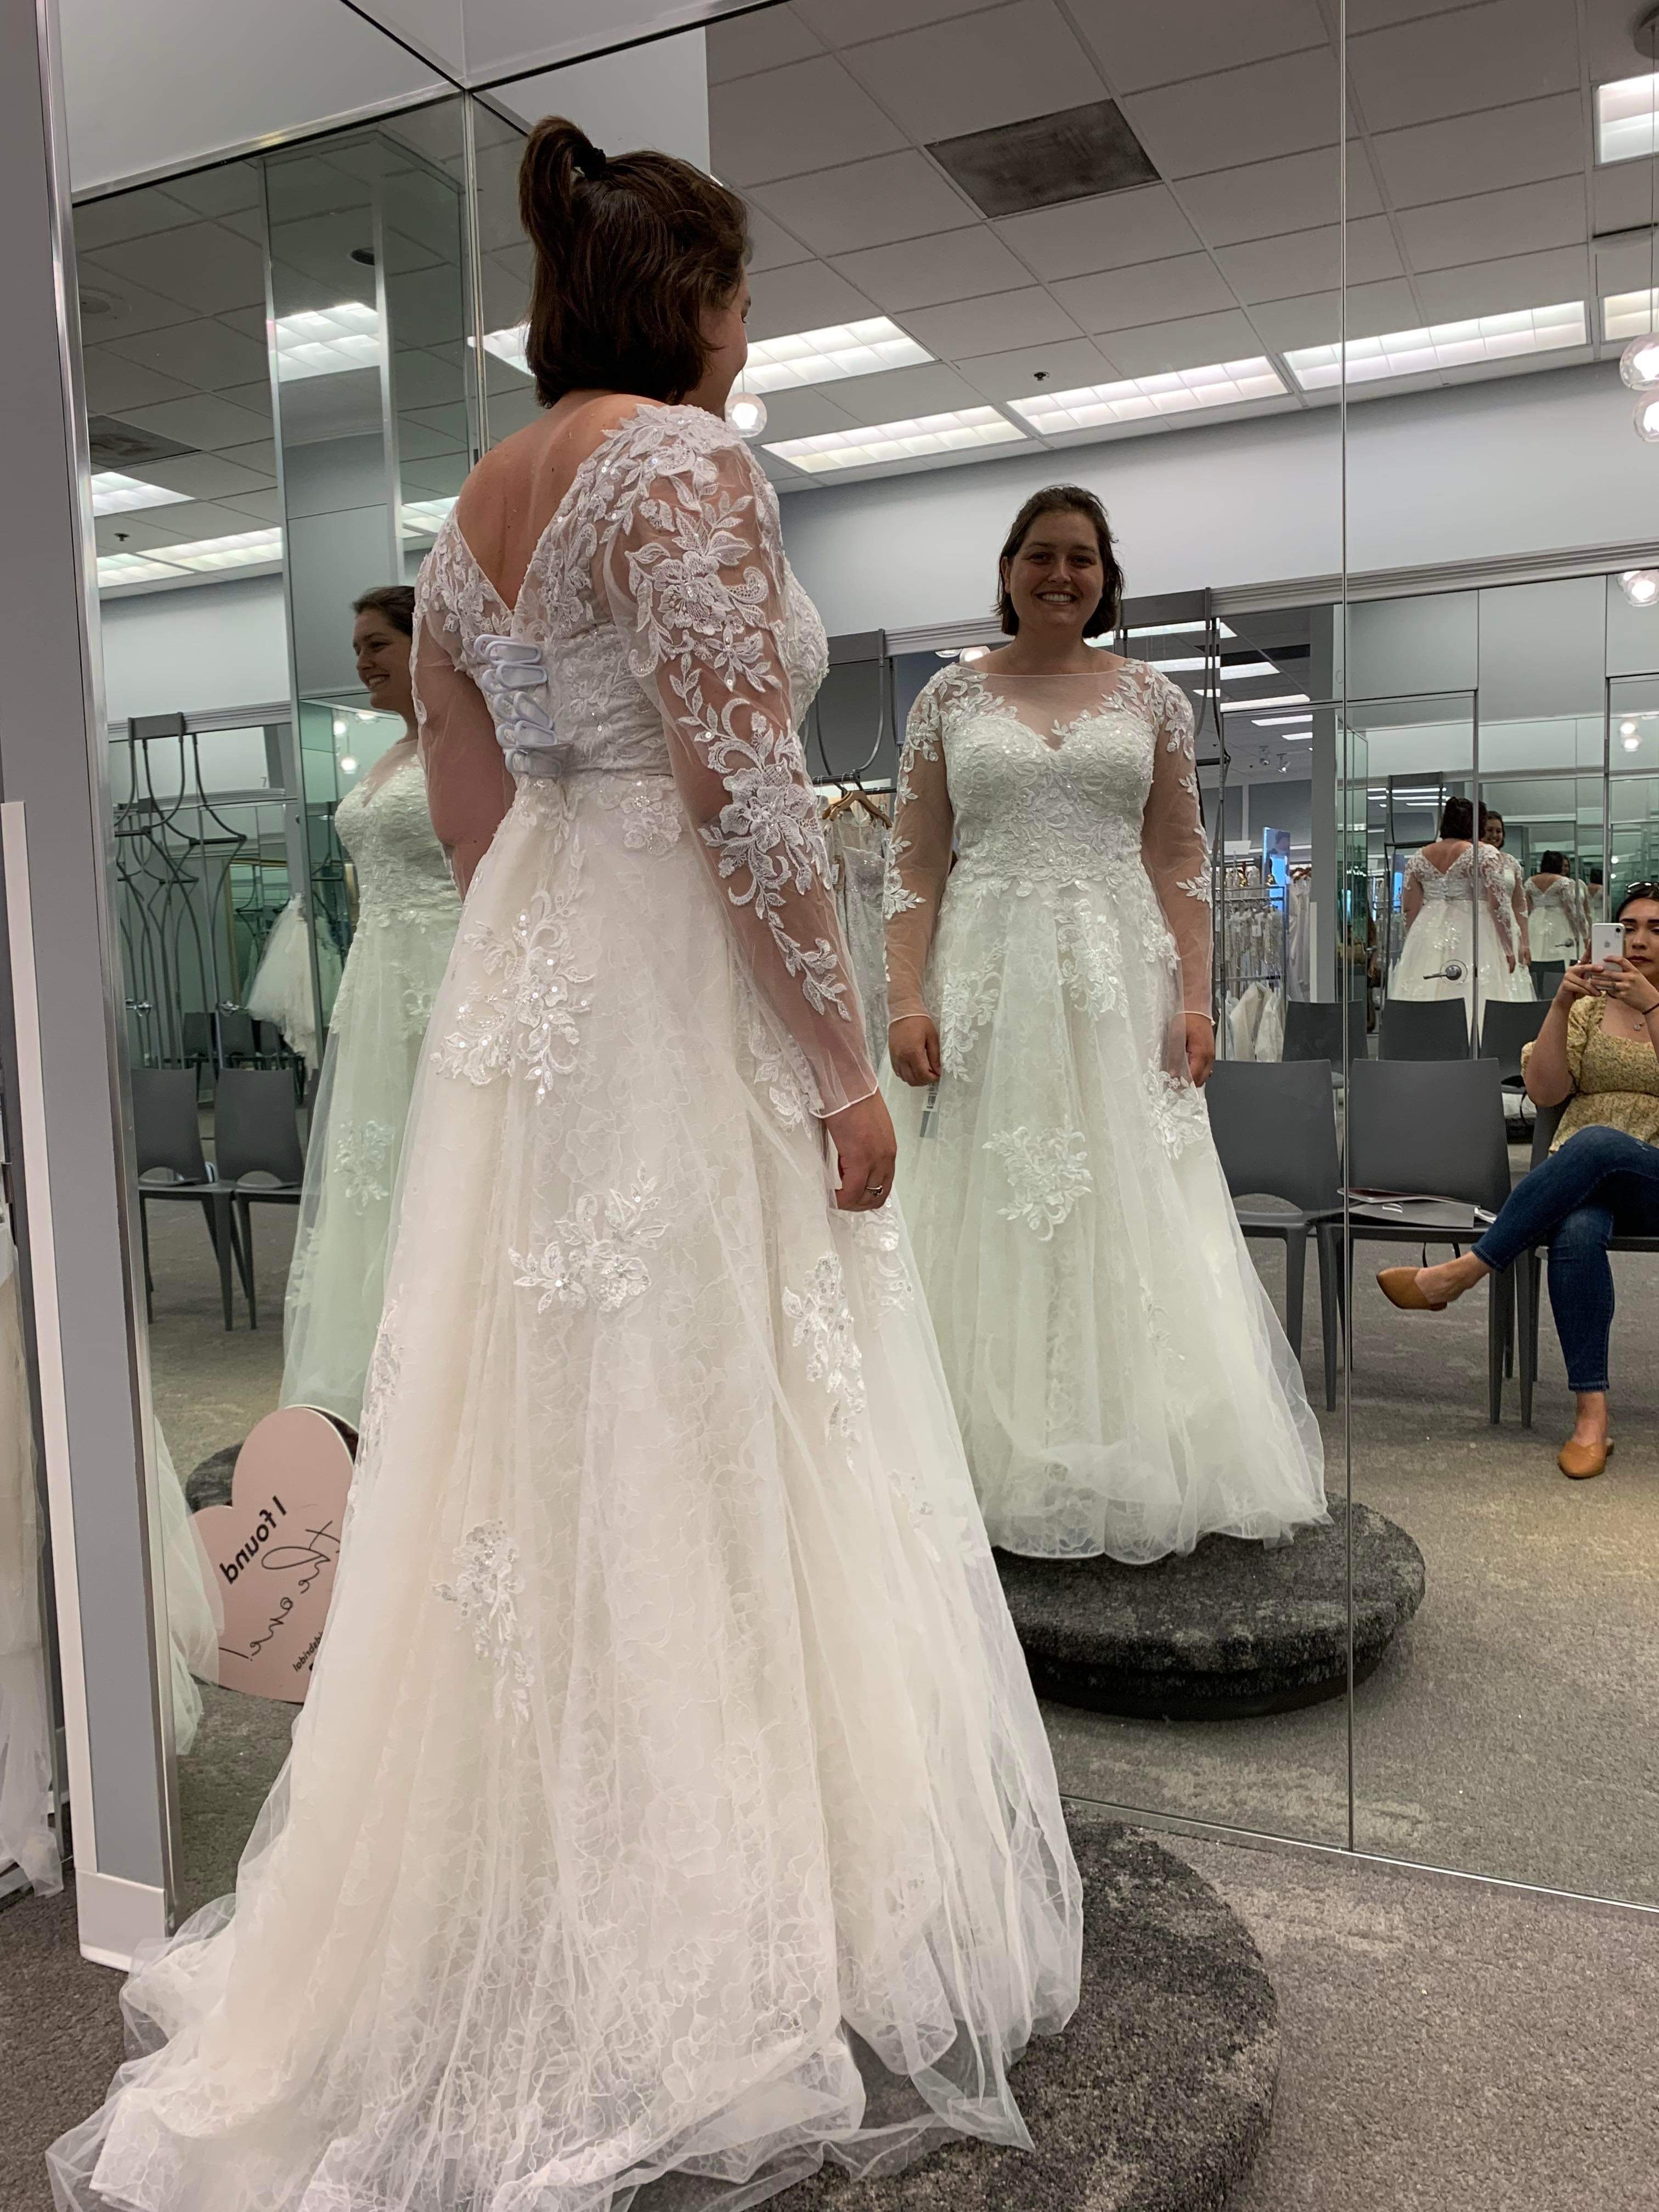
It turns out the dress I liked most cost $1400 and weighed far too much for easy transport (somewhat necessary for our wedding parties which would span across multiple states). The dress was also white, and I was enamored with the idea of incorporating color, potentially through dyeing the dress, and I certainly wasn’t going to dye a $1400 dress.
BUT that brings us to the important part of trying on the dresses — I learned that I would probably want sleeves, I learned I wasn’t super concerned about the neckline, and I preferred dresses that were princess, A-line, or empire waist, but no mermaid dresses. I also took a peek at the construction of the dresses — how did they layer the fabrics to get a sparkly effect under the lace? How many layers did the dress have? These questions gave me insight into what I would do with my own dress. From there it was time to search out patterns.
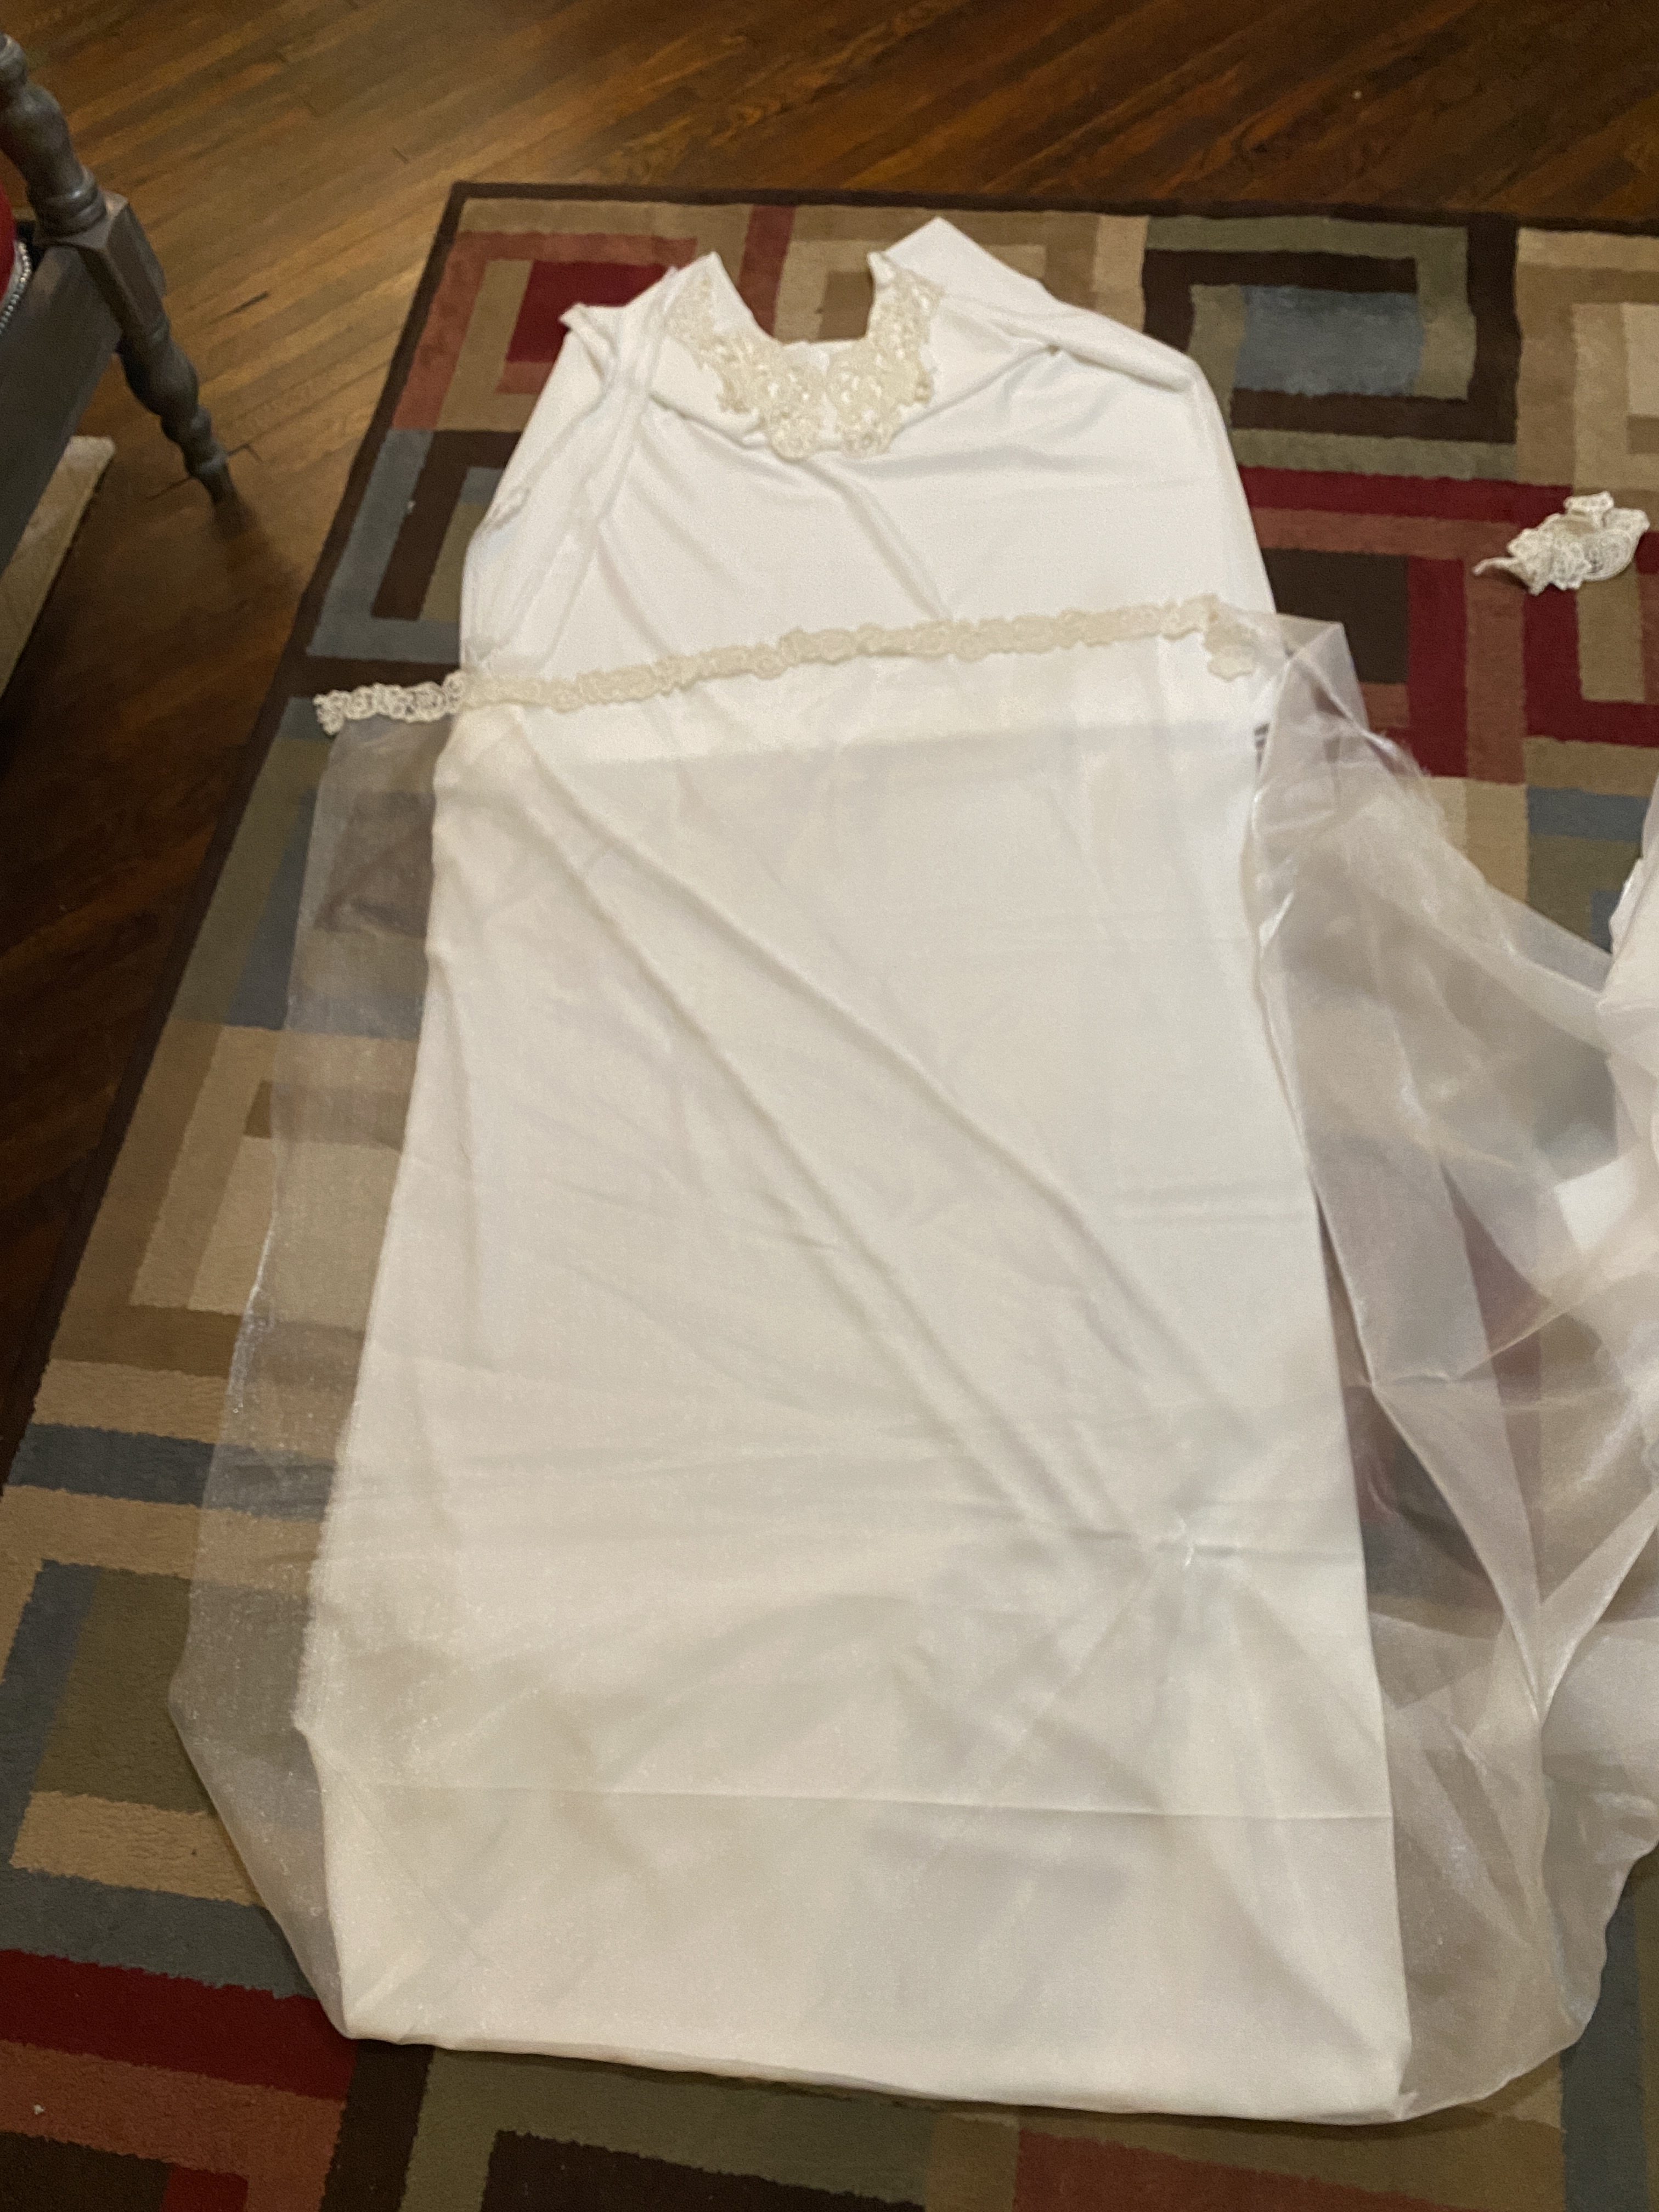
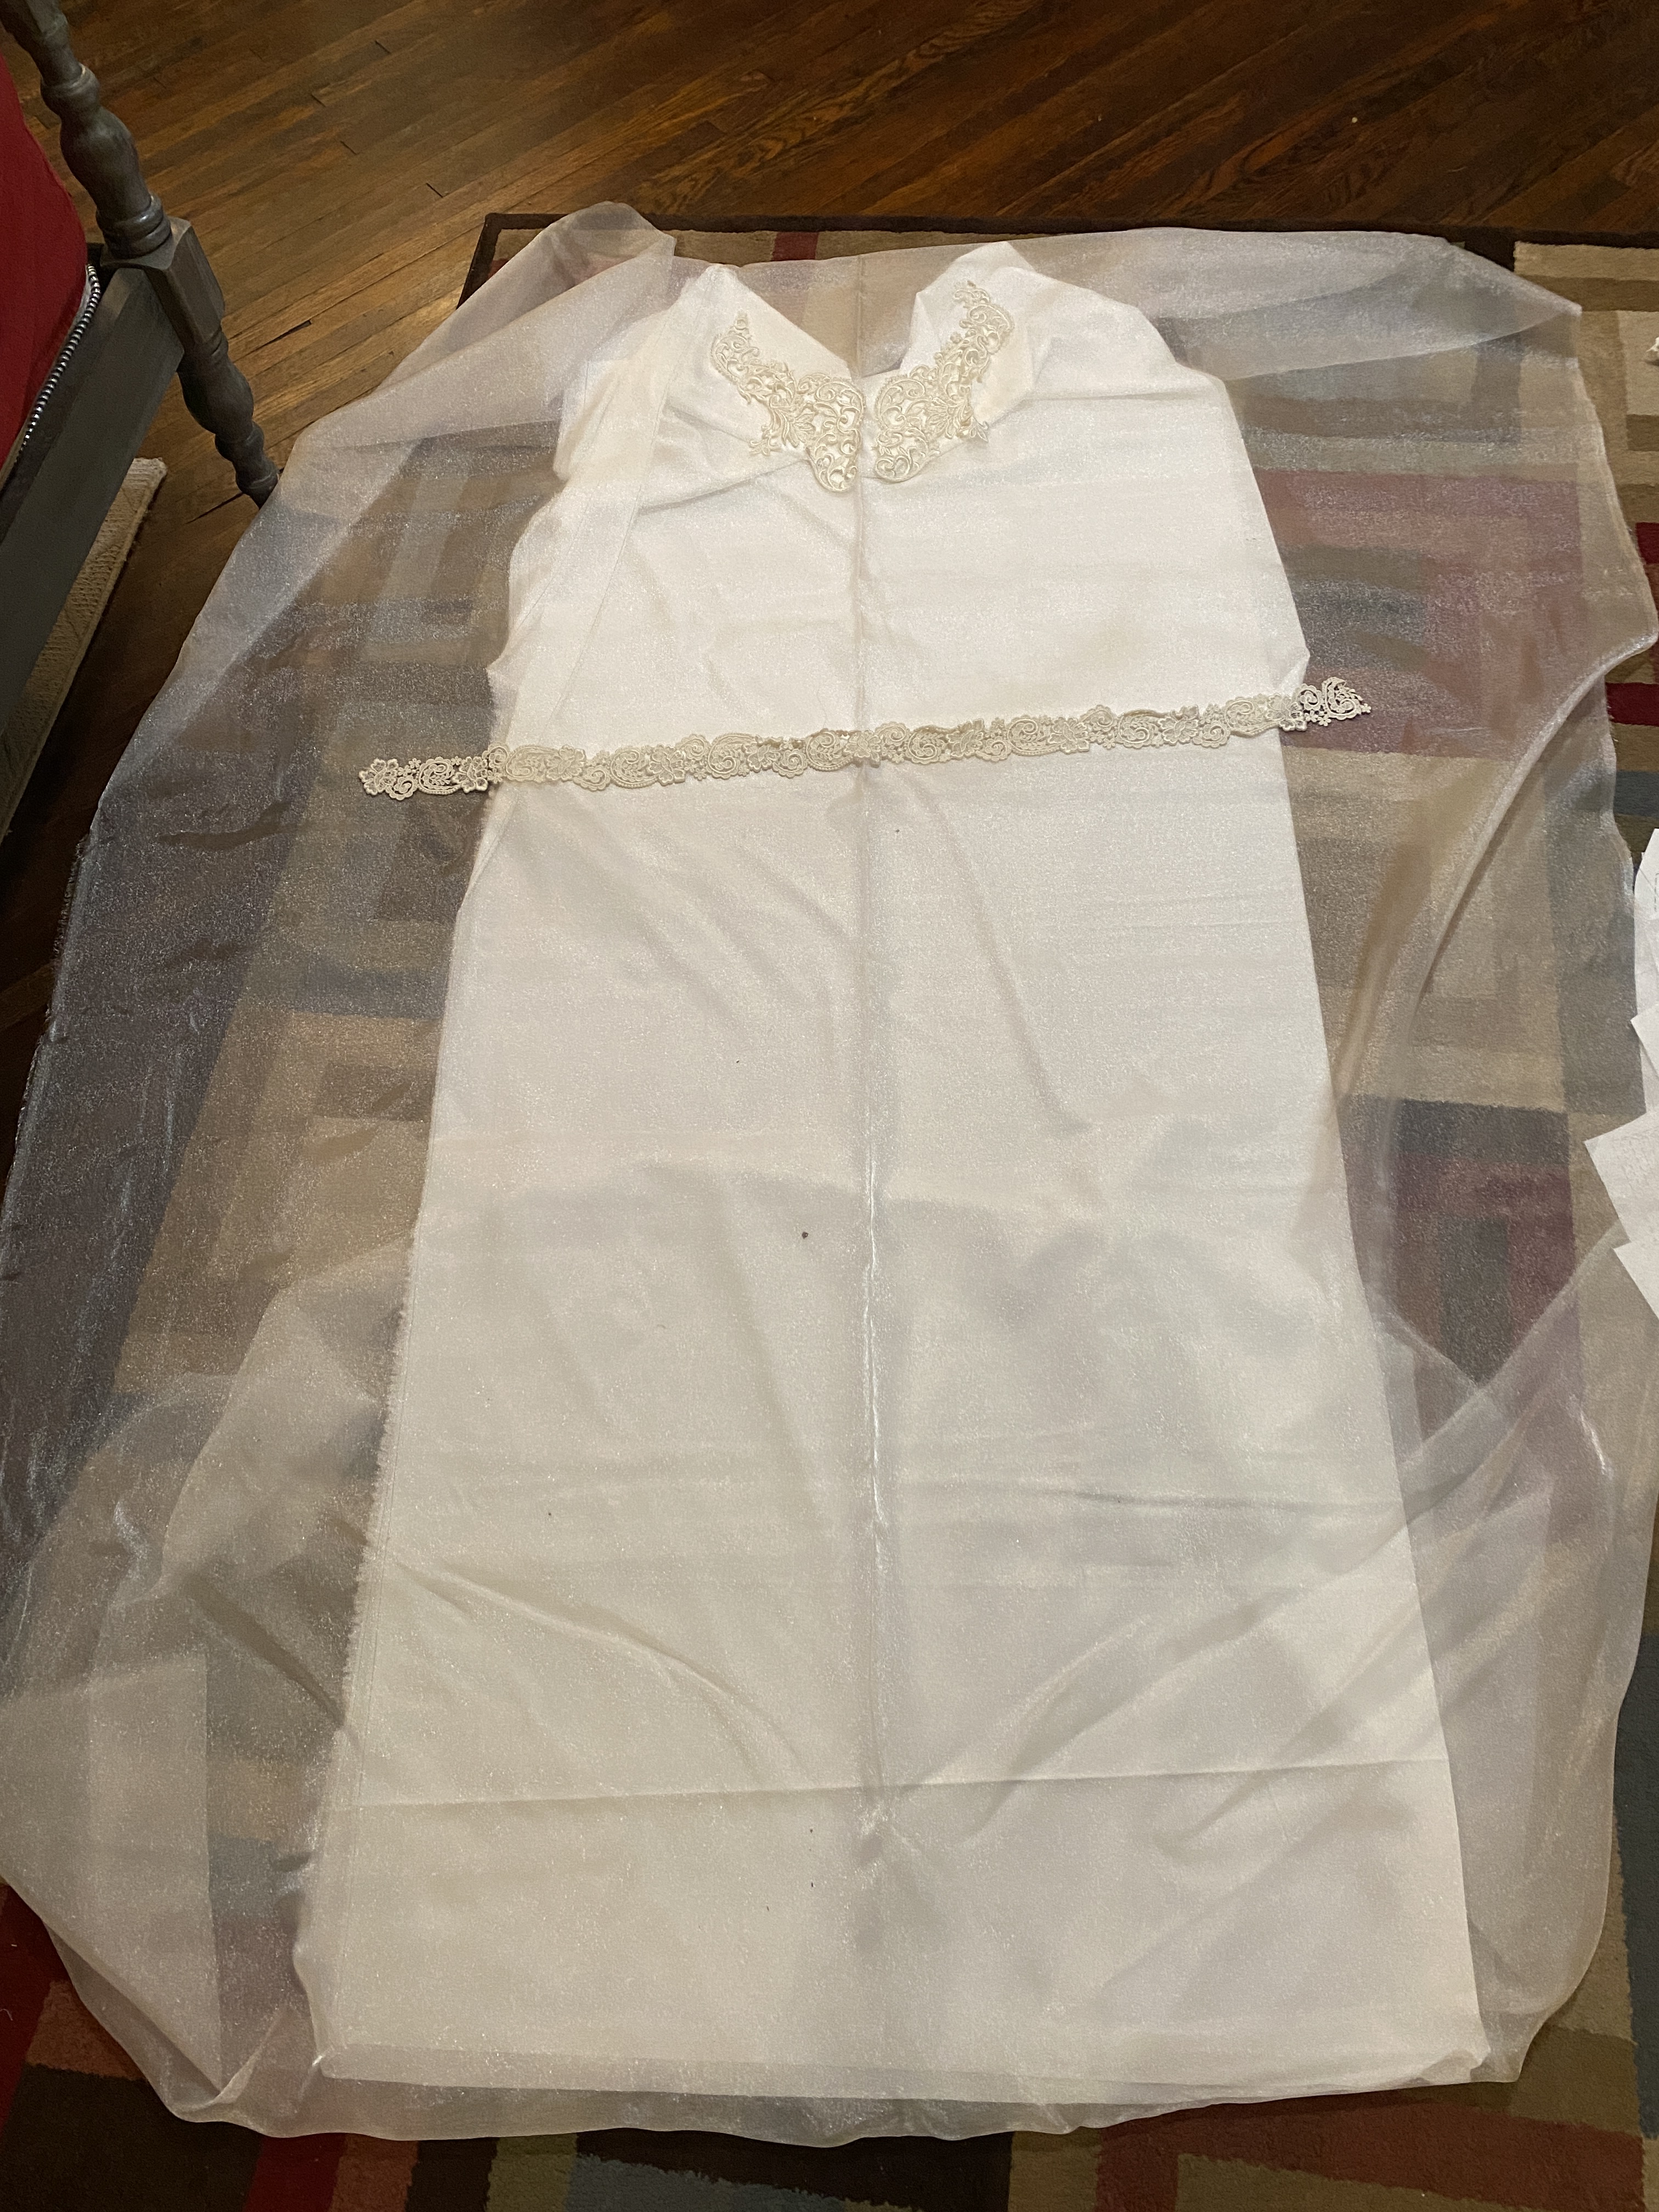
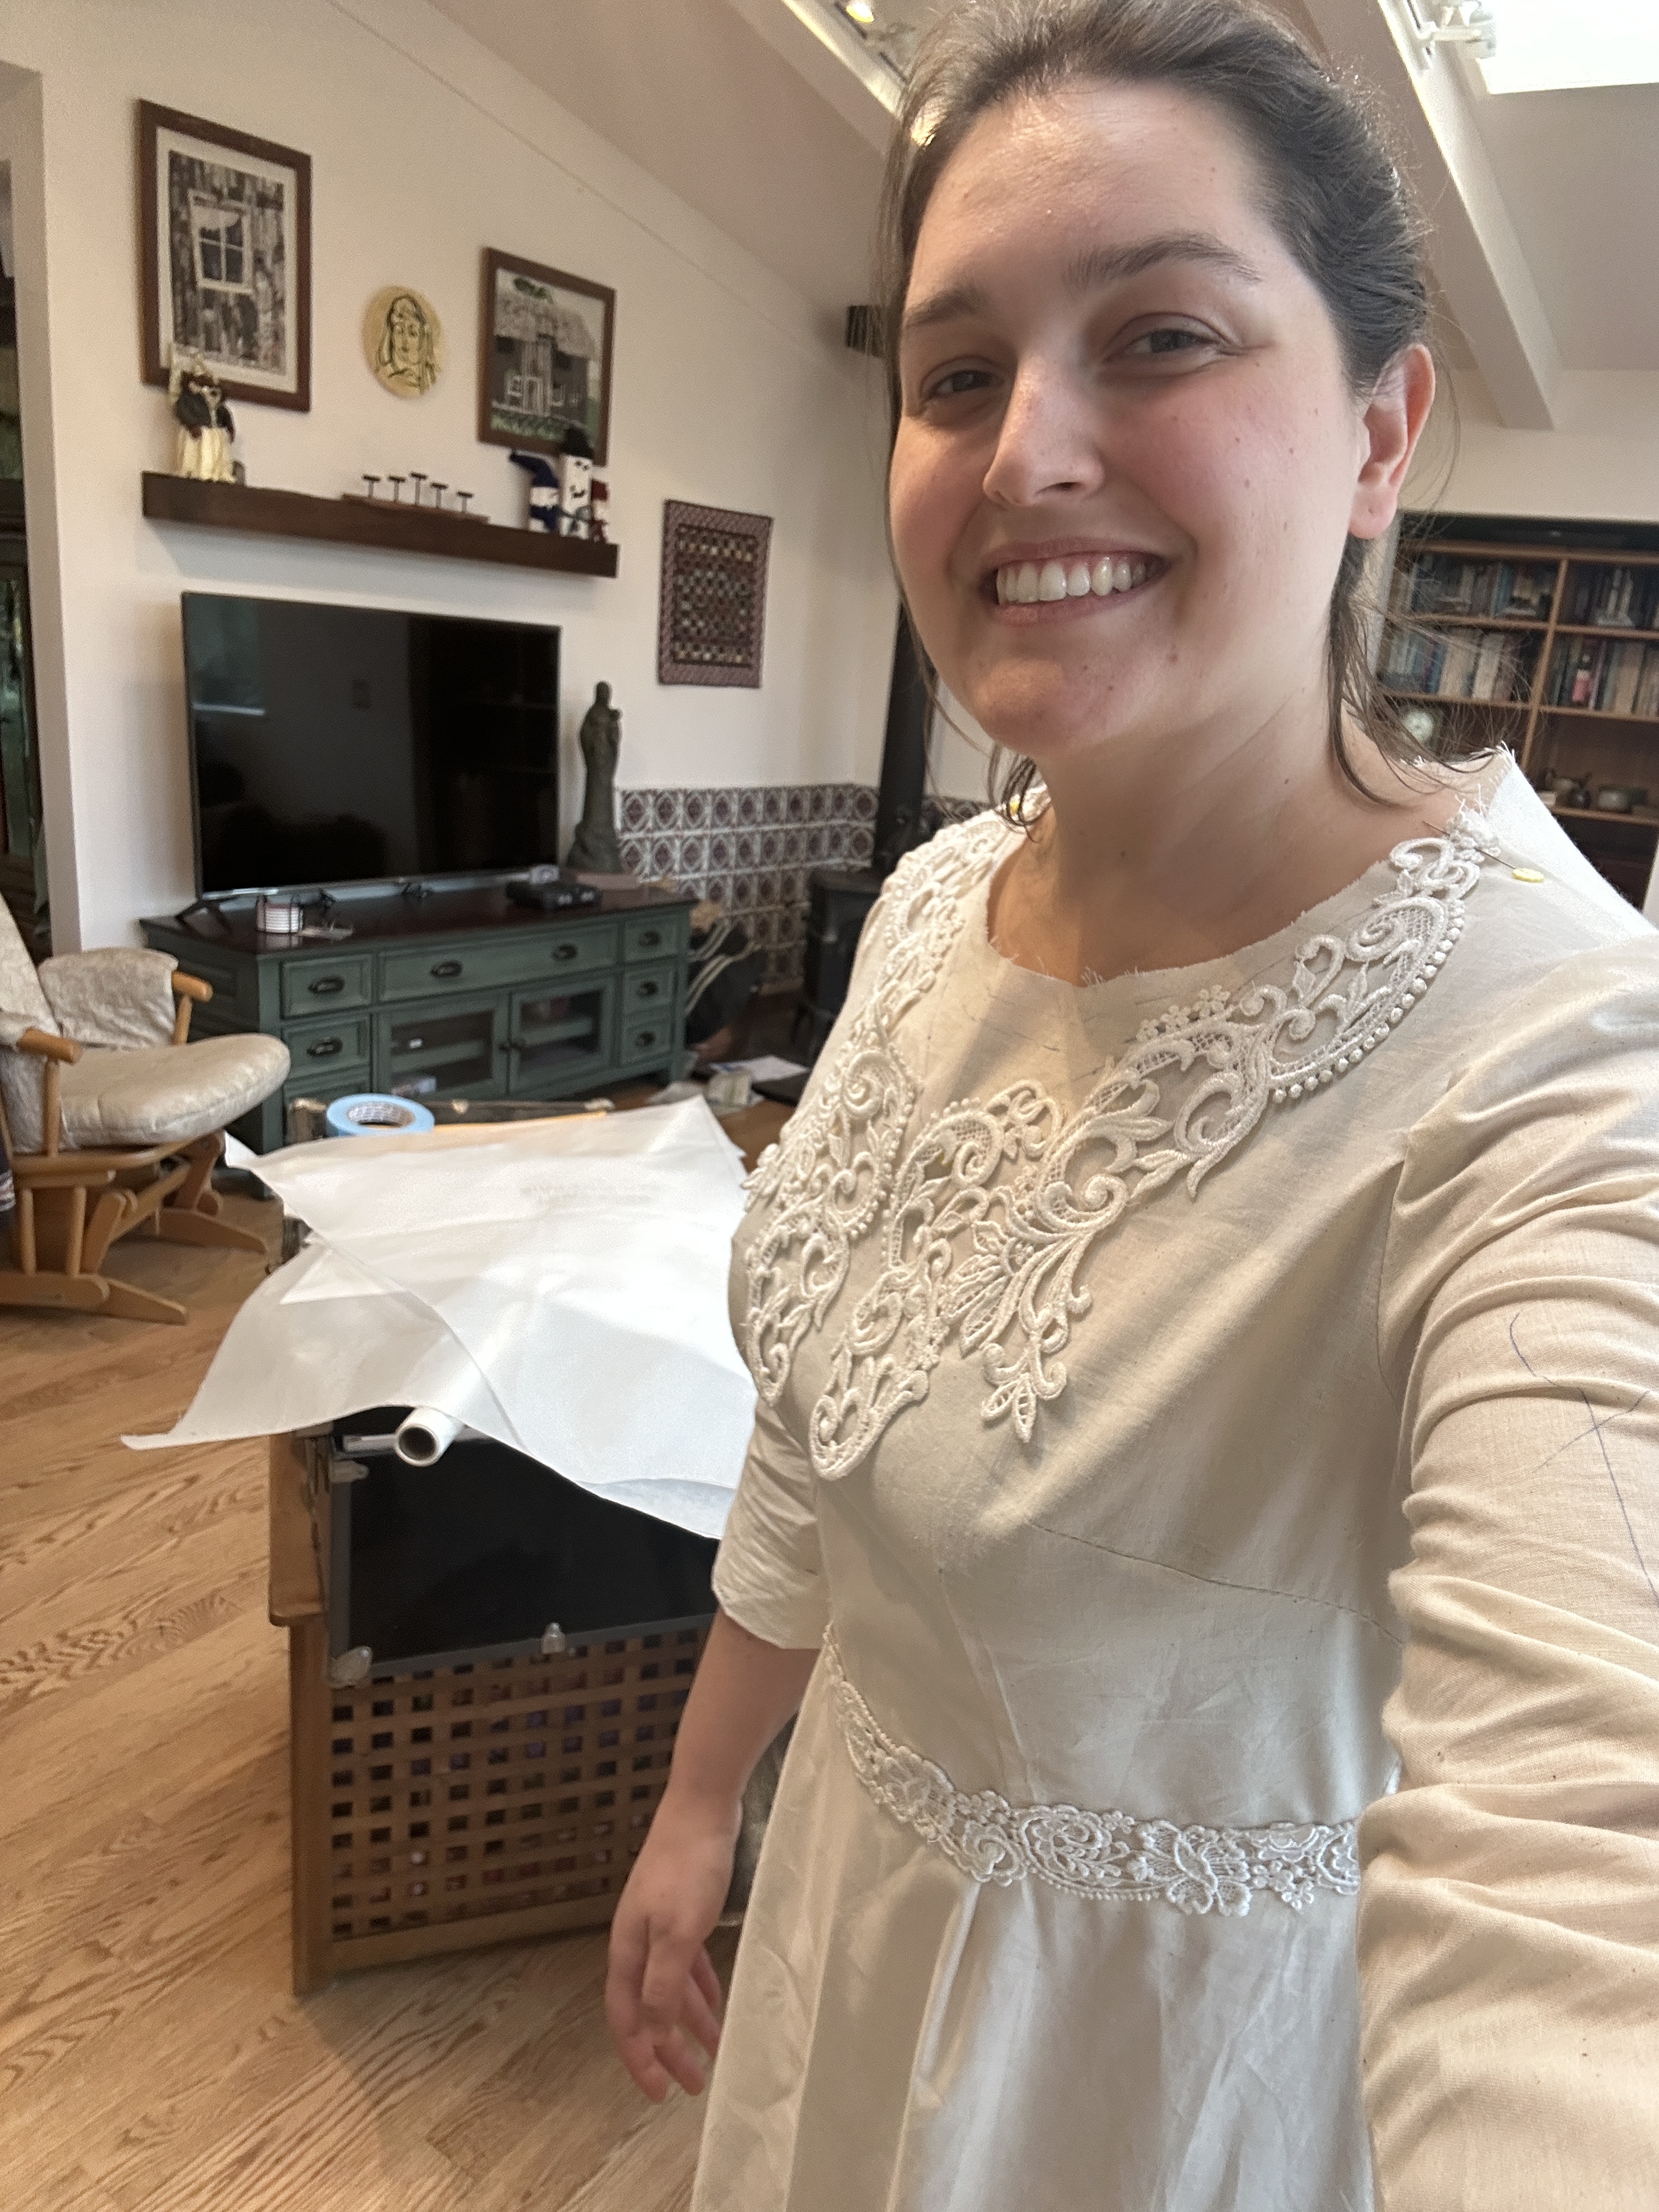
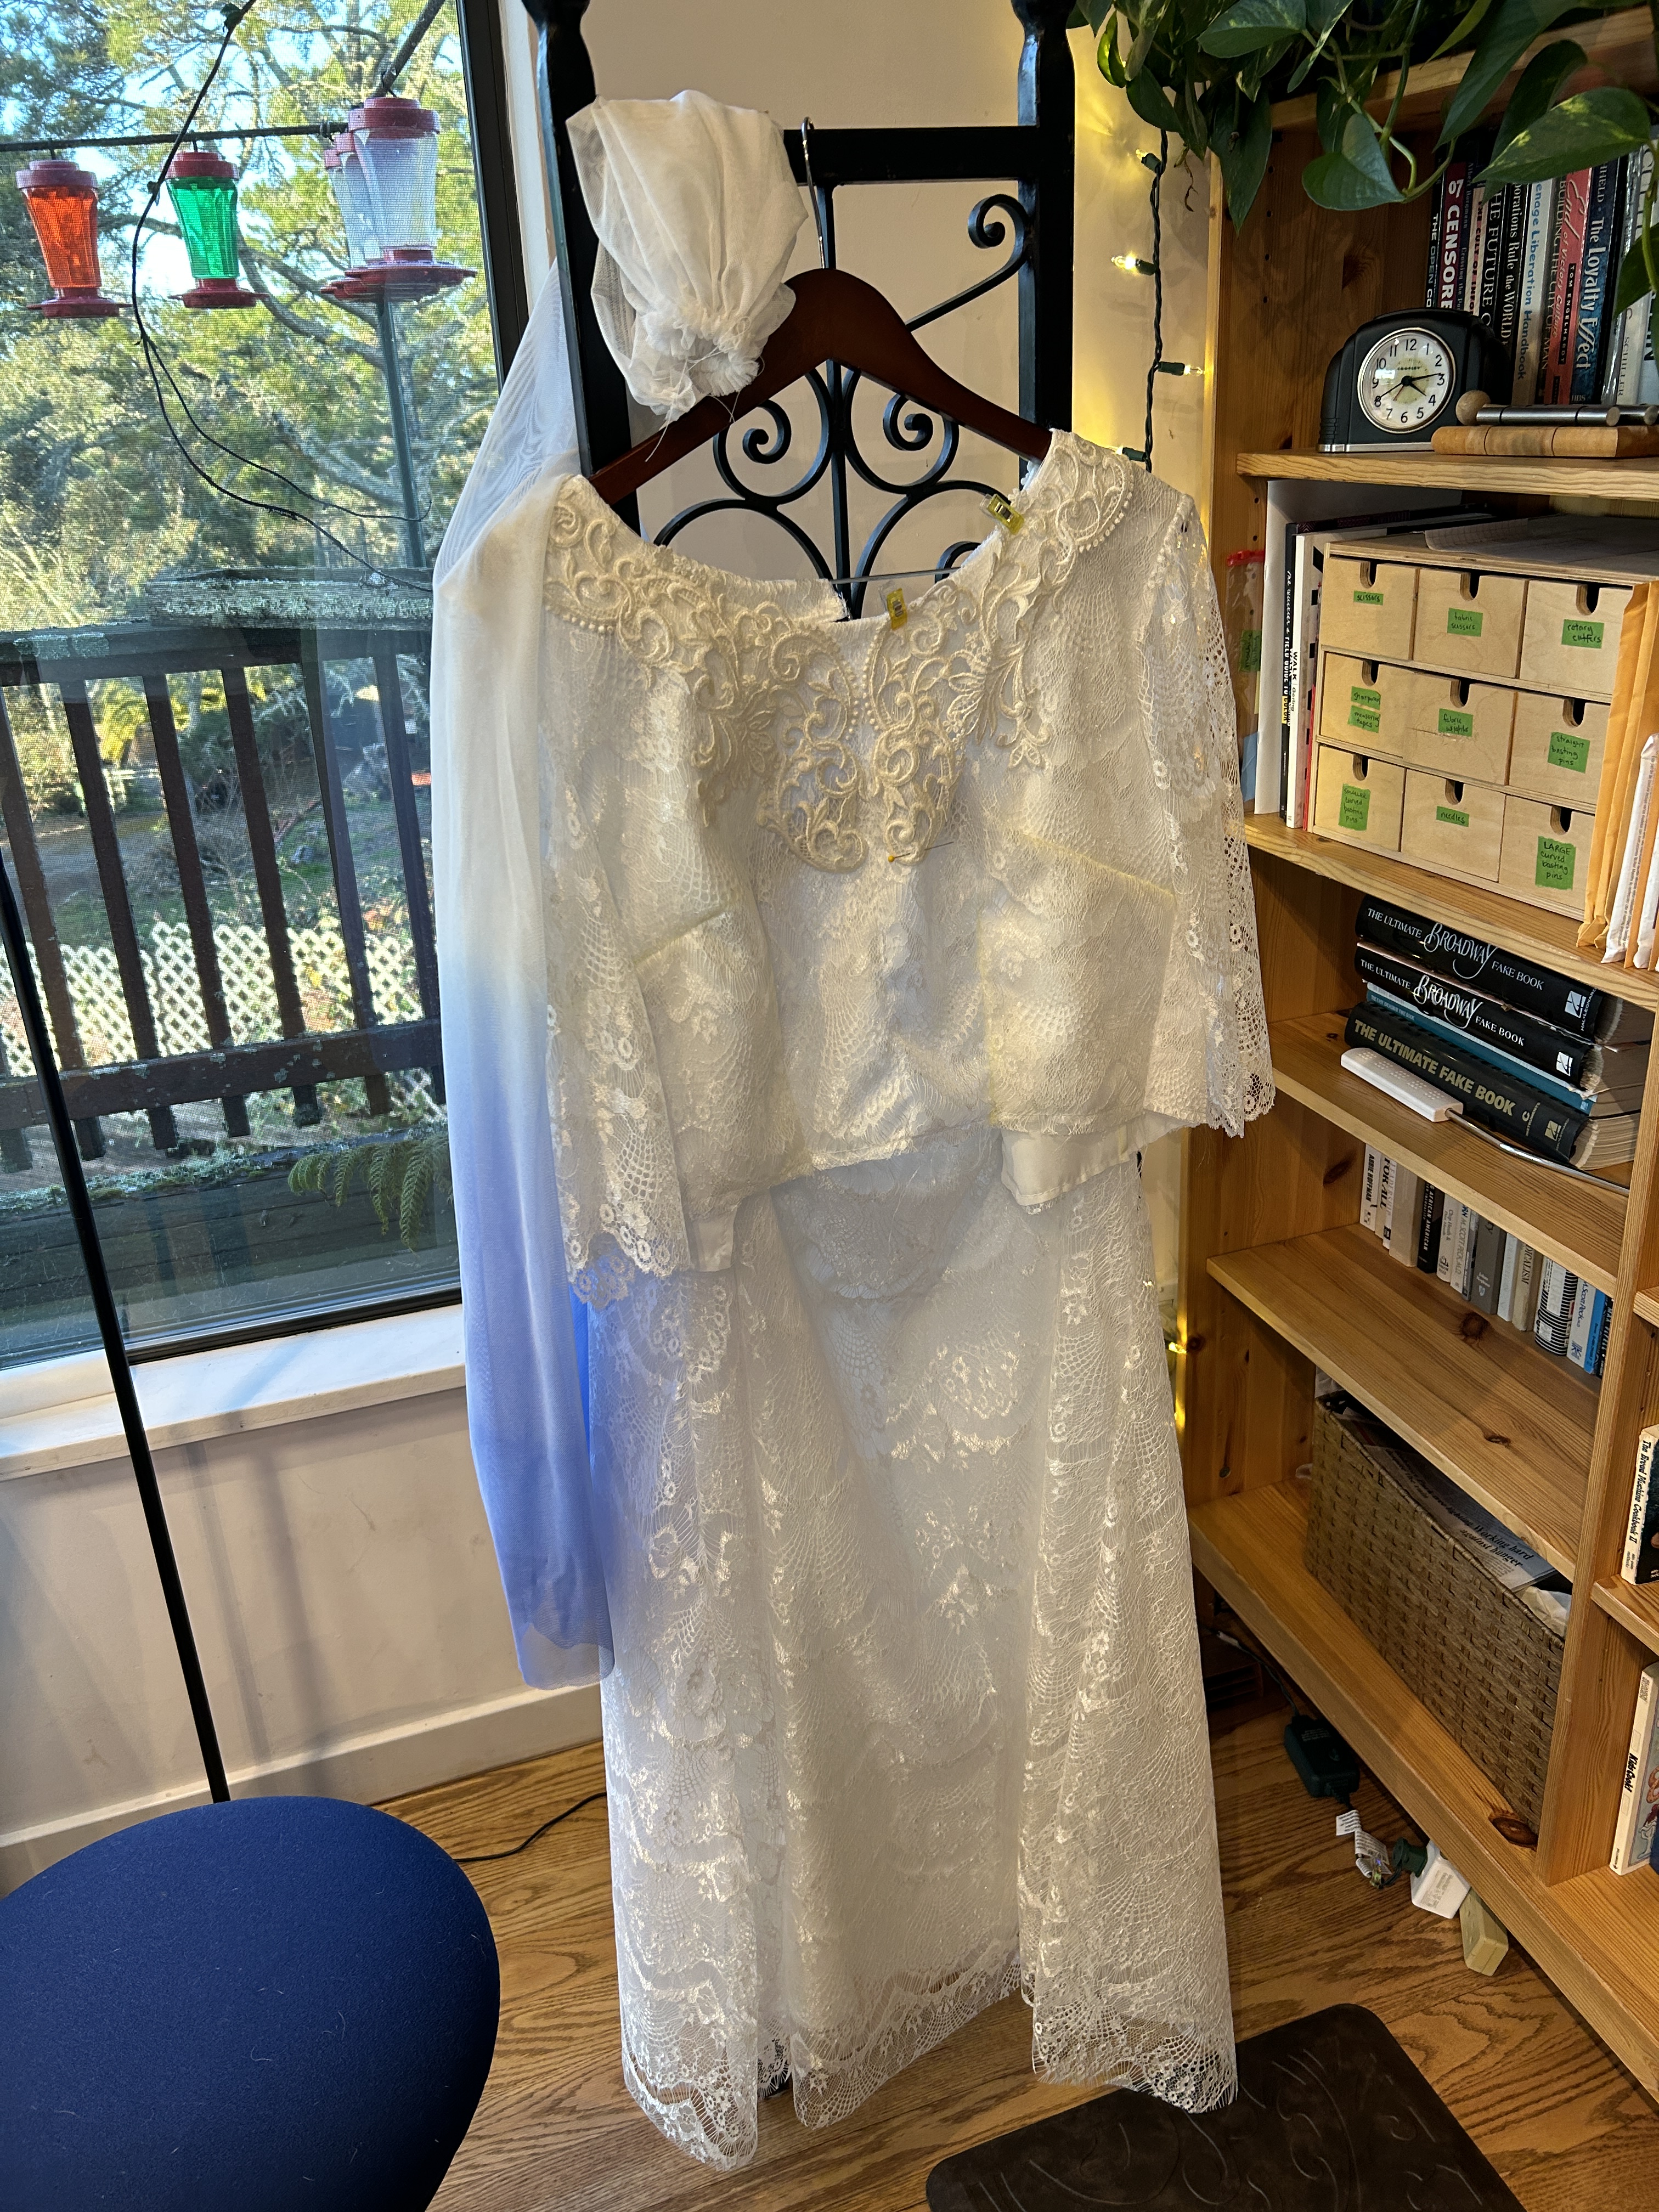
As I talked with my mom about my plans she brought out her old wedding dress to see if there was any chance it would fit me but it was clearly too small. Undeterred, I looked at the construction to see if it could be made larger but trying to match the color of the aged fabric would be nearly impossible and whitening it had the potential to destroy the fabric, both seemed like foolish endeavors. The lace notions around the waist and the neckline of the dress, however, could easily be transferred to a new dress. With painstaking care and a seam ripper, I strained my eyes as I carefully parted the lace from the dress.
I ended up with four patterns that I liked (The Lorrene, Badgley Mischa Lined Dress, SewingCraftPatterns Wedding Dress, and Lekala 5530) and from those, I chose two and bought the patterns which were printed on 8.5 x 11 sheets of paper then painstakingly taped together.
In taping the pattern pieces together I was able to get a sense of the difficulty level of sewing the dresses. At this point it was October and the first wedding party would be in December, I would likely have three weeks to make my dress between Thanksgiving and Christmas when my grad school coursework slowed down enough to give me time to focus on the dress. Making both dresses in that time frame was clearly not feasible so I picked the dress that would allow me to use the lace notions, was preferred by my partner, and was a shorter dress (more my style).
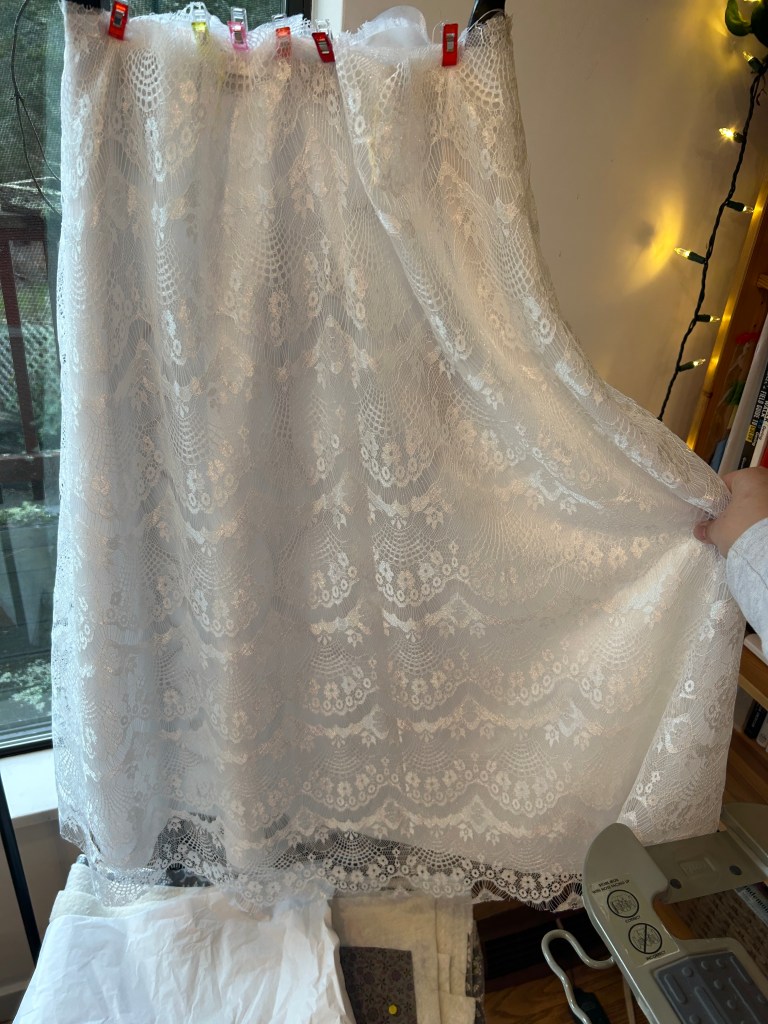
Then we took a trip to JoAnn’s to find fabric. The advantage of living in the Midwest is that you’re often near a fabric warehouse of some sort with fantastic fabric selections. The sad part about living in Southern Indiana is that the nearest fabric warehouse was two hours away and I didn’t have time to go there. So JoAnn’s would have to suffice. Deciding I wanted a white underskirt and a sparkly layer to go over it I was pleased with my selections as I left the store.
Over the following two weeks, as I looked at the pattern and thought more about it, I decided I wanted a lace layer as well. Back to JoAnn’s I went where two feasible options awaited me — one at $30/yard the other at $12. I stuck with the cheaper option which also had a slightly better design.
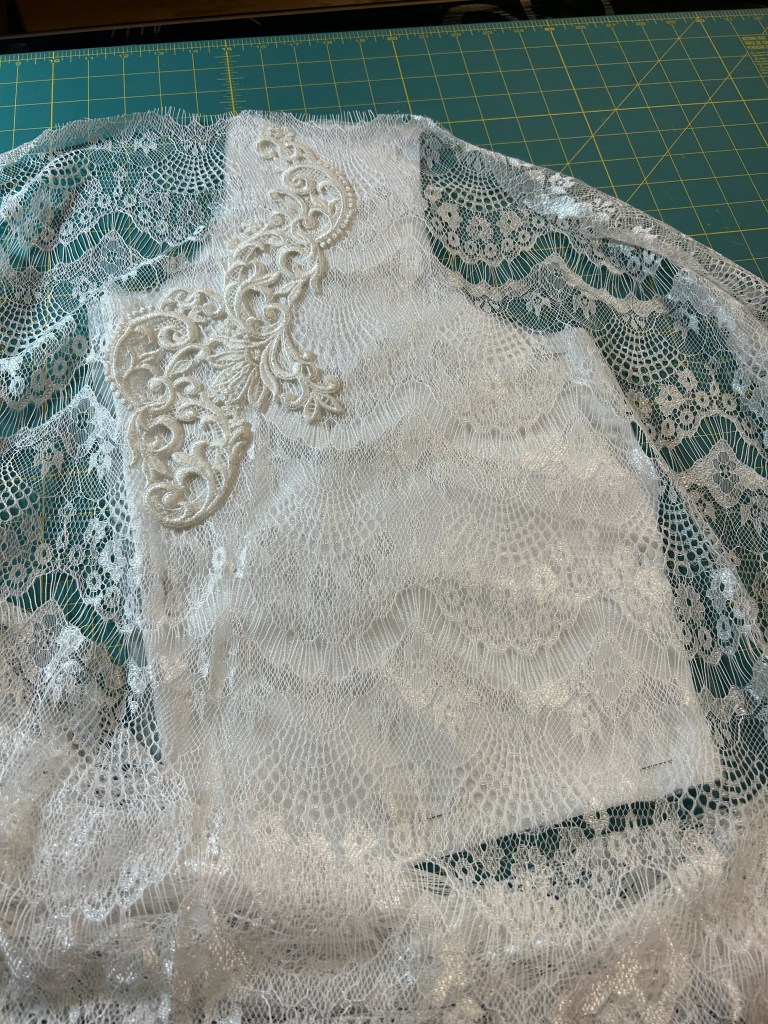
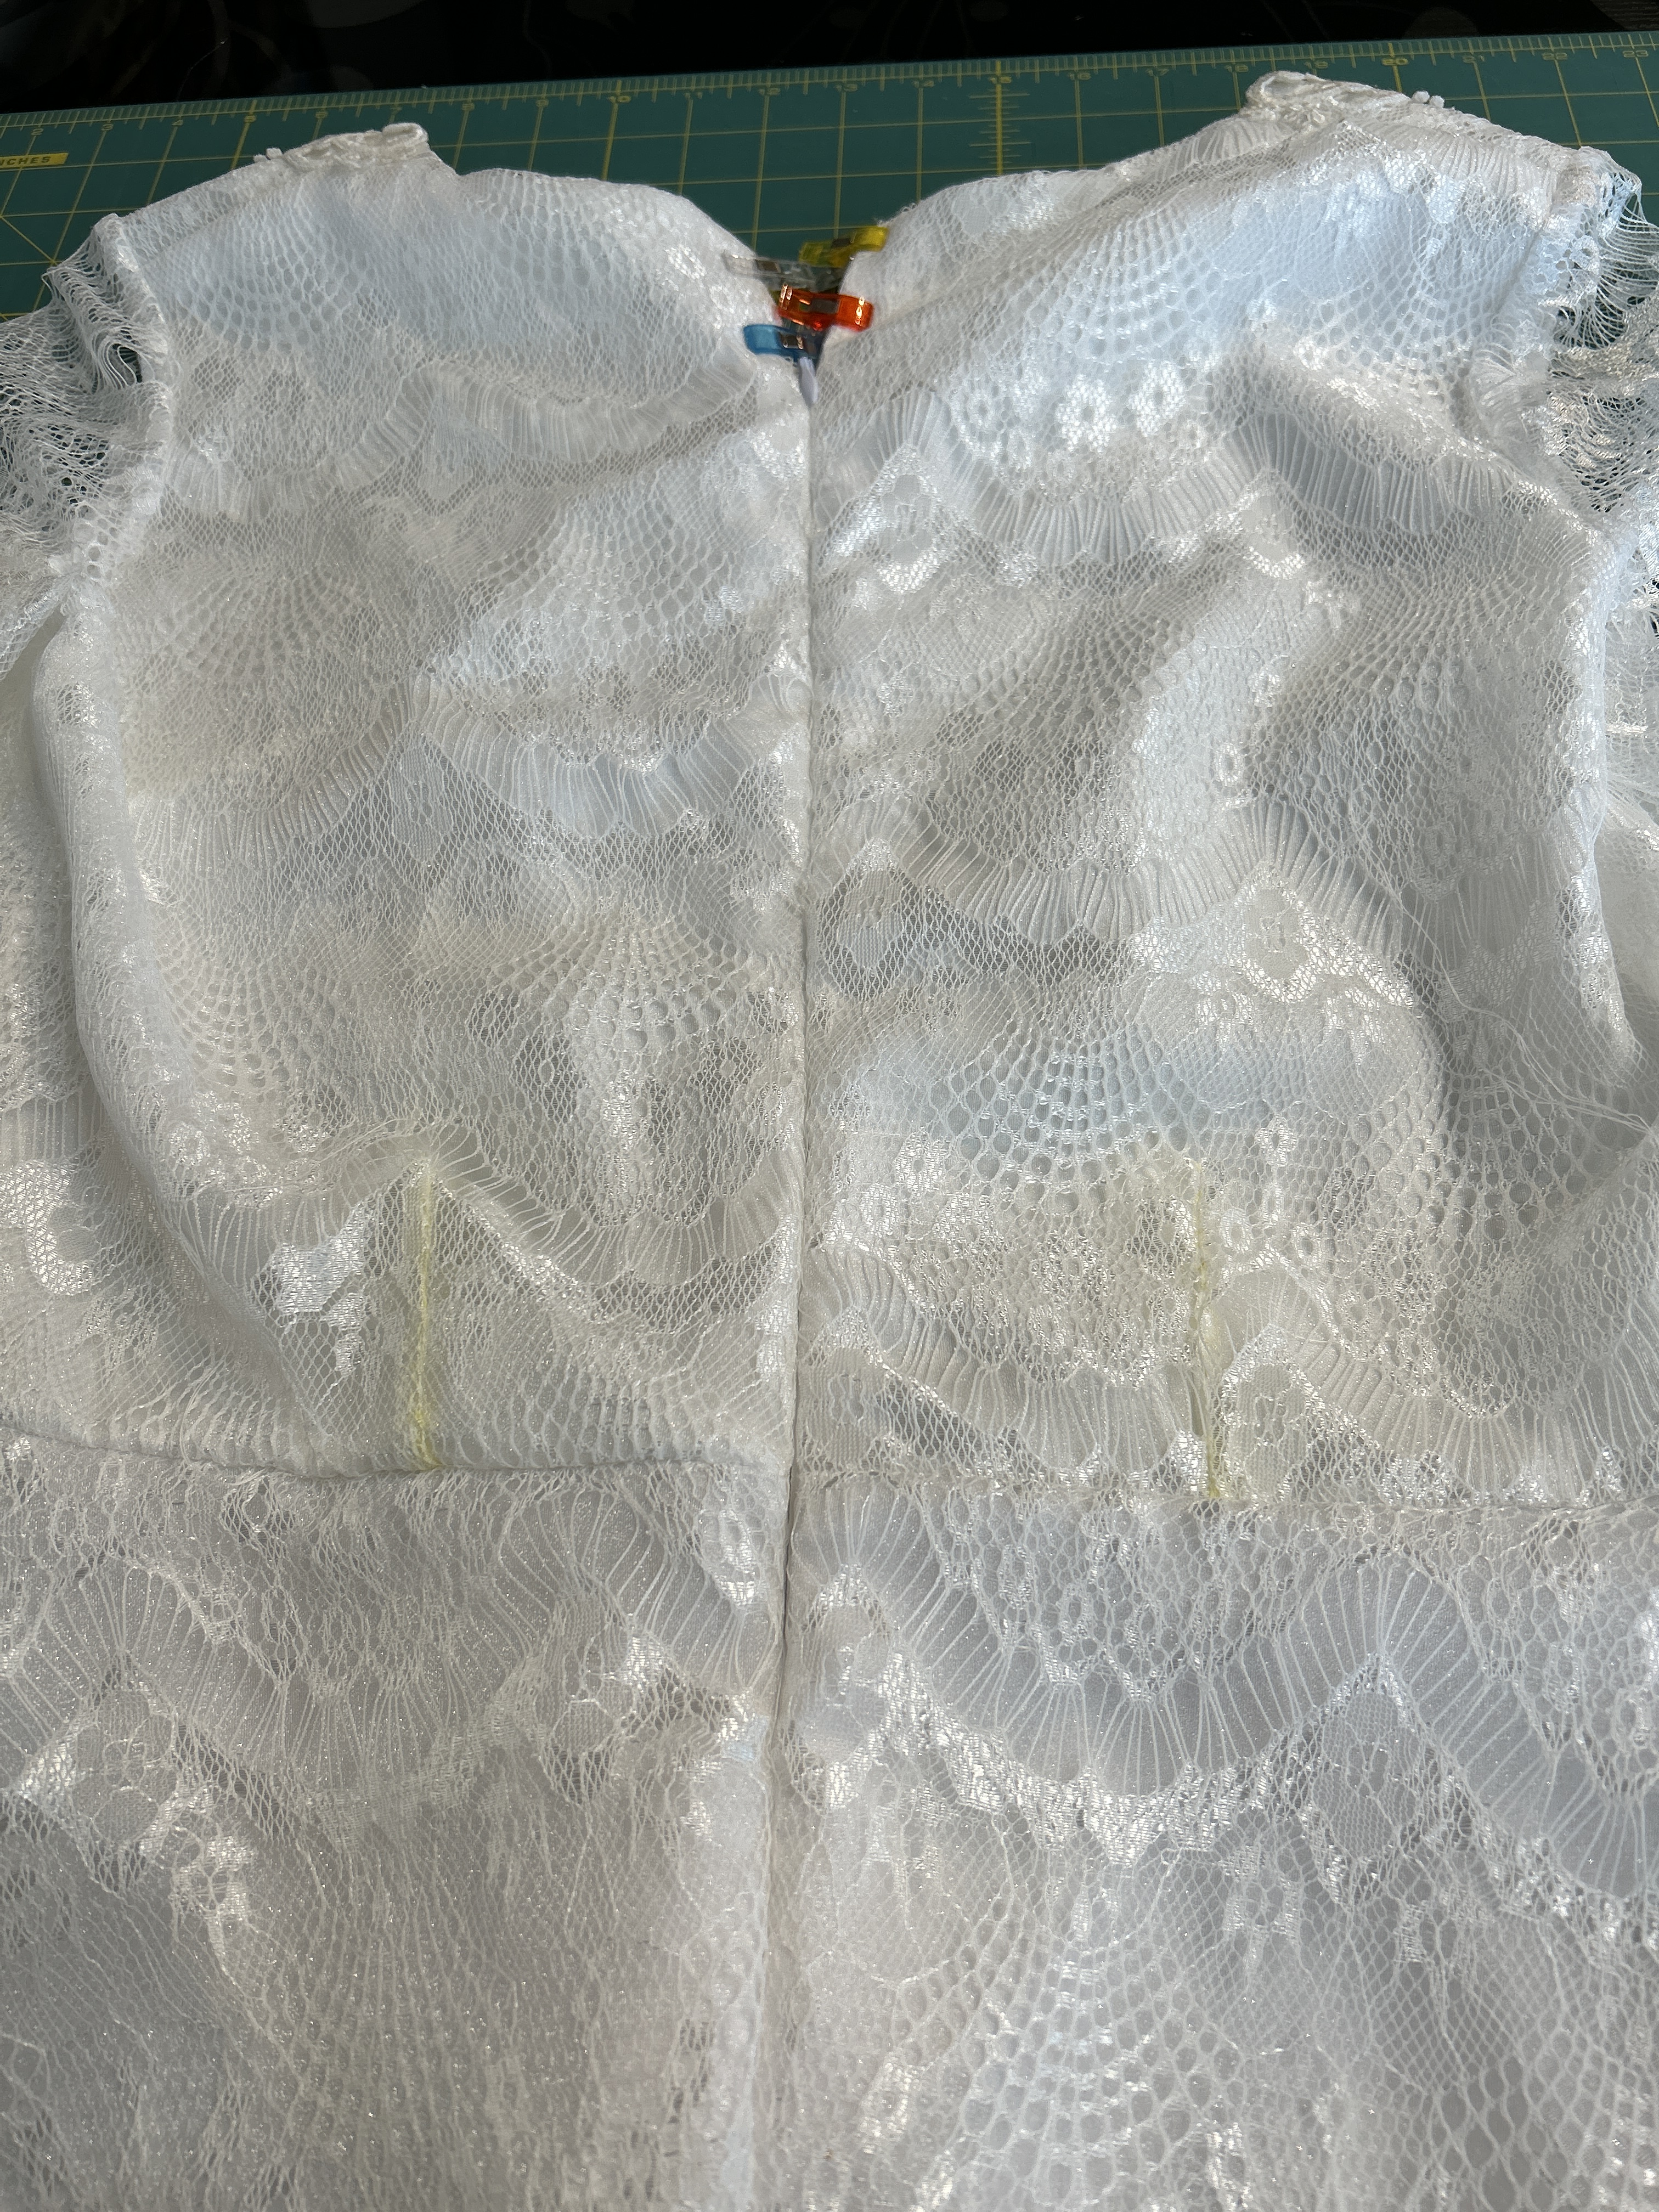
With the lace added on as its own layer, there was some fear of the lace notions now being lost in the lace-on-lace aesthetic, but I was pleased to see that they didn’t feel lost at all with the added layer of fabric.
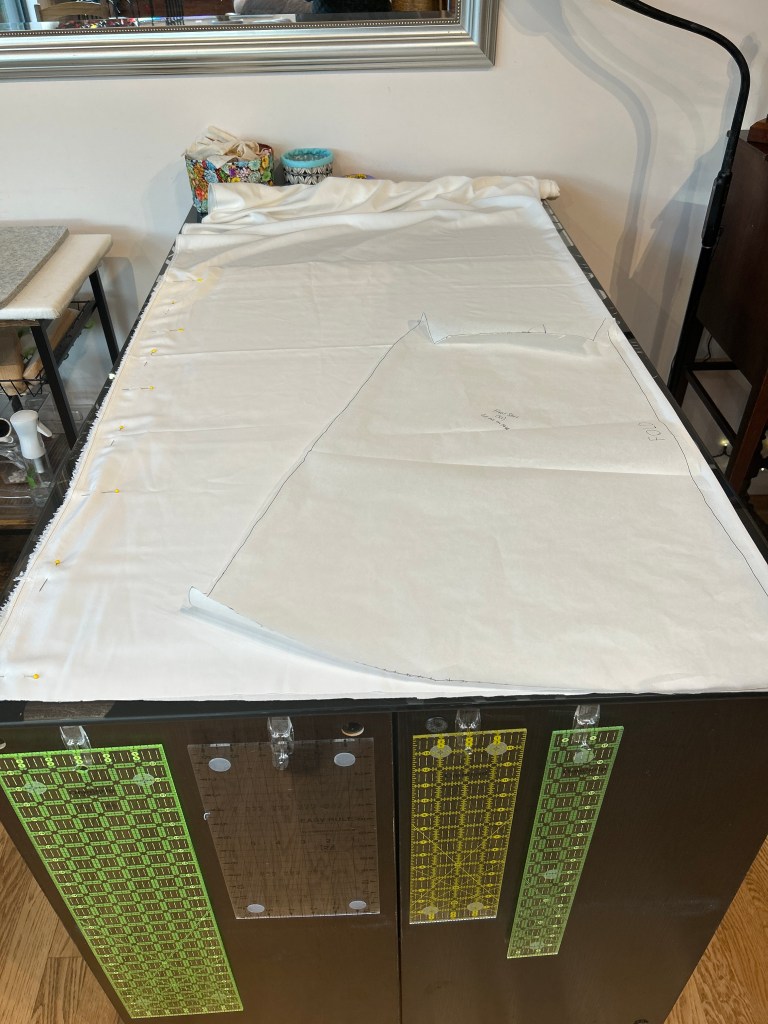
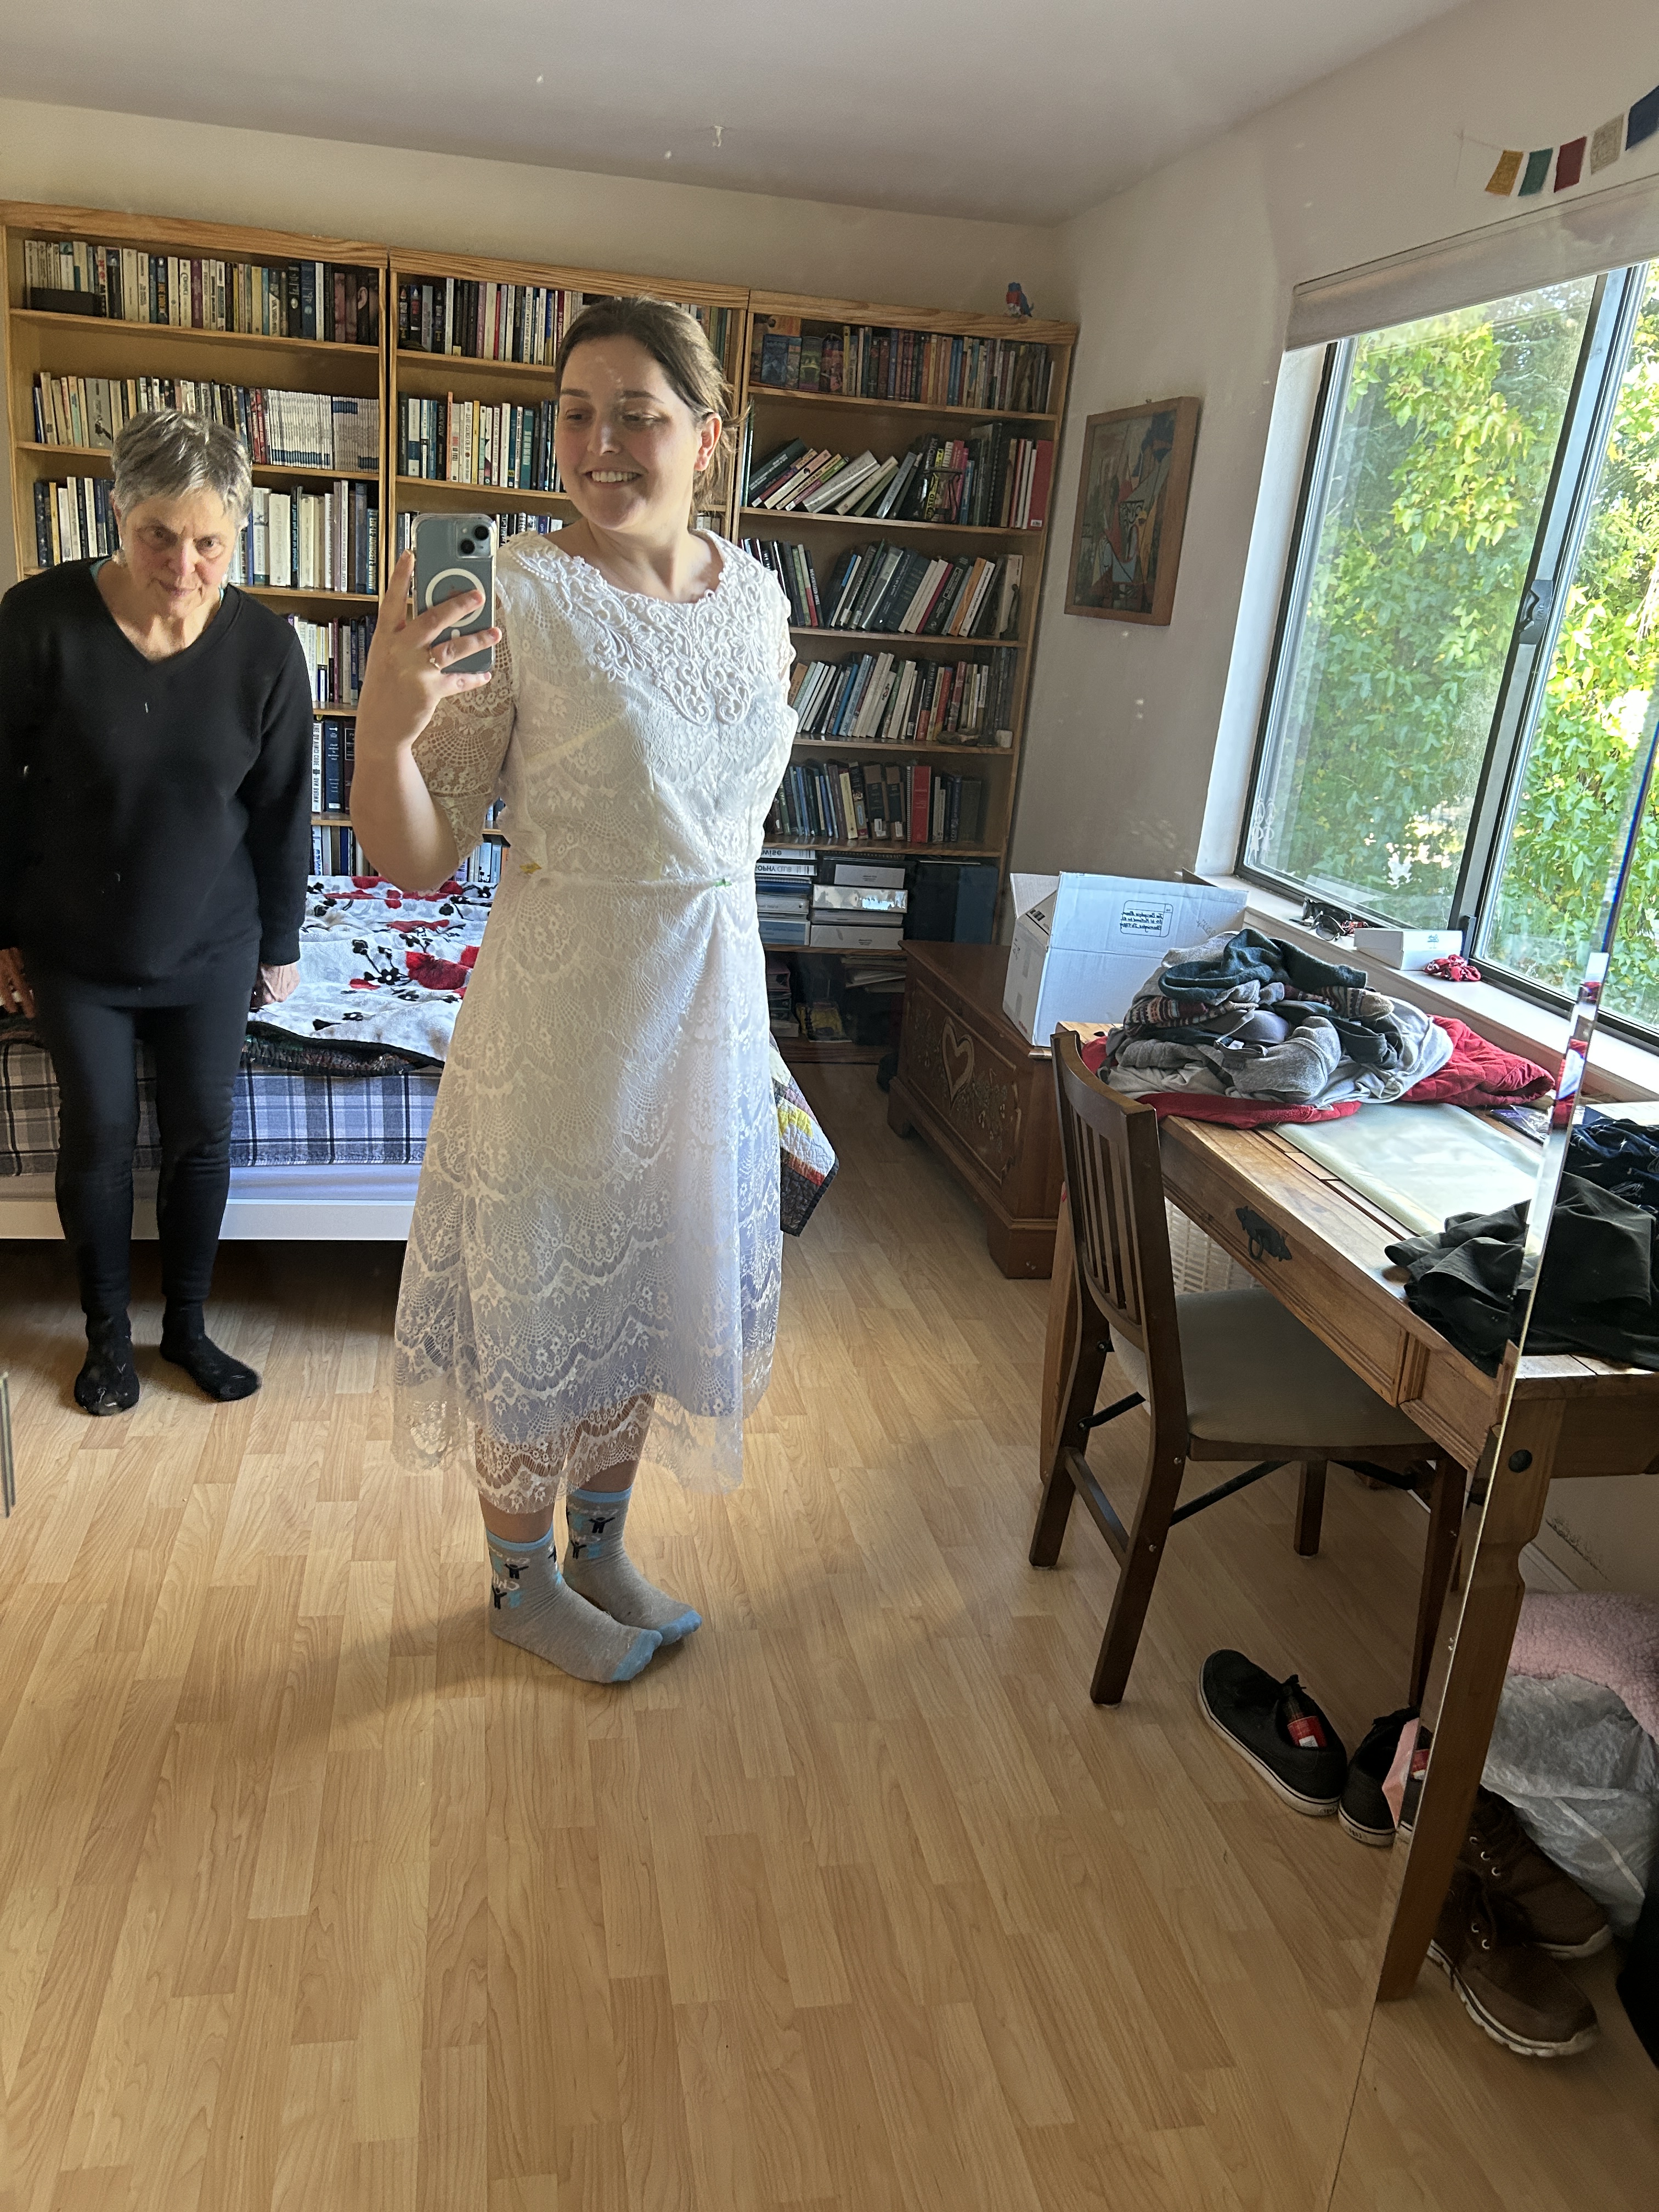
With the fabric purchased, the pattern cut out, and a vision in my head, my aunt and I began to put together a muslin dress so we could edit the pattern pieces to get the fit right.
As with most patterns that we work on these days, there was some adjustment needed. Creating the muslin dress showed us all the alterations that would be needed for the pattern and, after adjusting the fabric so the fit was right, we pulled the dress apart and then re-cut the pattern pieces based on the fabric. In the end, we shortened the skirt, lowered the neckline, adjusted the waist, and added sleeves from a different pattern.
Overall the muslin dress took us about eight hours to complete, bringing the work on the dress up to about 16 hours on its way to close to fifty hours of work, but at the time it felt like we were making great progress (such is the process of clothes making).
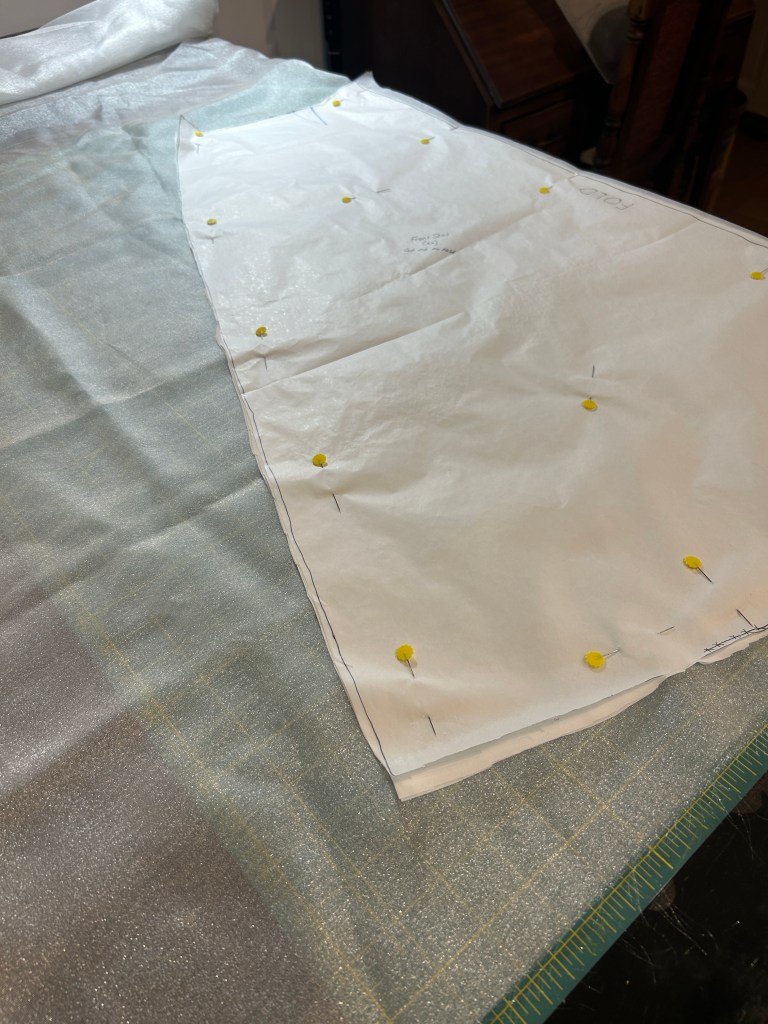
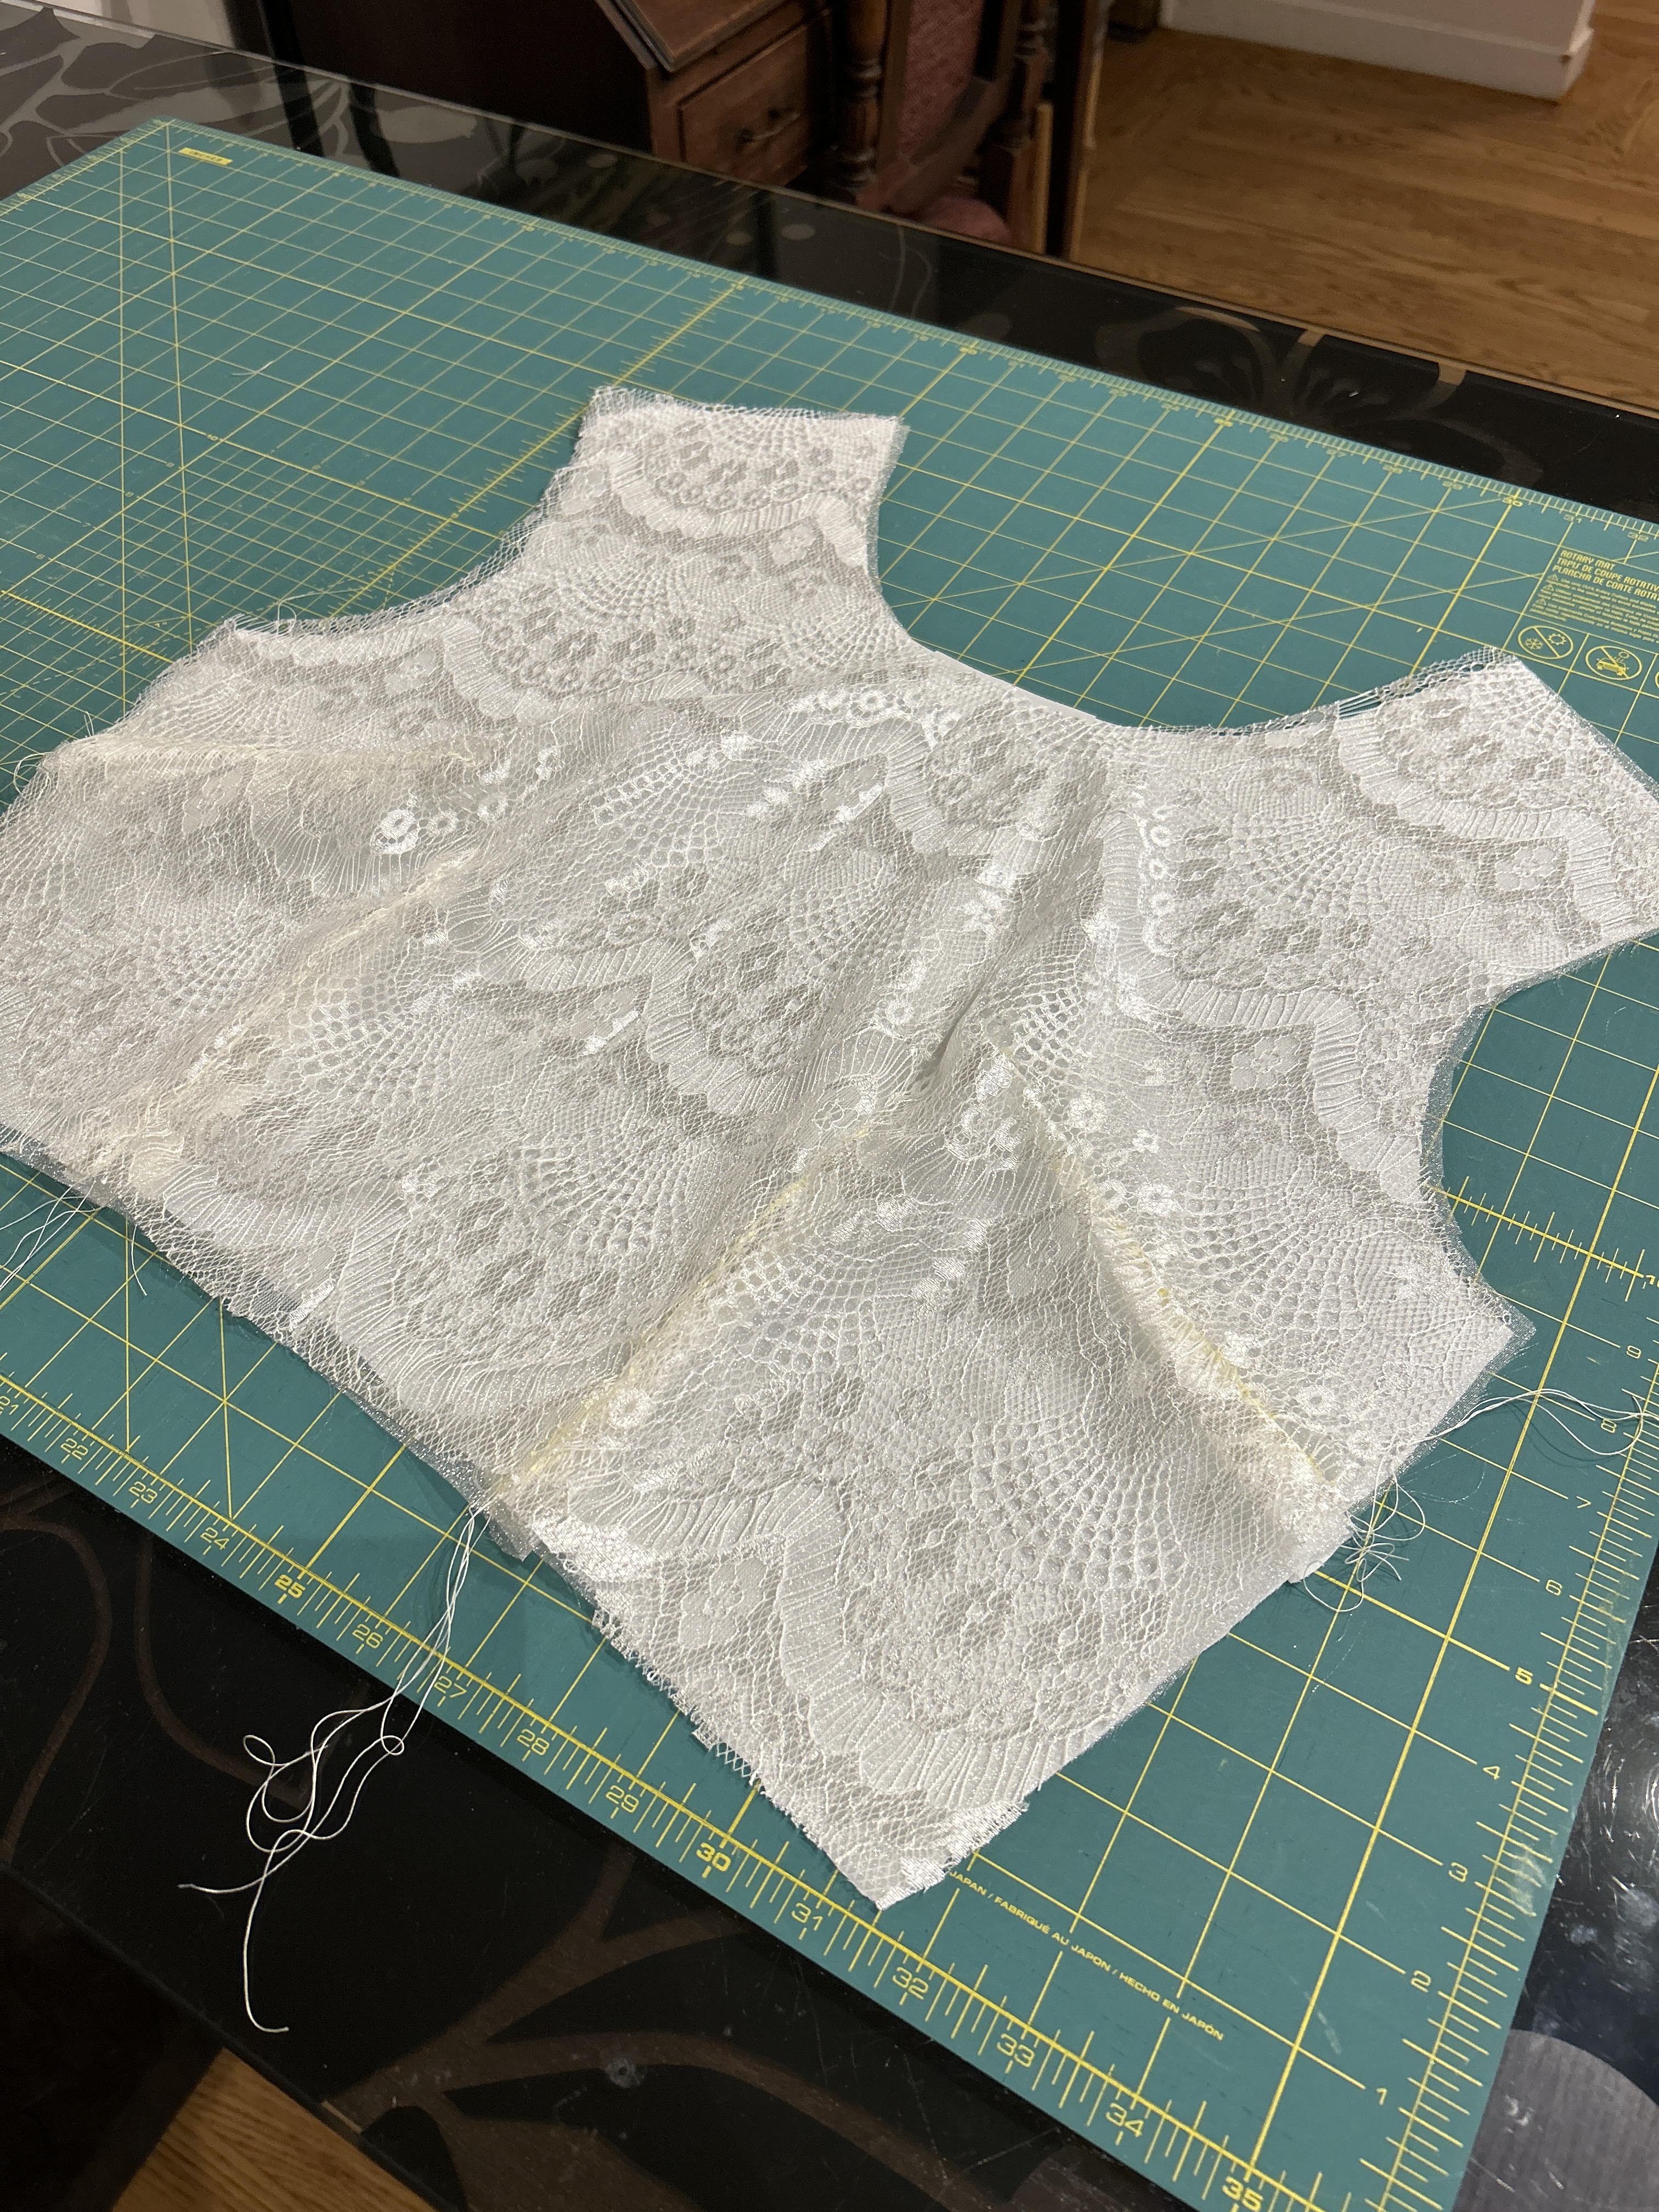
With the pattern pieces finalized, it was now my job to get the fabric cut before our next get-together so we would be able to go straight to the sewing. With three layers of fabric, I was essentially cutting out three dresses a task that ended up taking me another half day to complete. Feeling successful with my cutting, and hoping to give us more time to sew, I also went ahead and added the darts to the dress. and basting all of the layers together for each pattern piece.
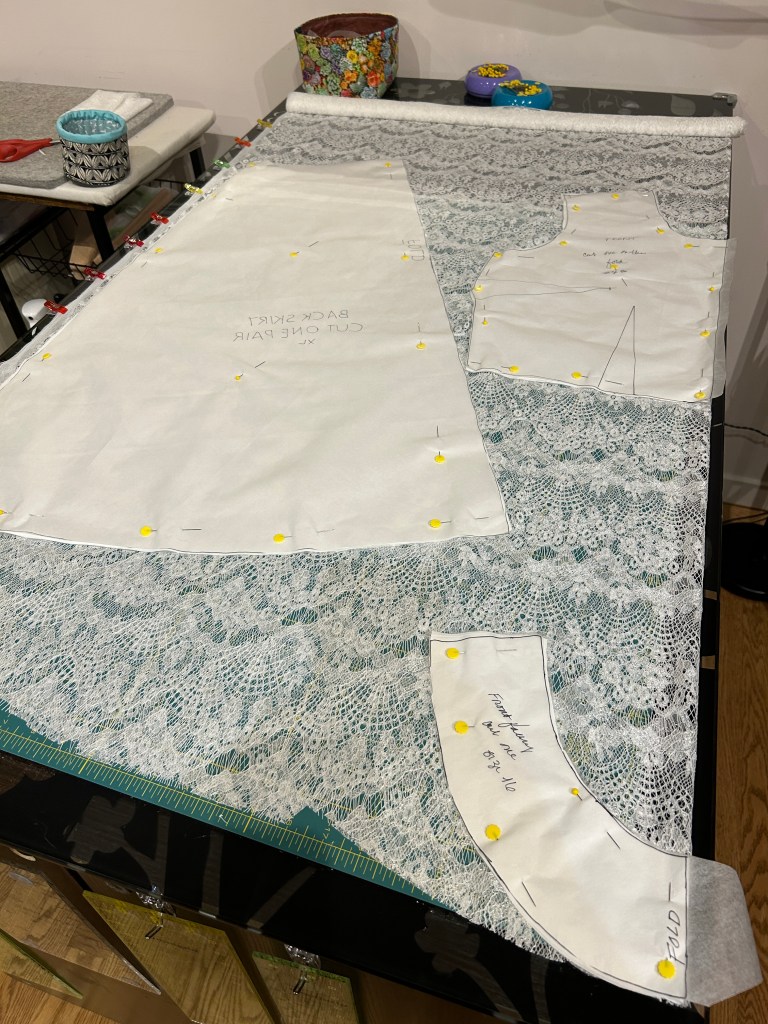

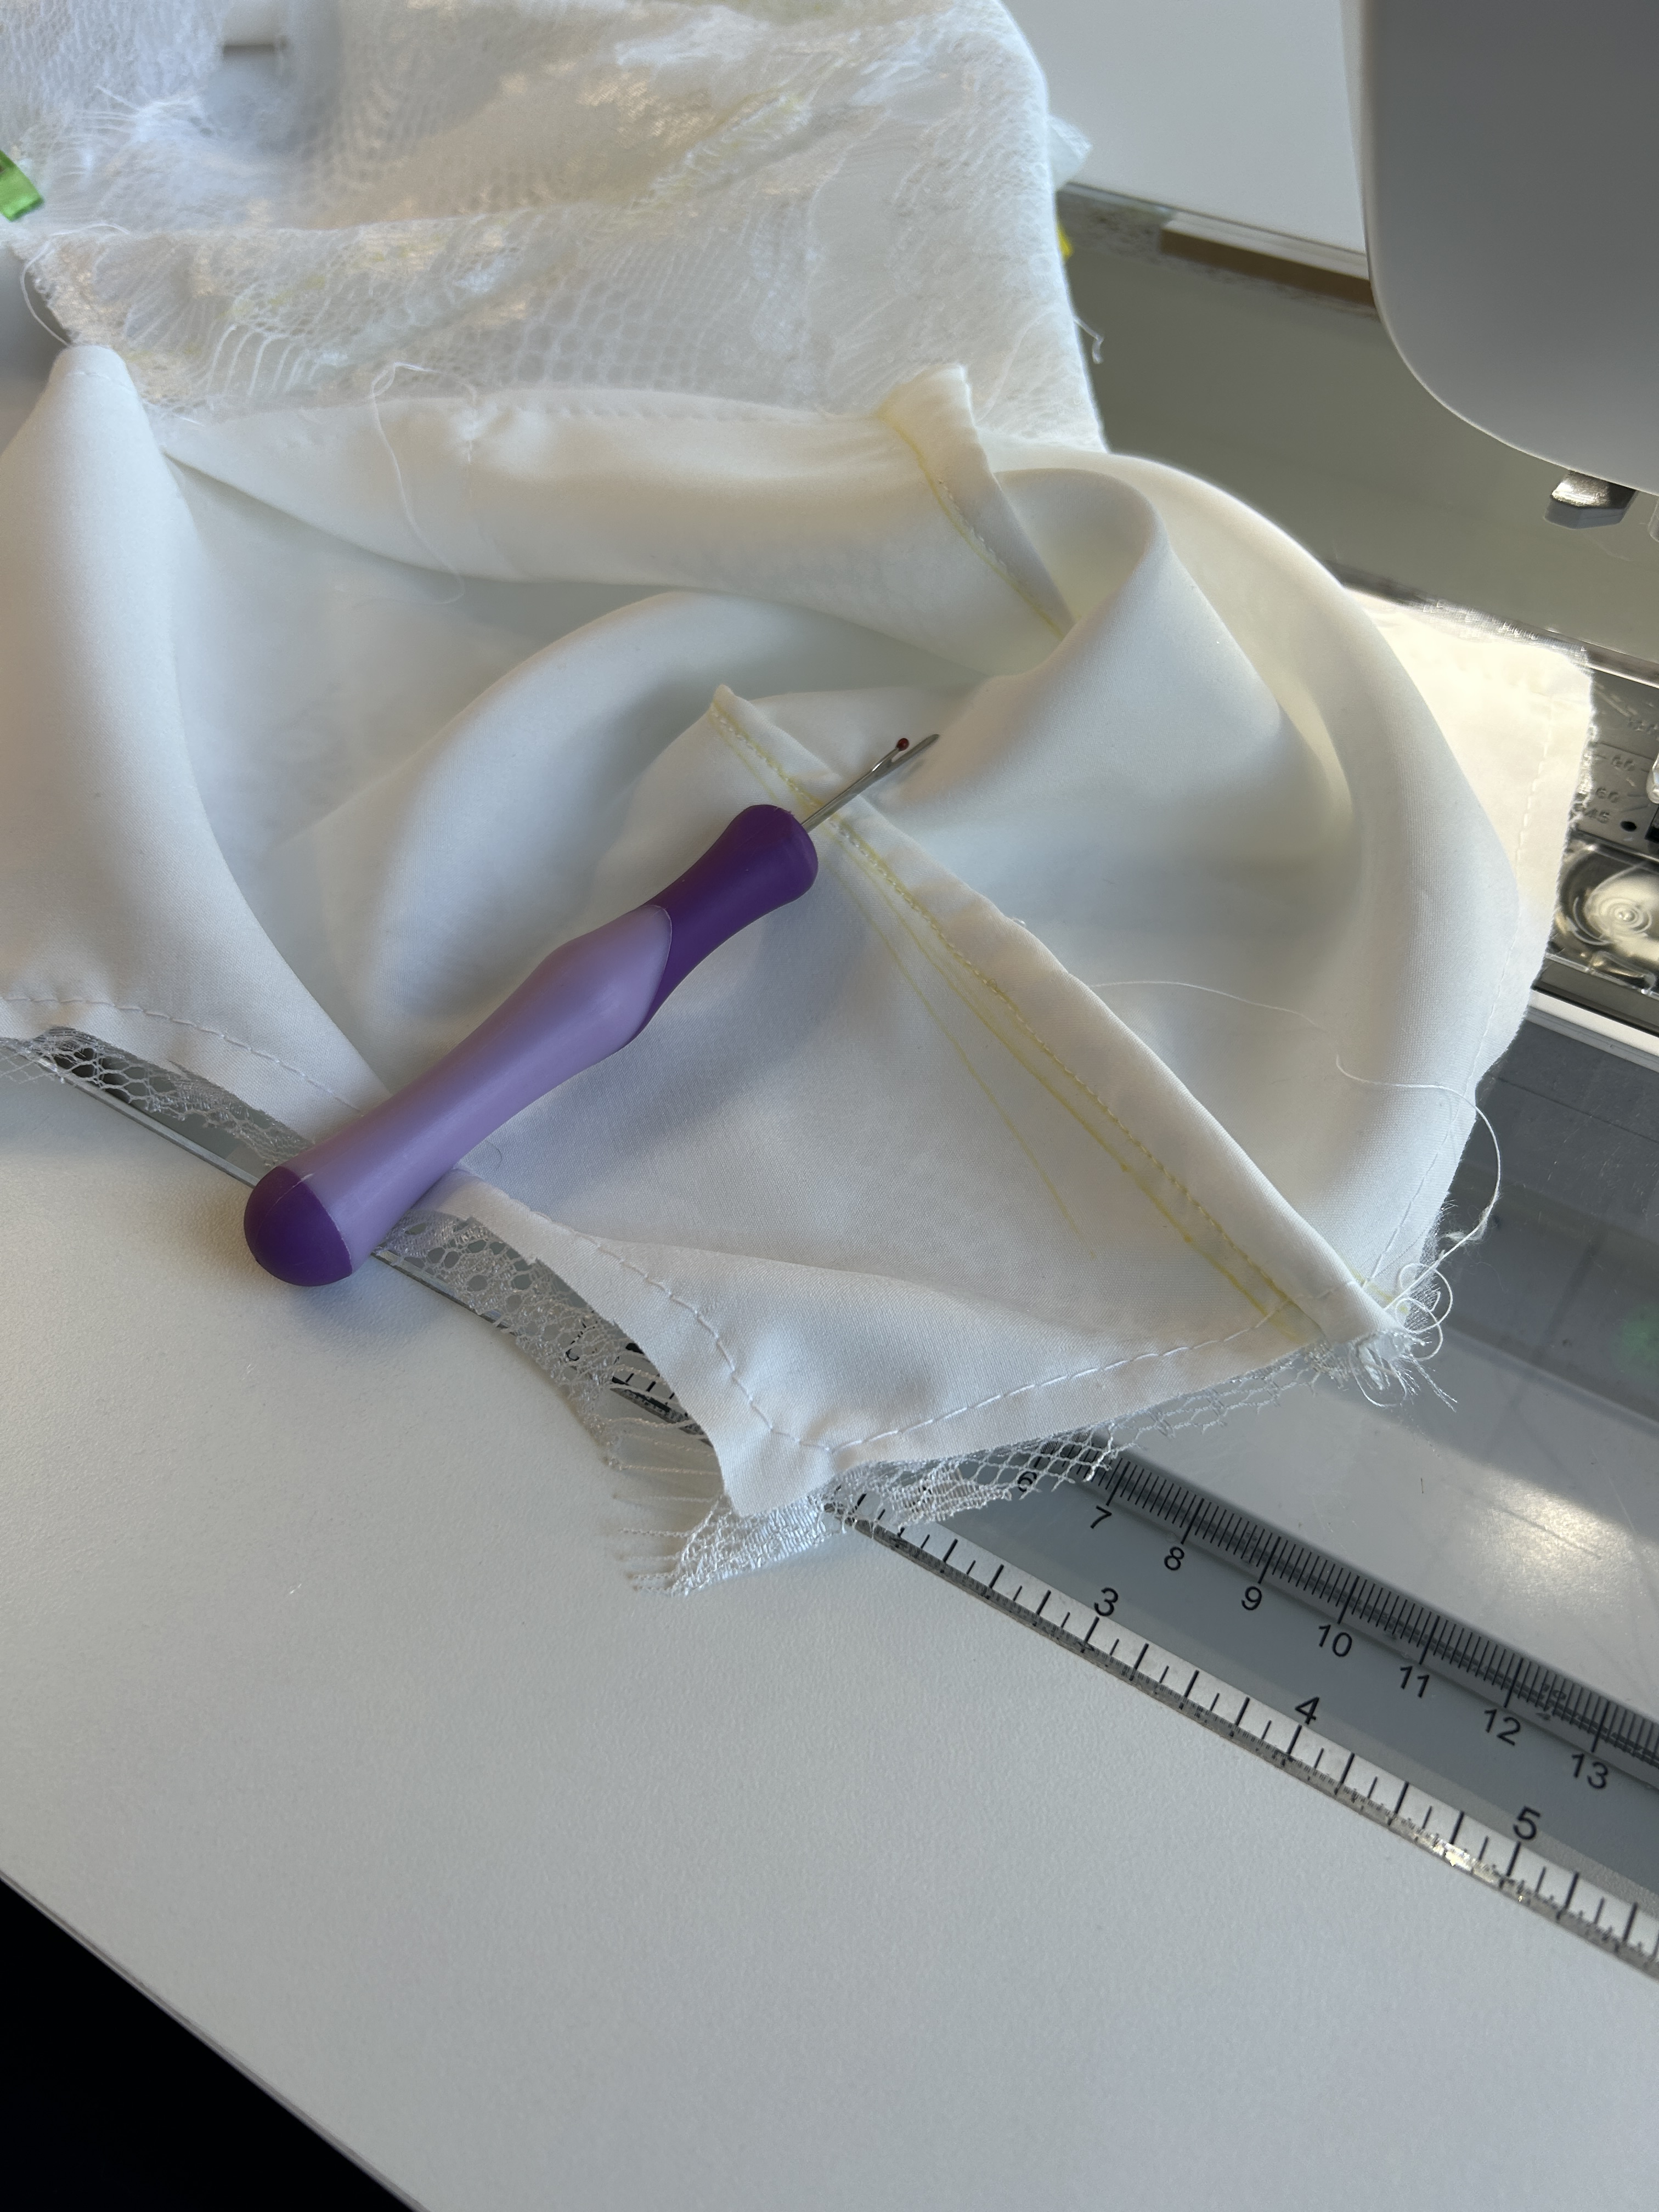
Having never done three layers before, I sewed darts as I would for one layer of clothing — all of the layers separate, but the close-fitting bodice immediately showed me why that wouldn’t work as the darts became too puffy and did the opposite of their intended purpose. So I pulled out my seam ripper and pulled out all twelve darts, basted the bodice pieces together, and then put the four darts back in. No project is complete without some seam ripping but I was certainly a sad camper as seam ripping on lace fabric is a stressful process.
My other dream for this dress was to find a way to add color to it. With the pieces cut out, I could see it was going to be very, very white. And while I had figured out how to make the other pattern include color, my best hope with this pattern was to dye the skirt in the hopes of achieving an ombre effect.
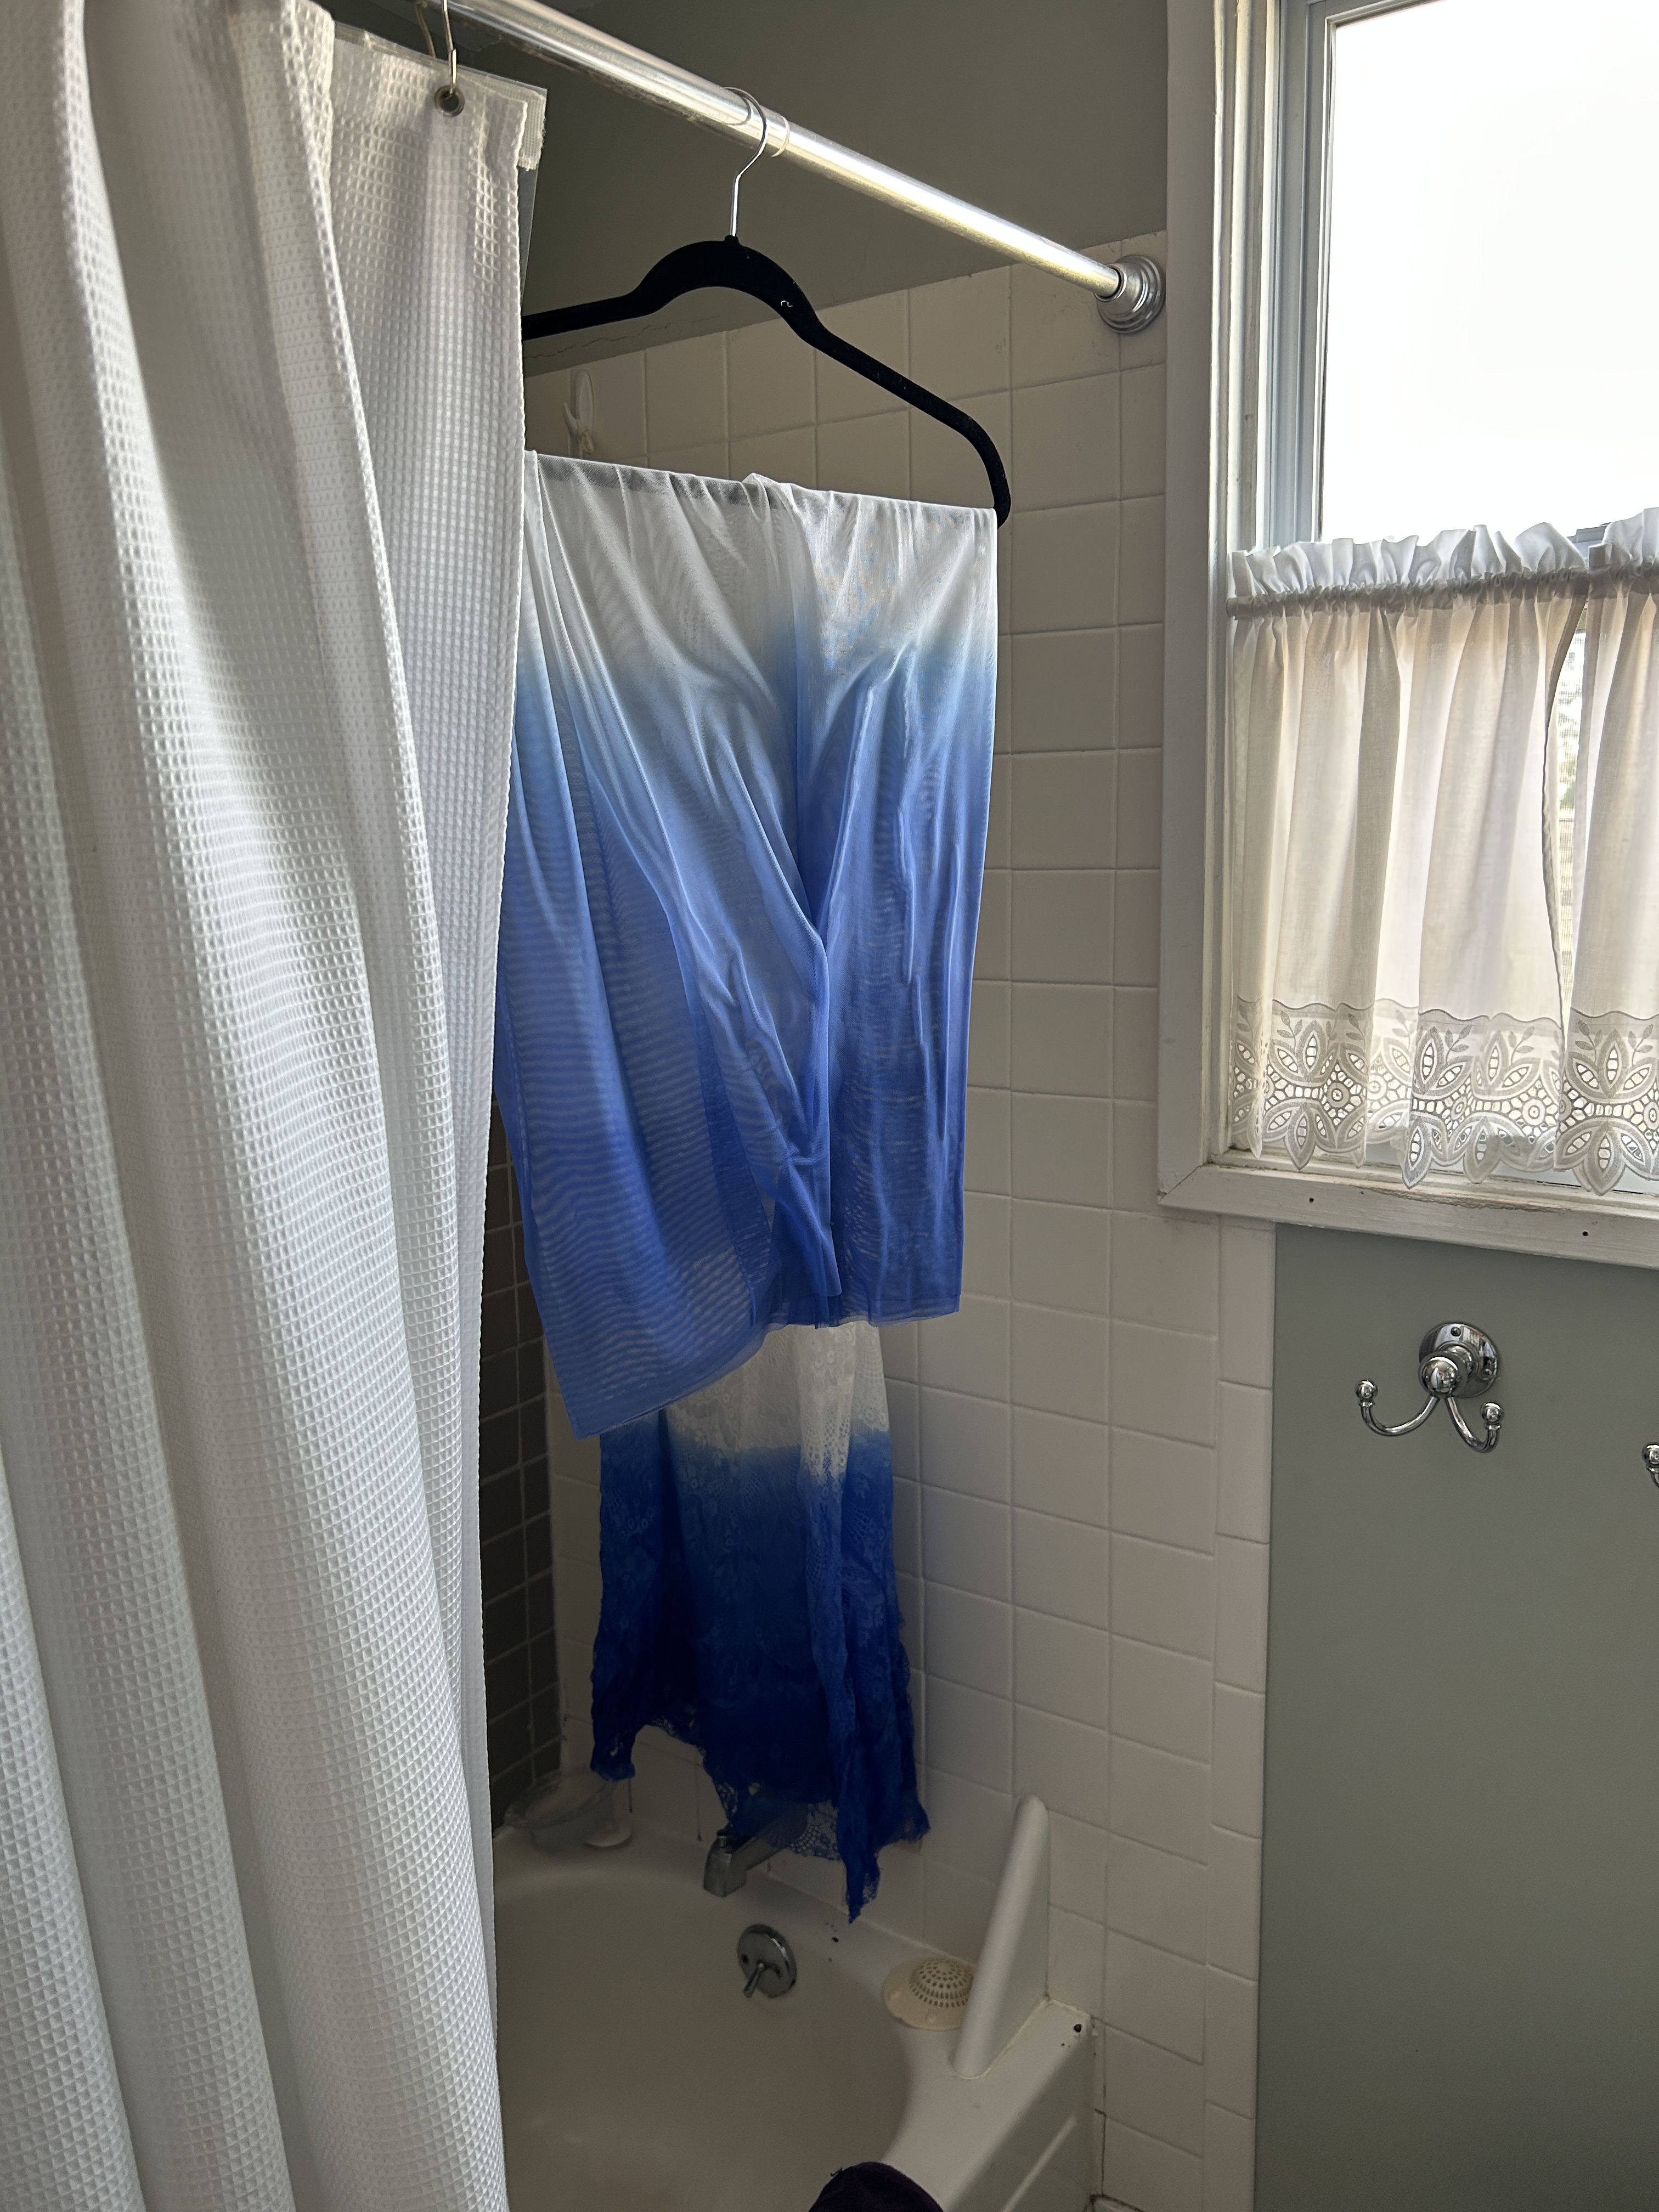
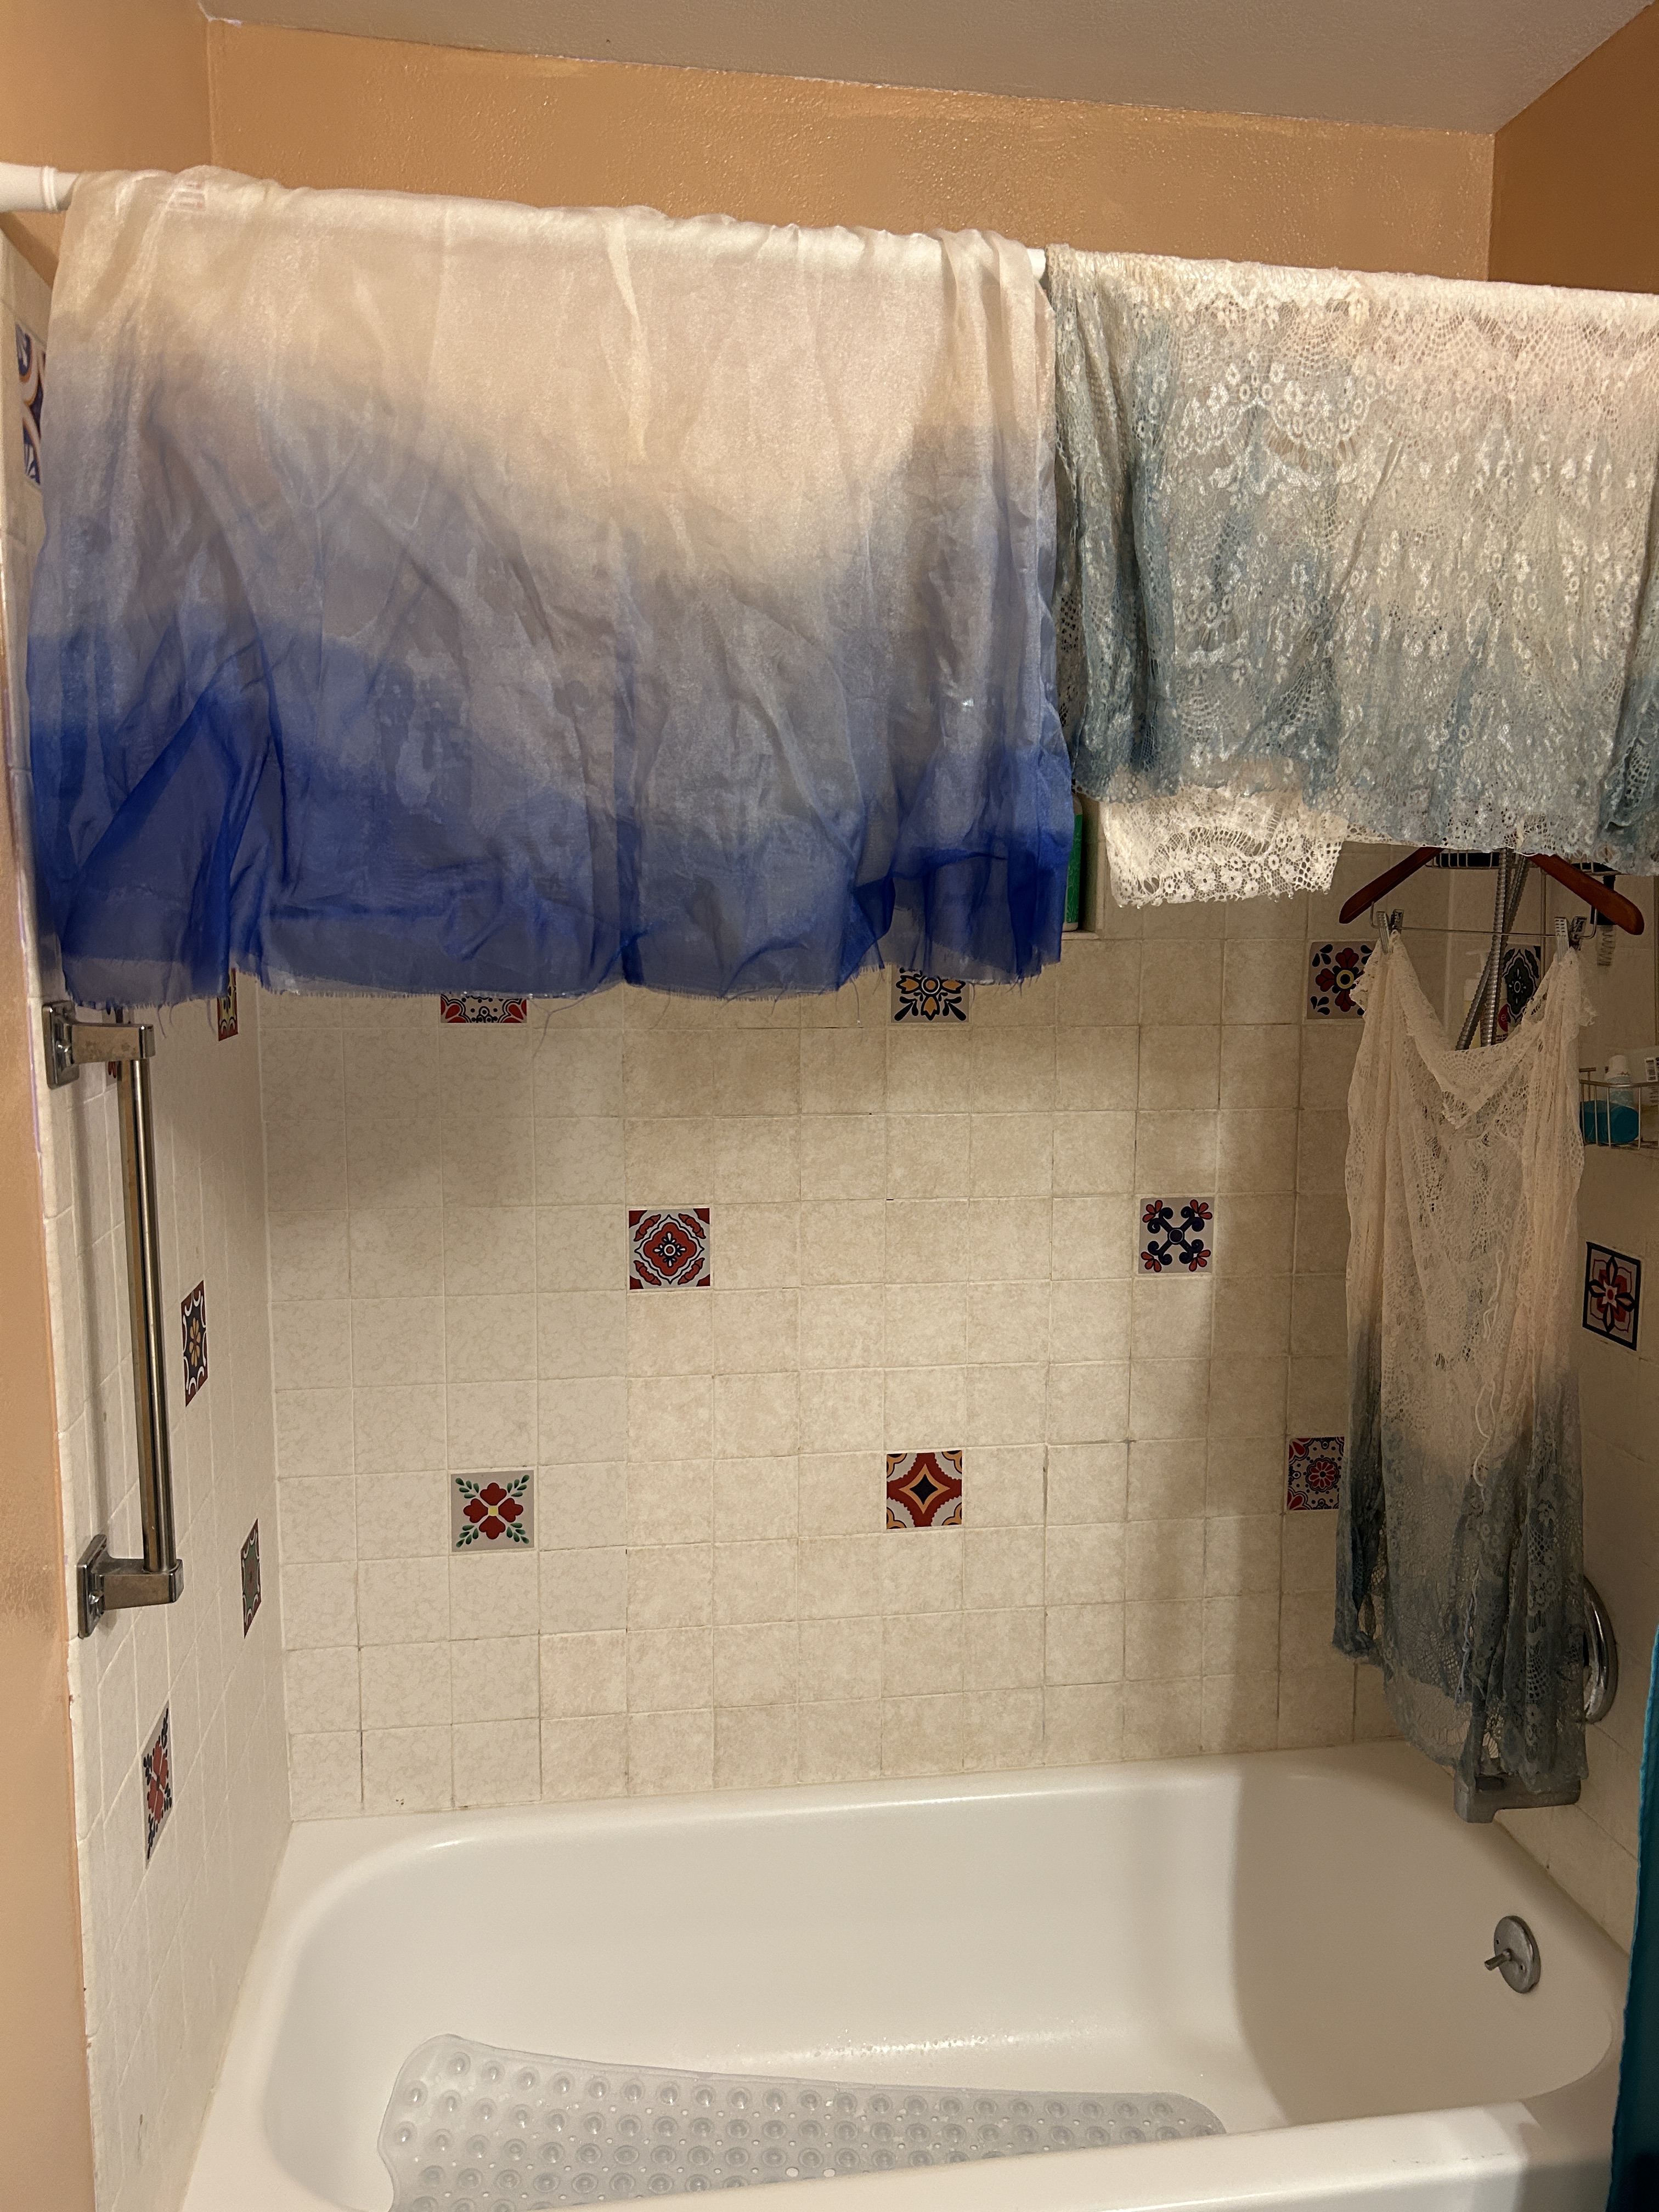
After doing plenty of research on the internet of DIY dyes for wedding dresses, I decided I was ready to try it out — if it looked terrible, I knew I could get more fabric. Since I wasn’t sure if I wanted to dye all of the layers, and with a warning from the internet that different types of fabric would soak up the dye differently, I did a test dye on the outer skirt with long swatches of the underskirt fabrics to see how they turned out.
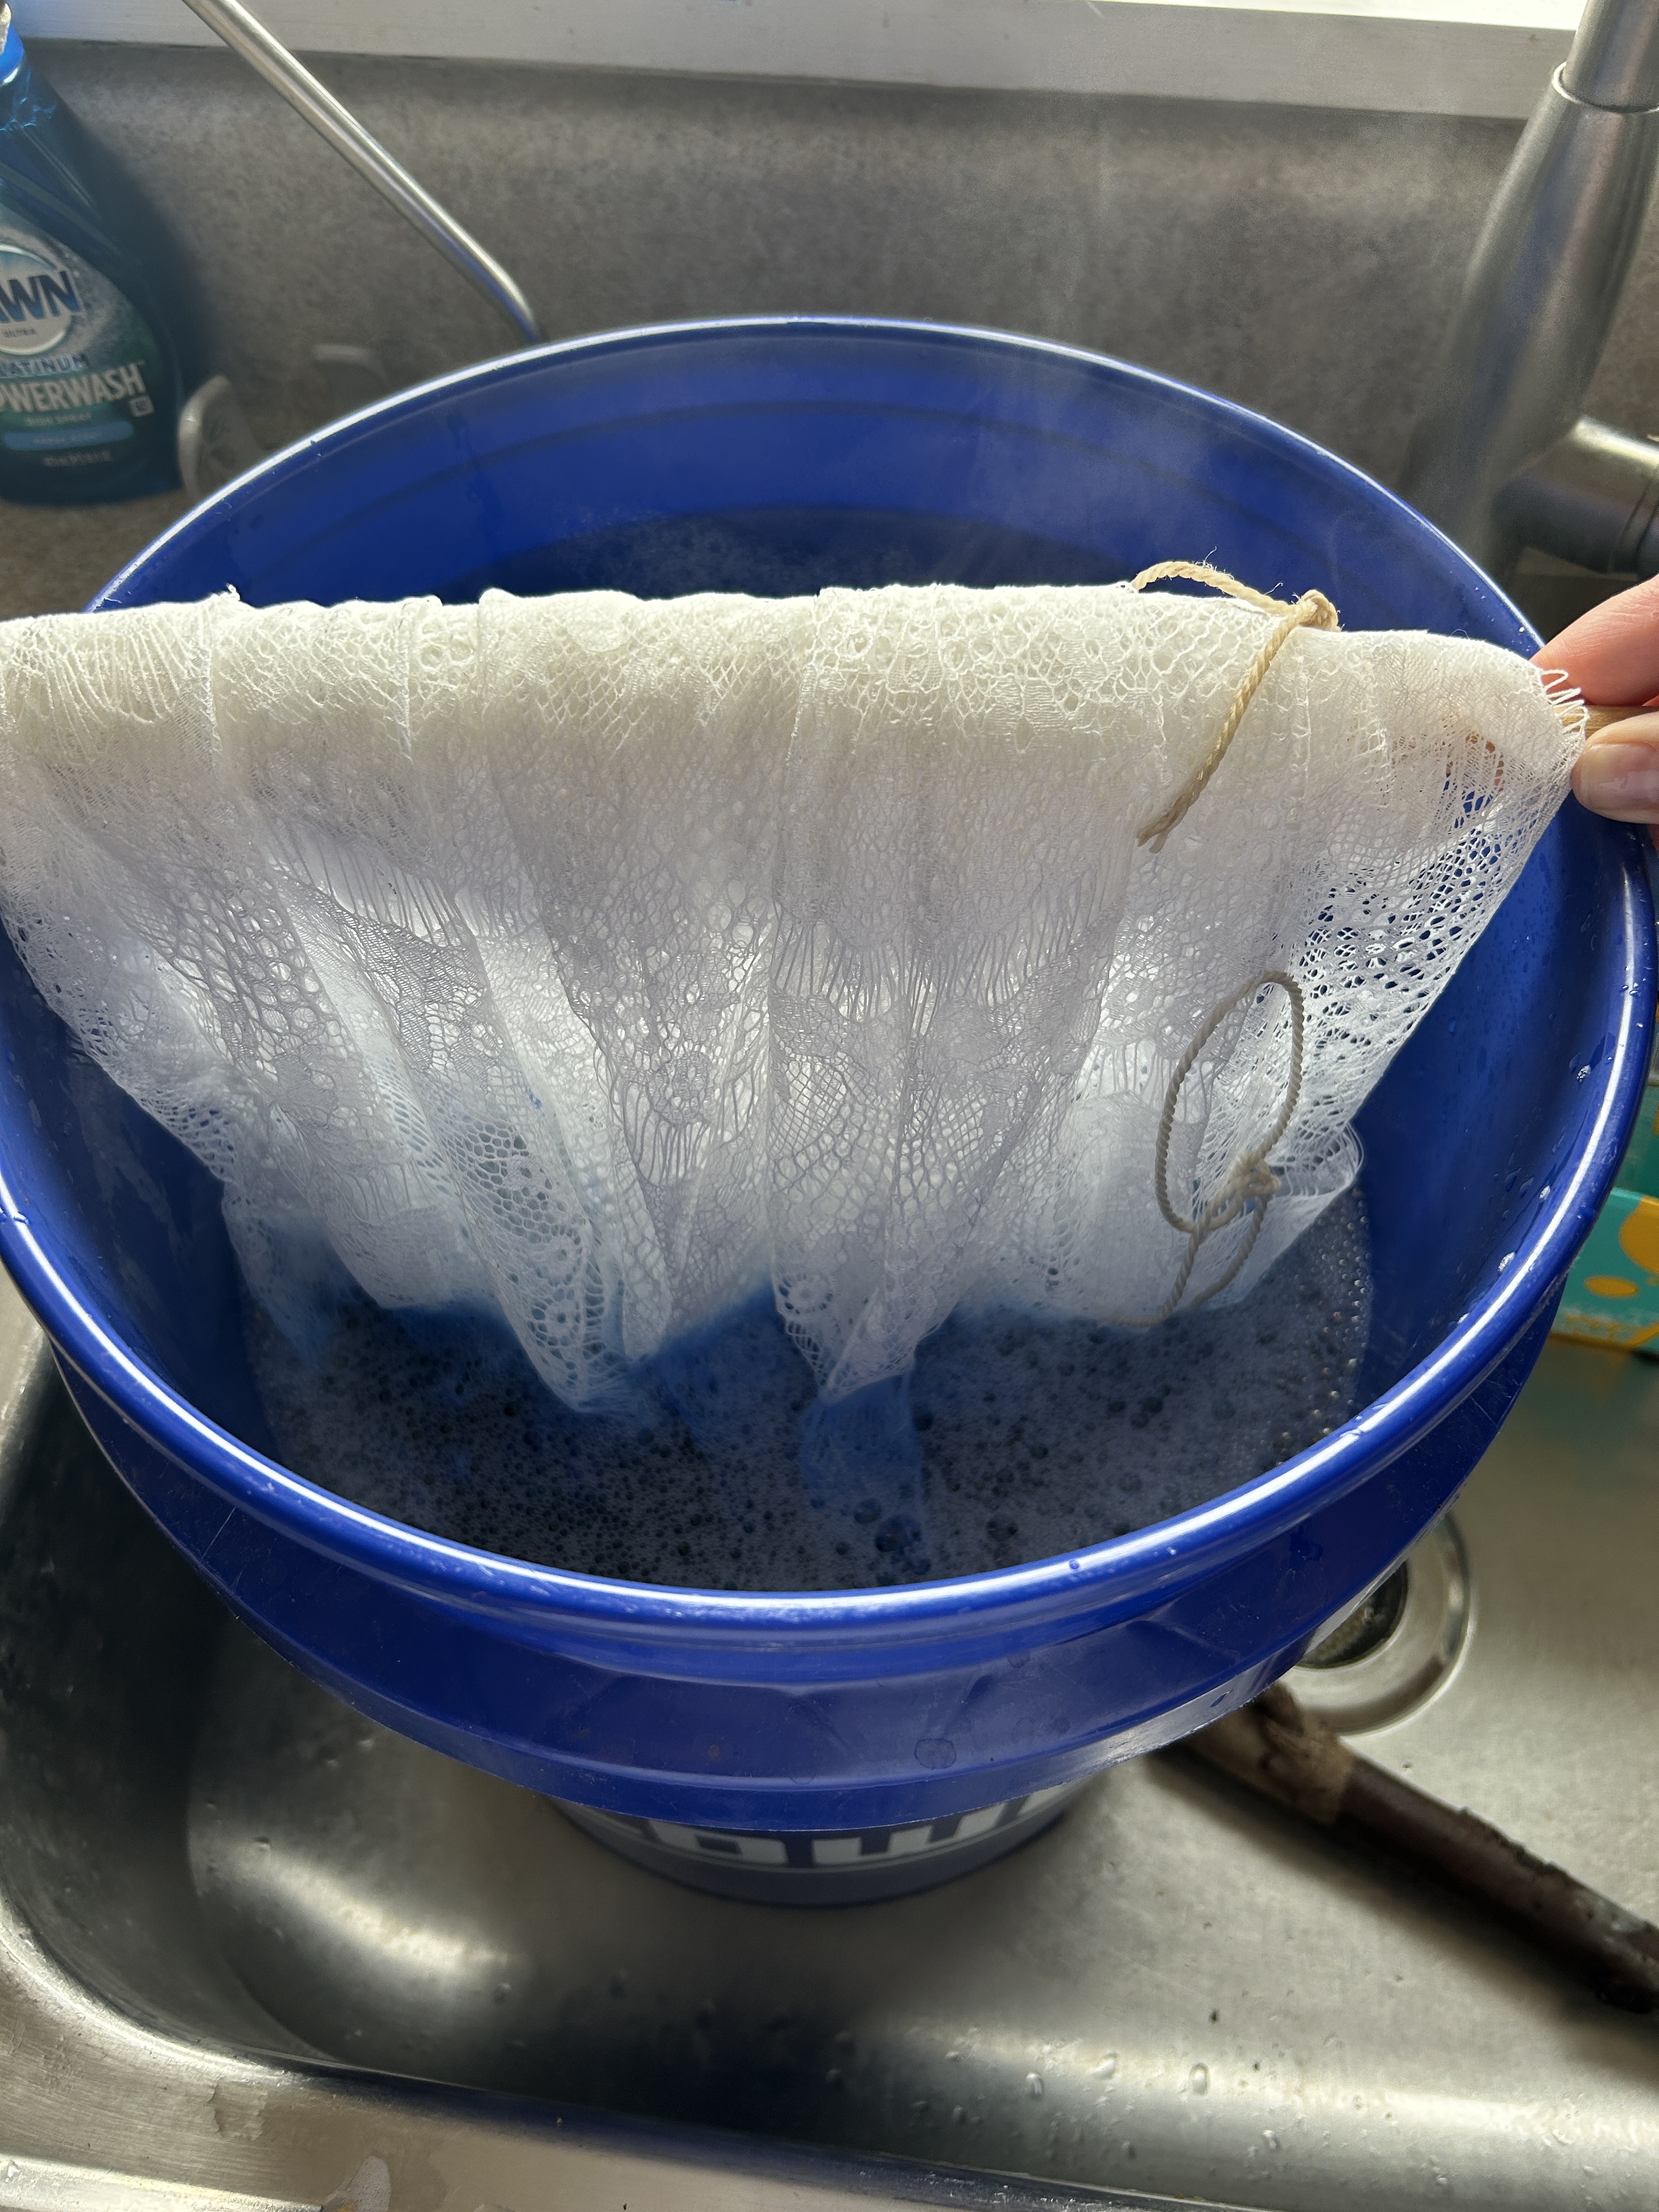
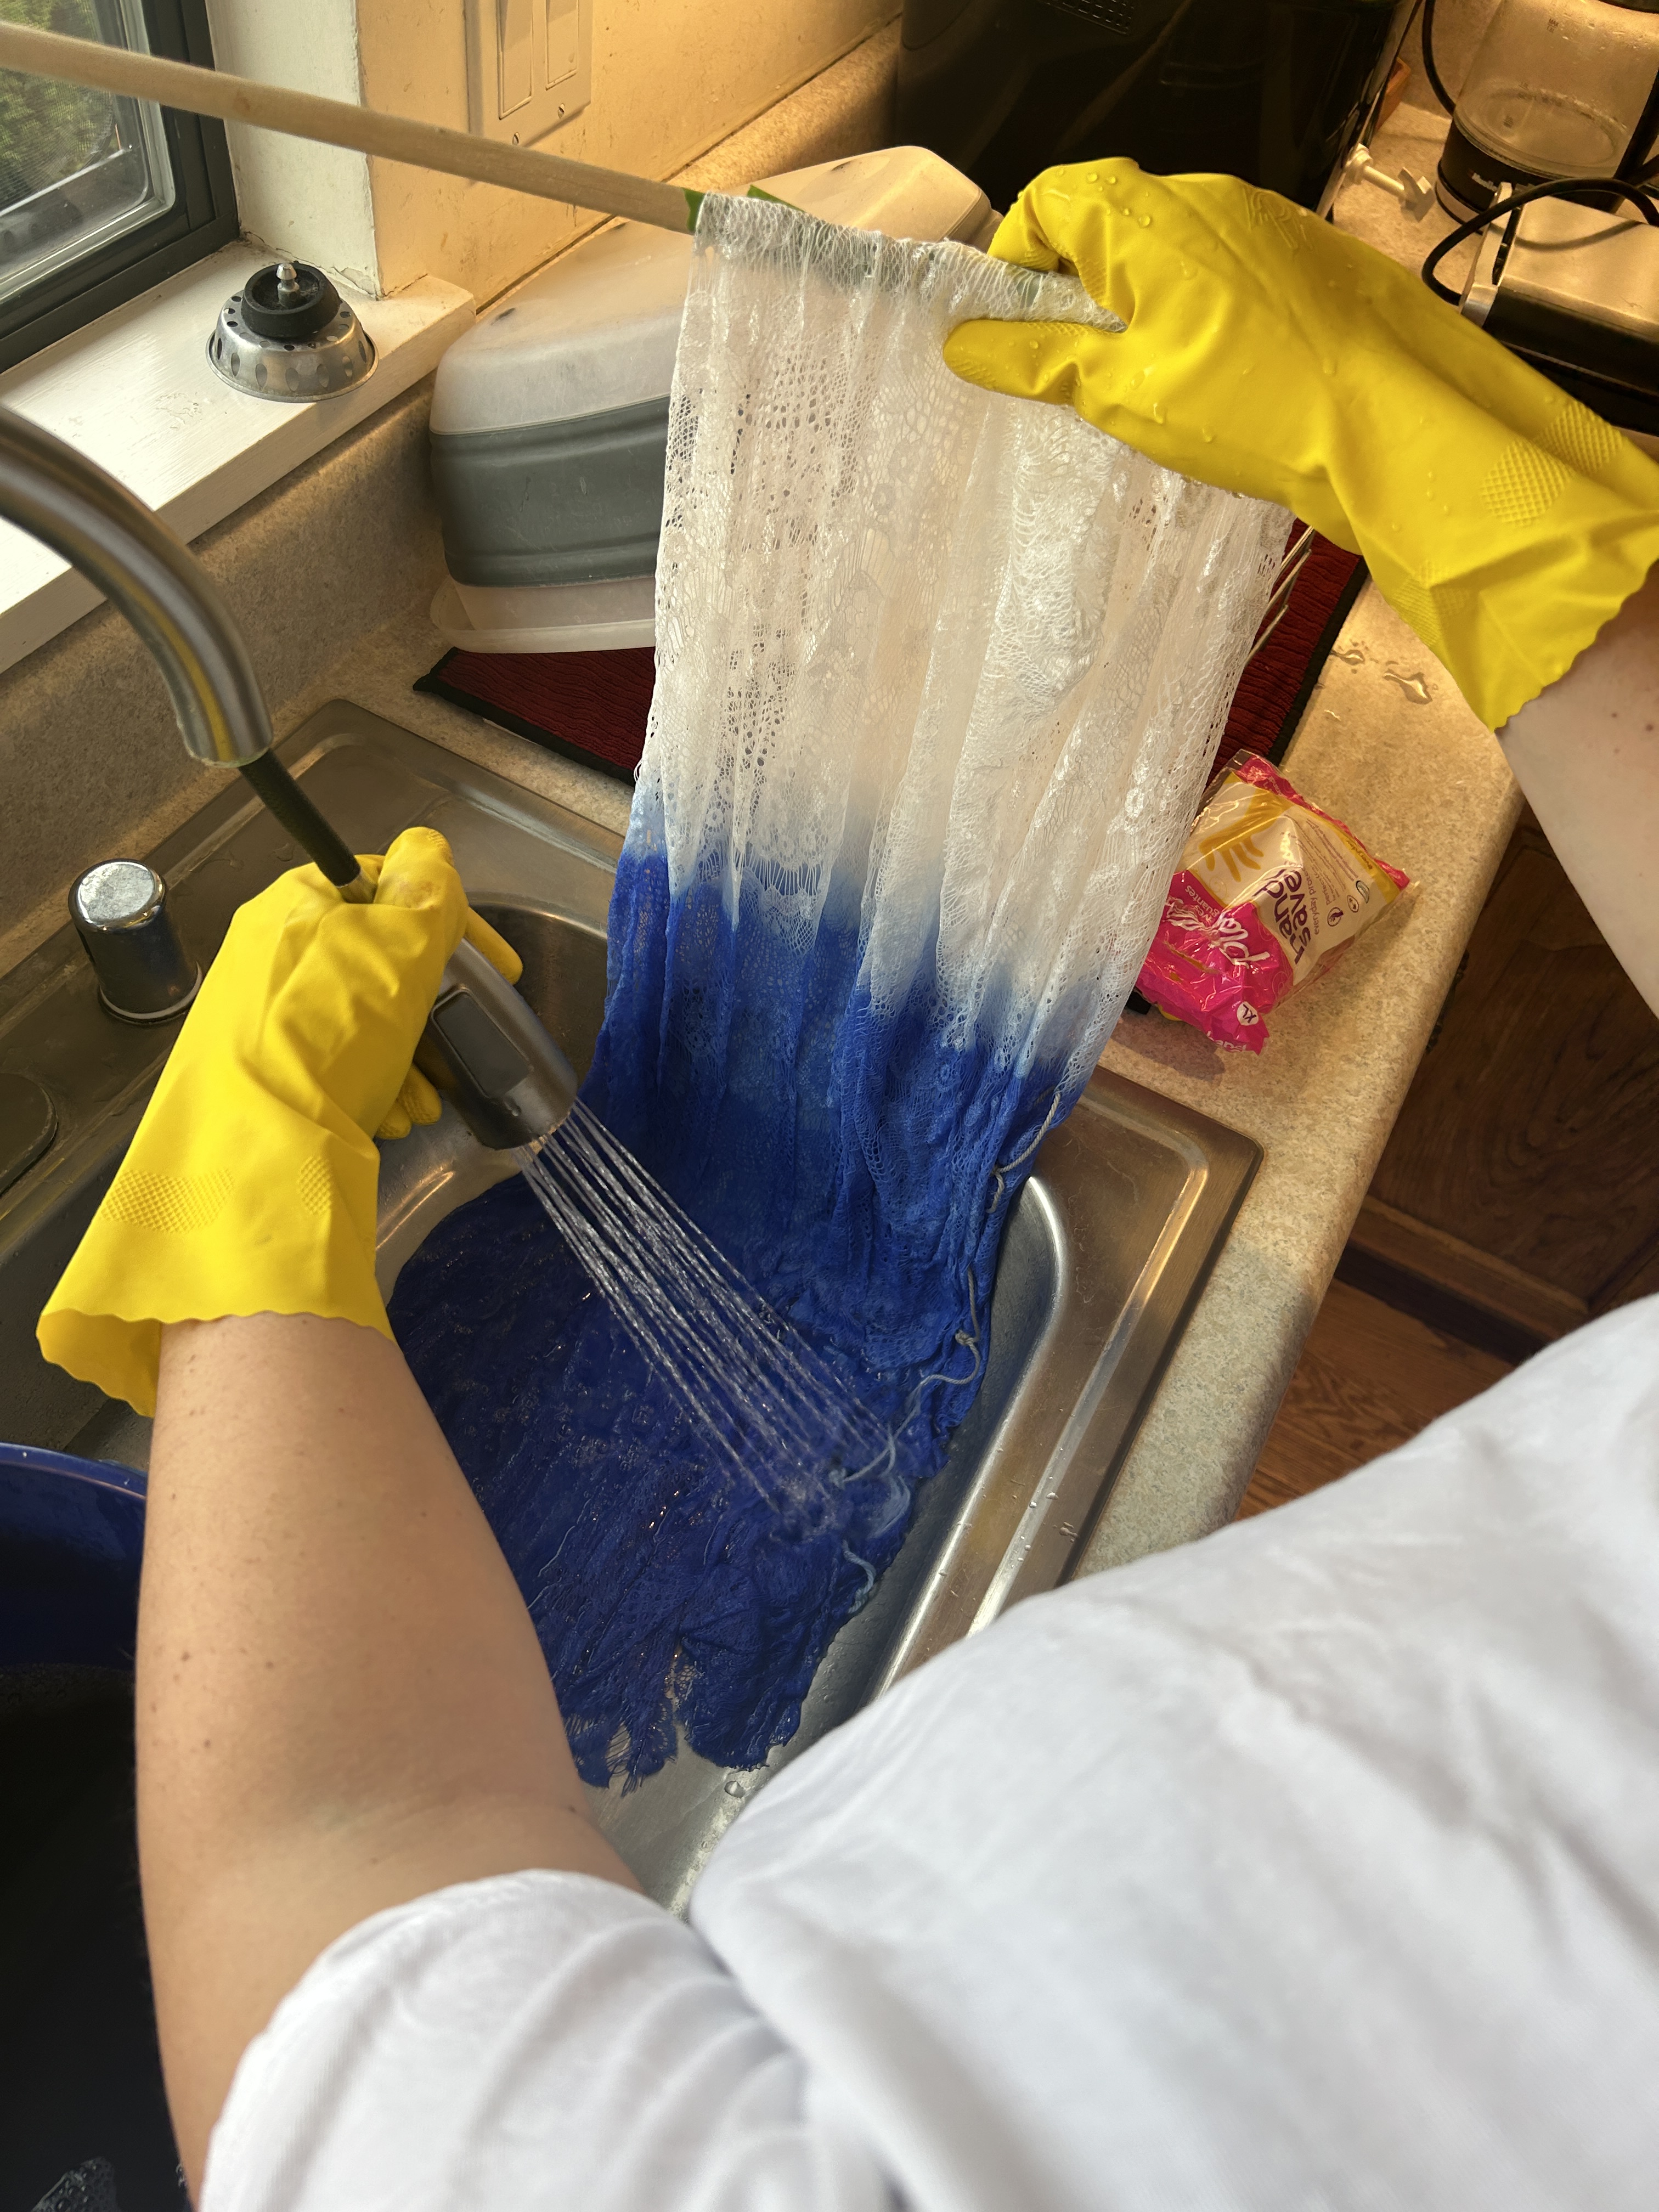
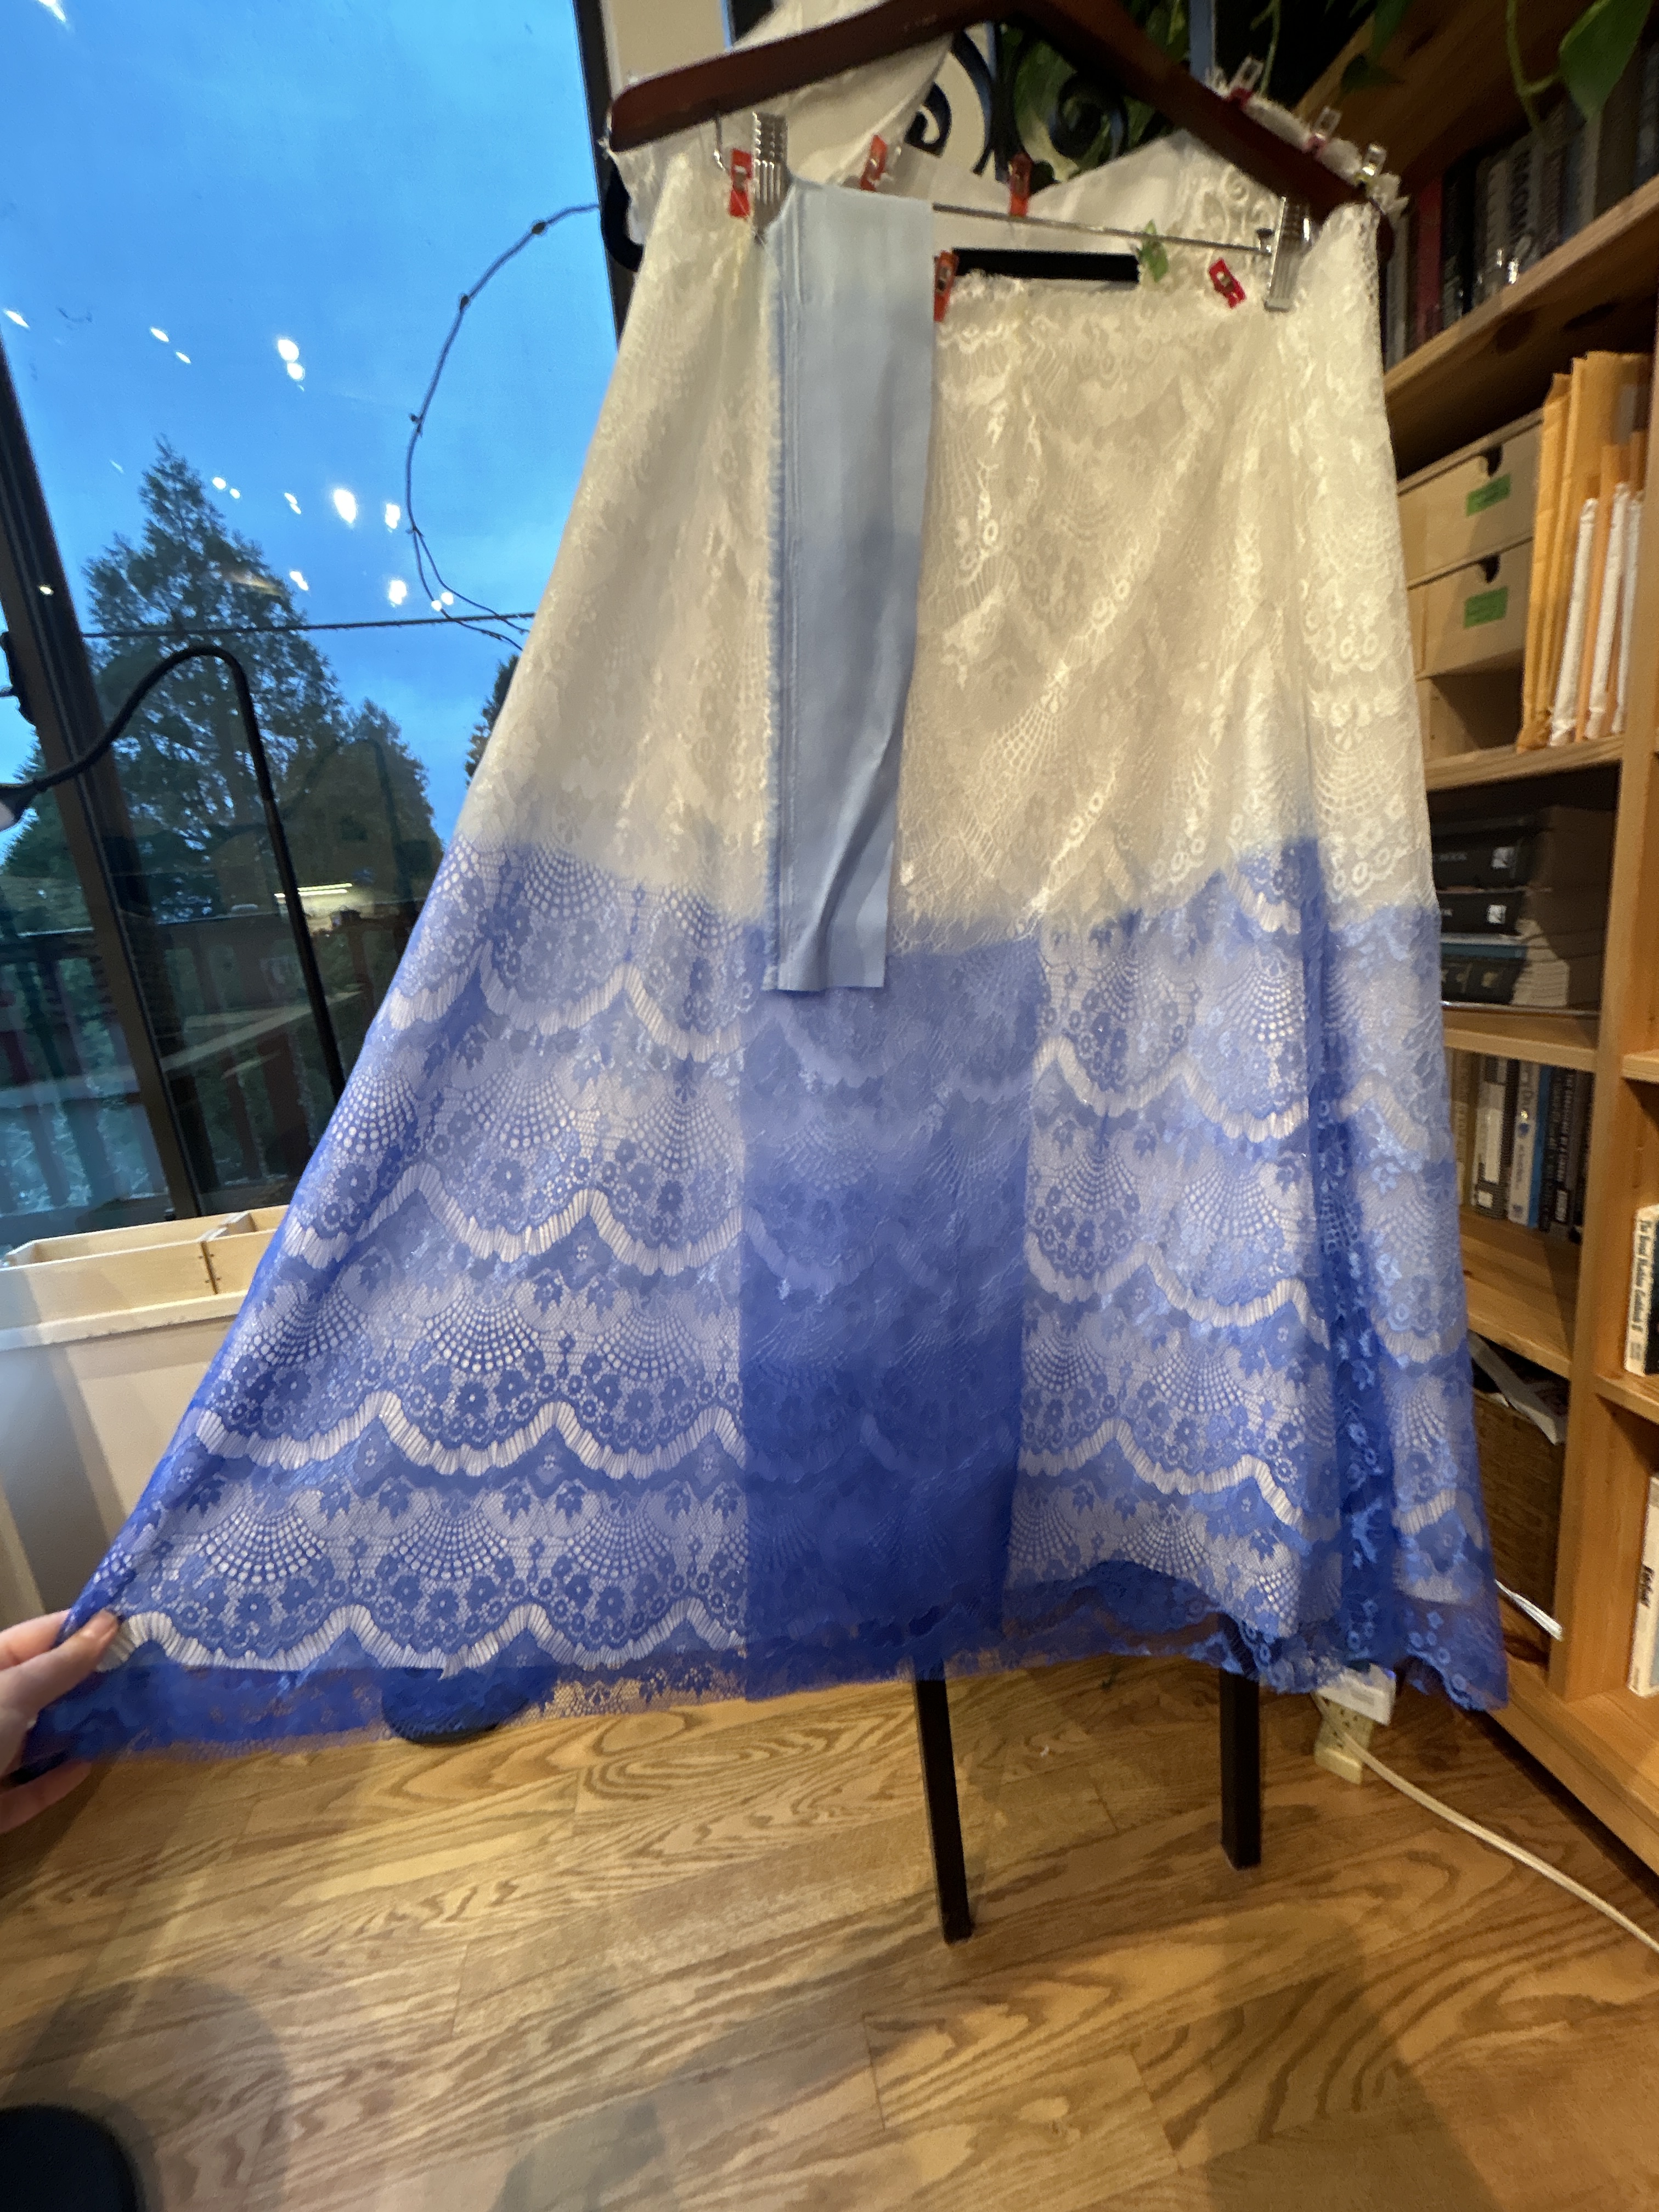
Throughout the process, I was highly concerned that it was way too dark and the ombre effect wouldn’t be achieved and for the most part, I was correct. The bottom layer of skirt fabric was dyed a completely different blue from the other two layers, but the sparkly layer was dyed a very nice blue but of course, looked way too dark under the also dyed lace layer. Having learned a lot from the test run, I formed a new dyeing plan that involved dyeing the sparkly layer and the lace layer for less time.
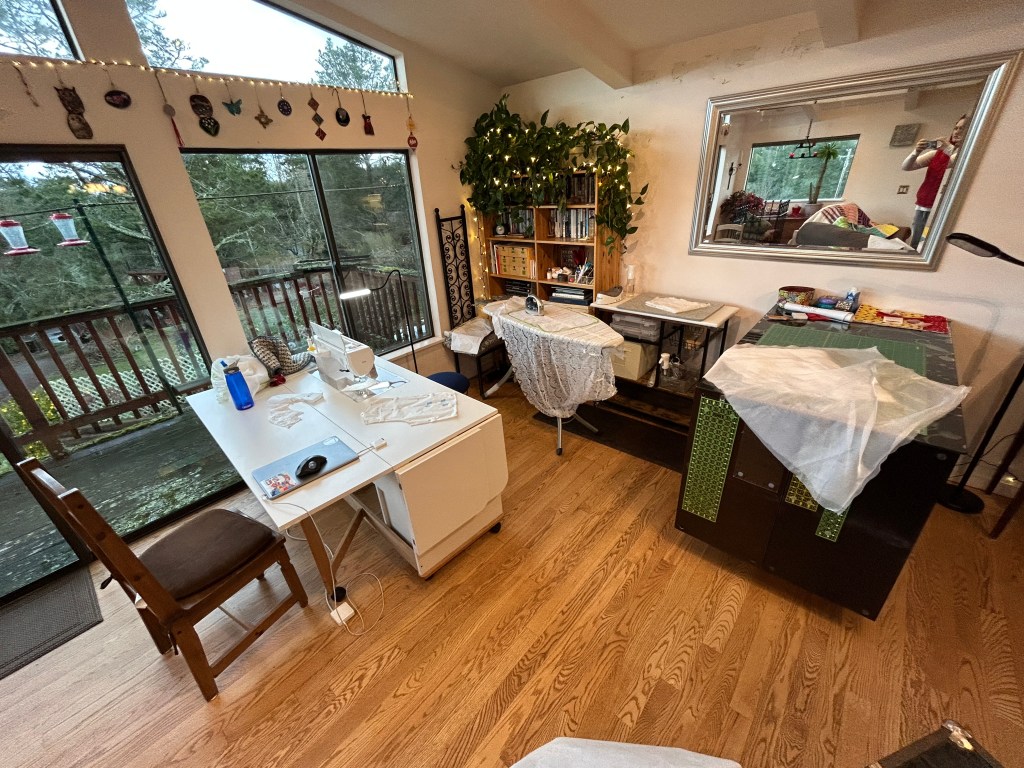
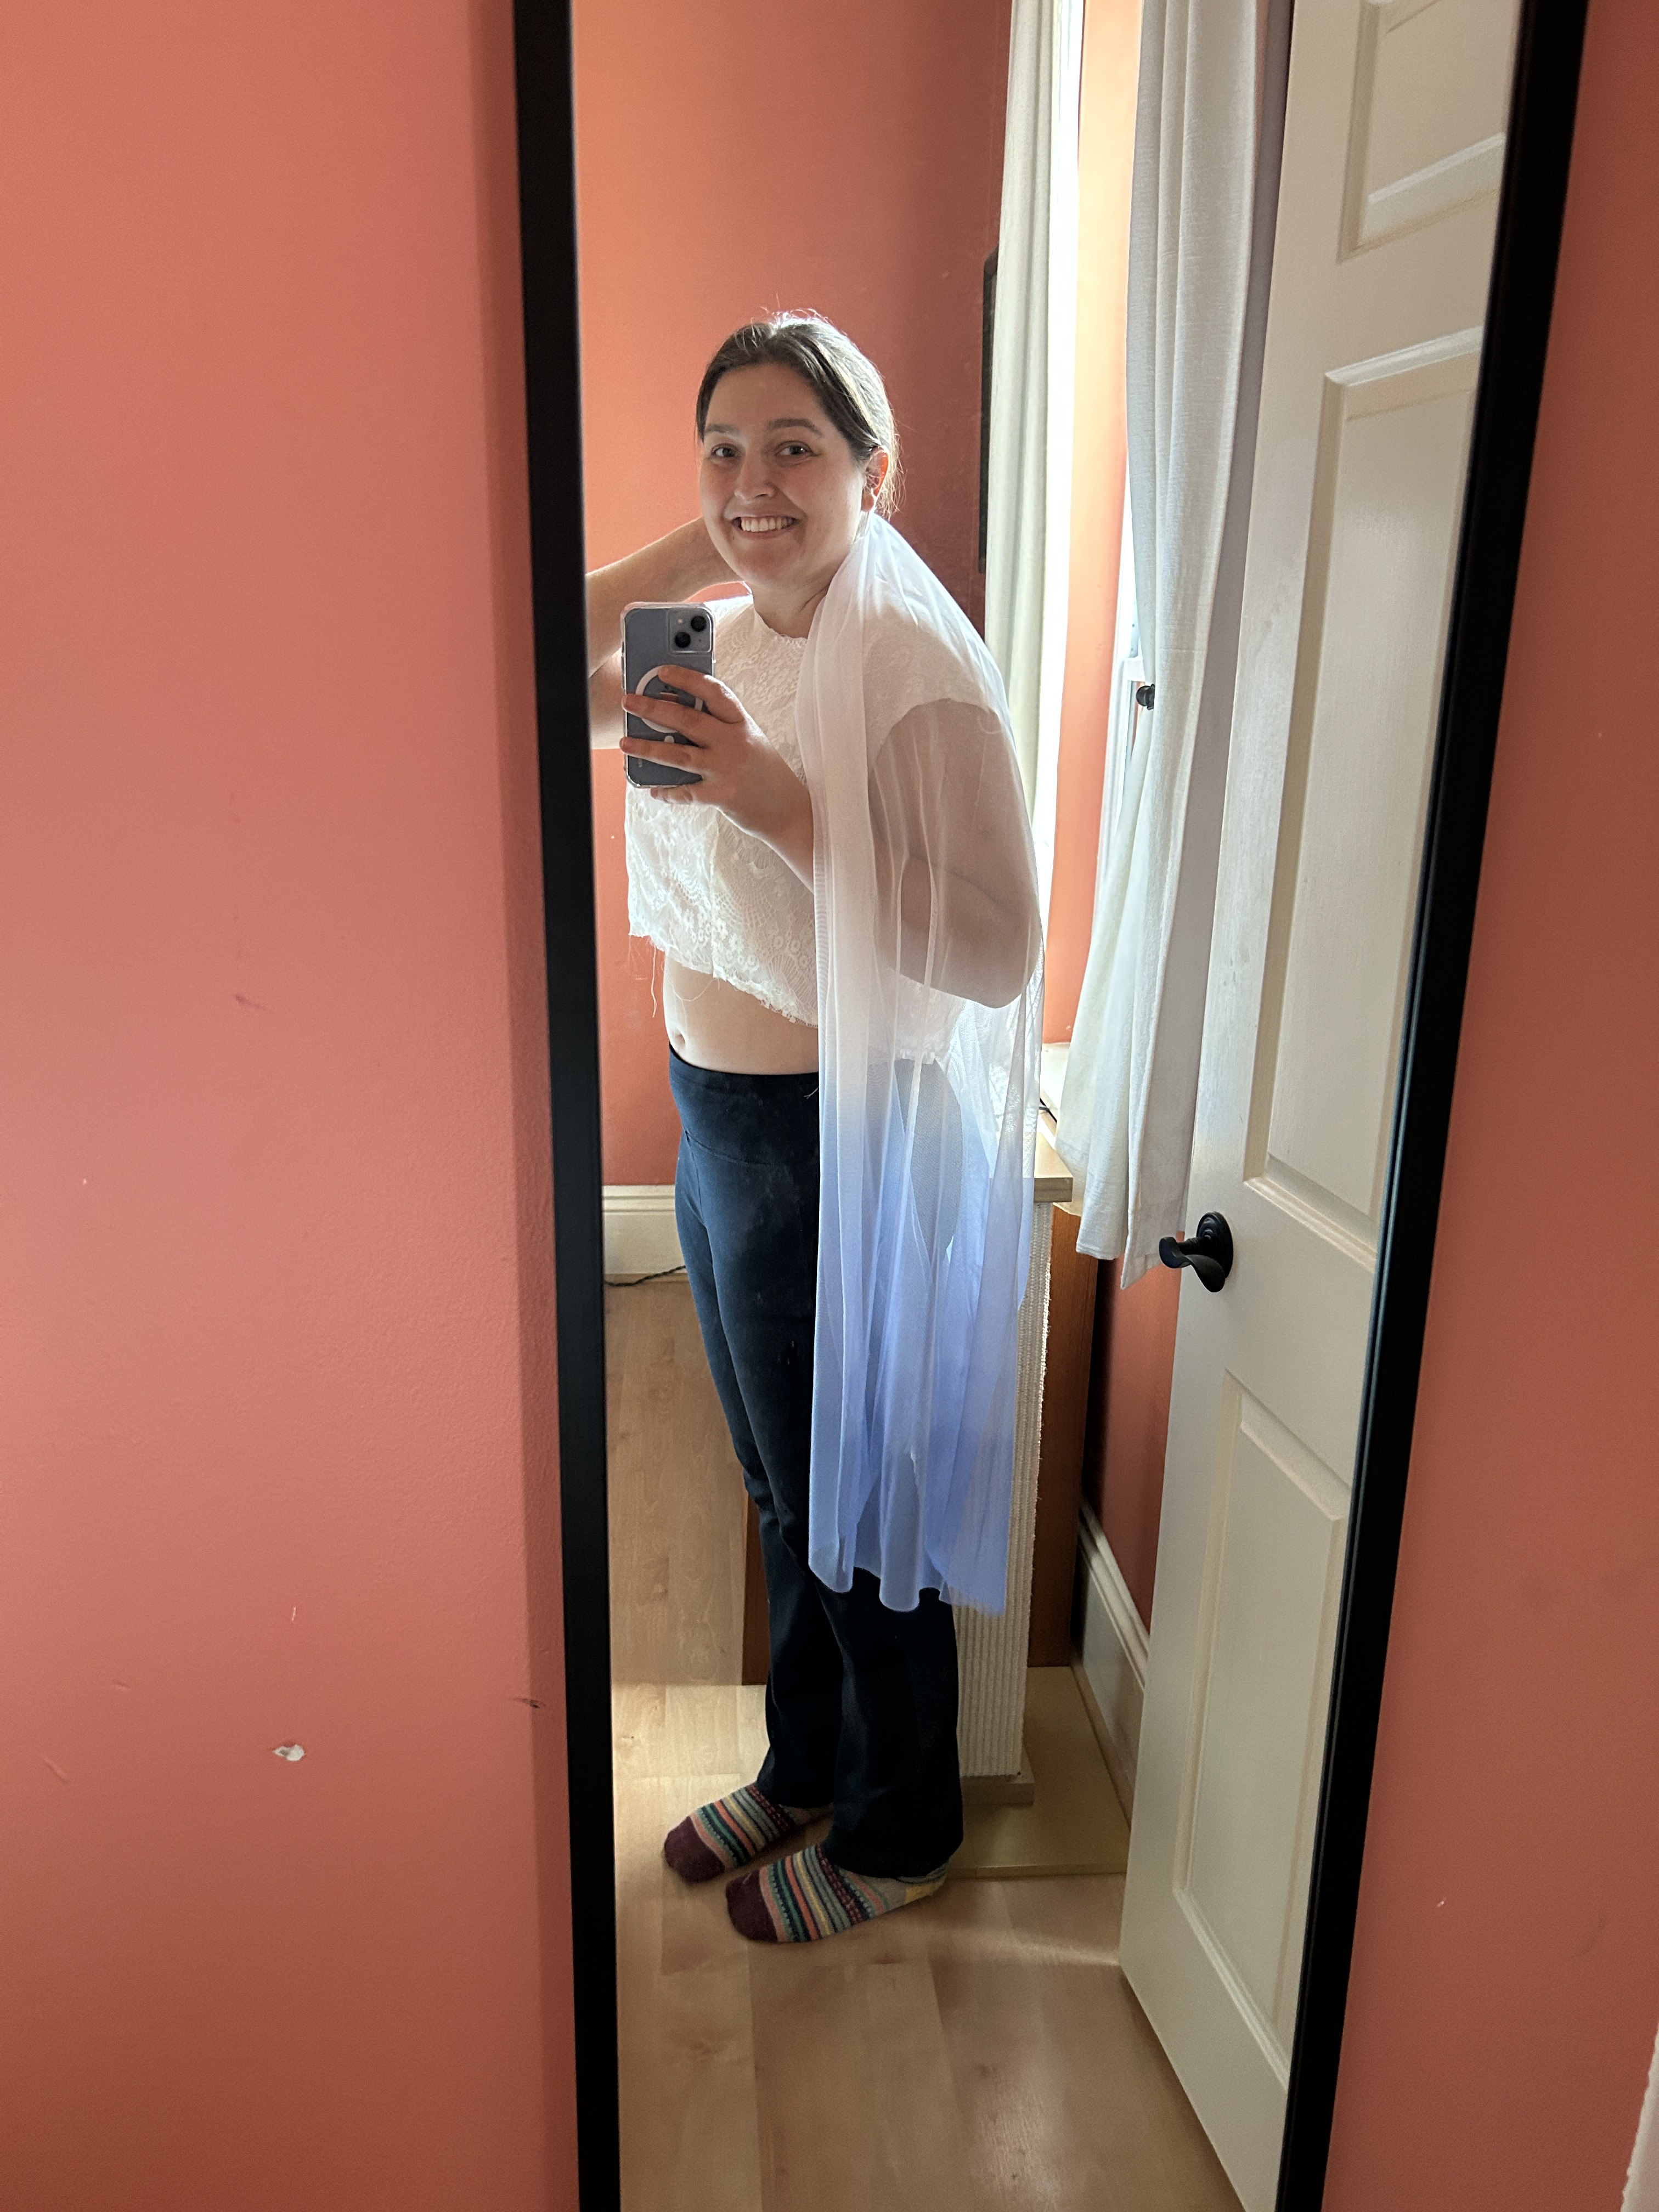
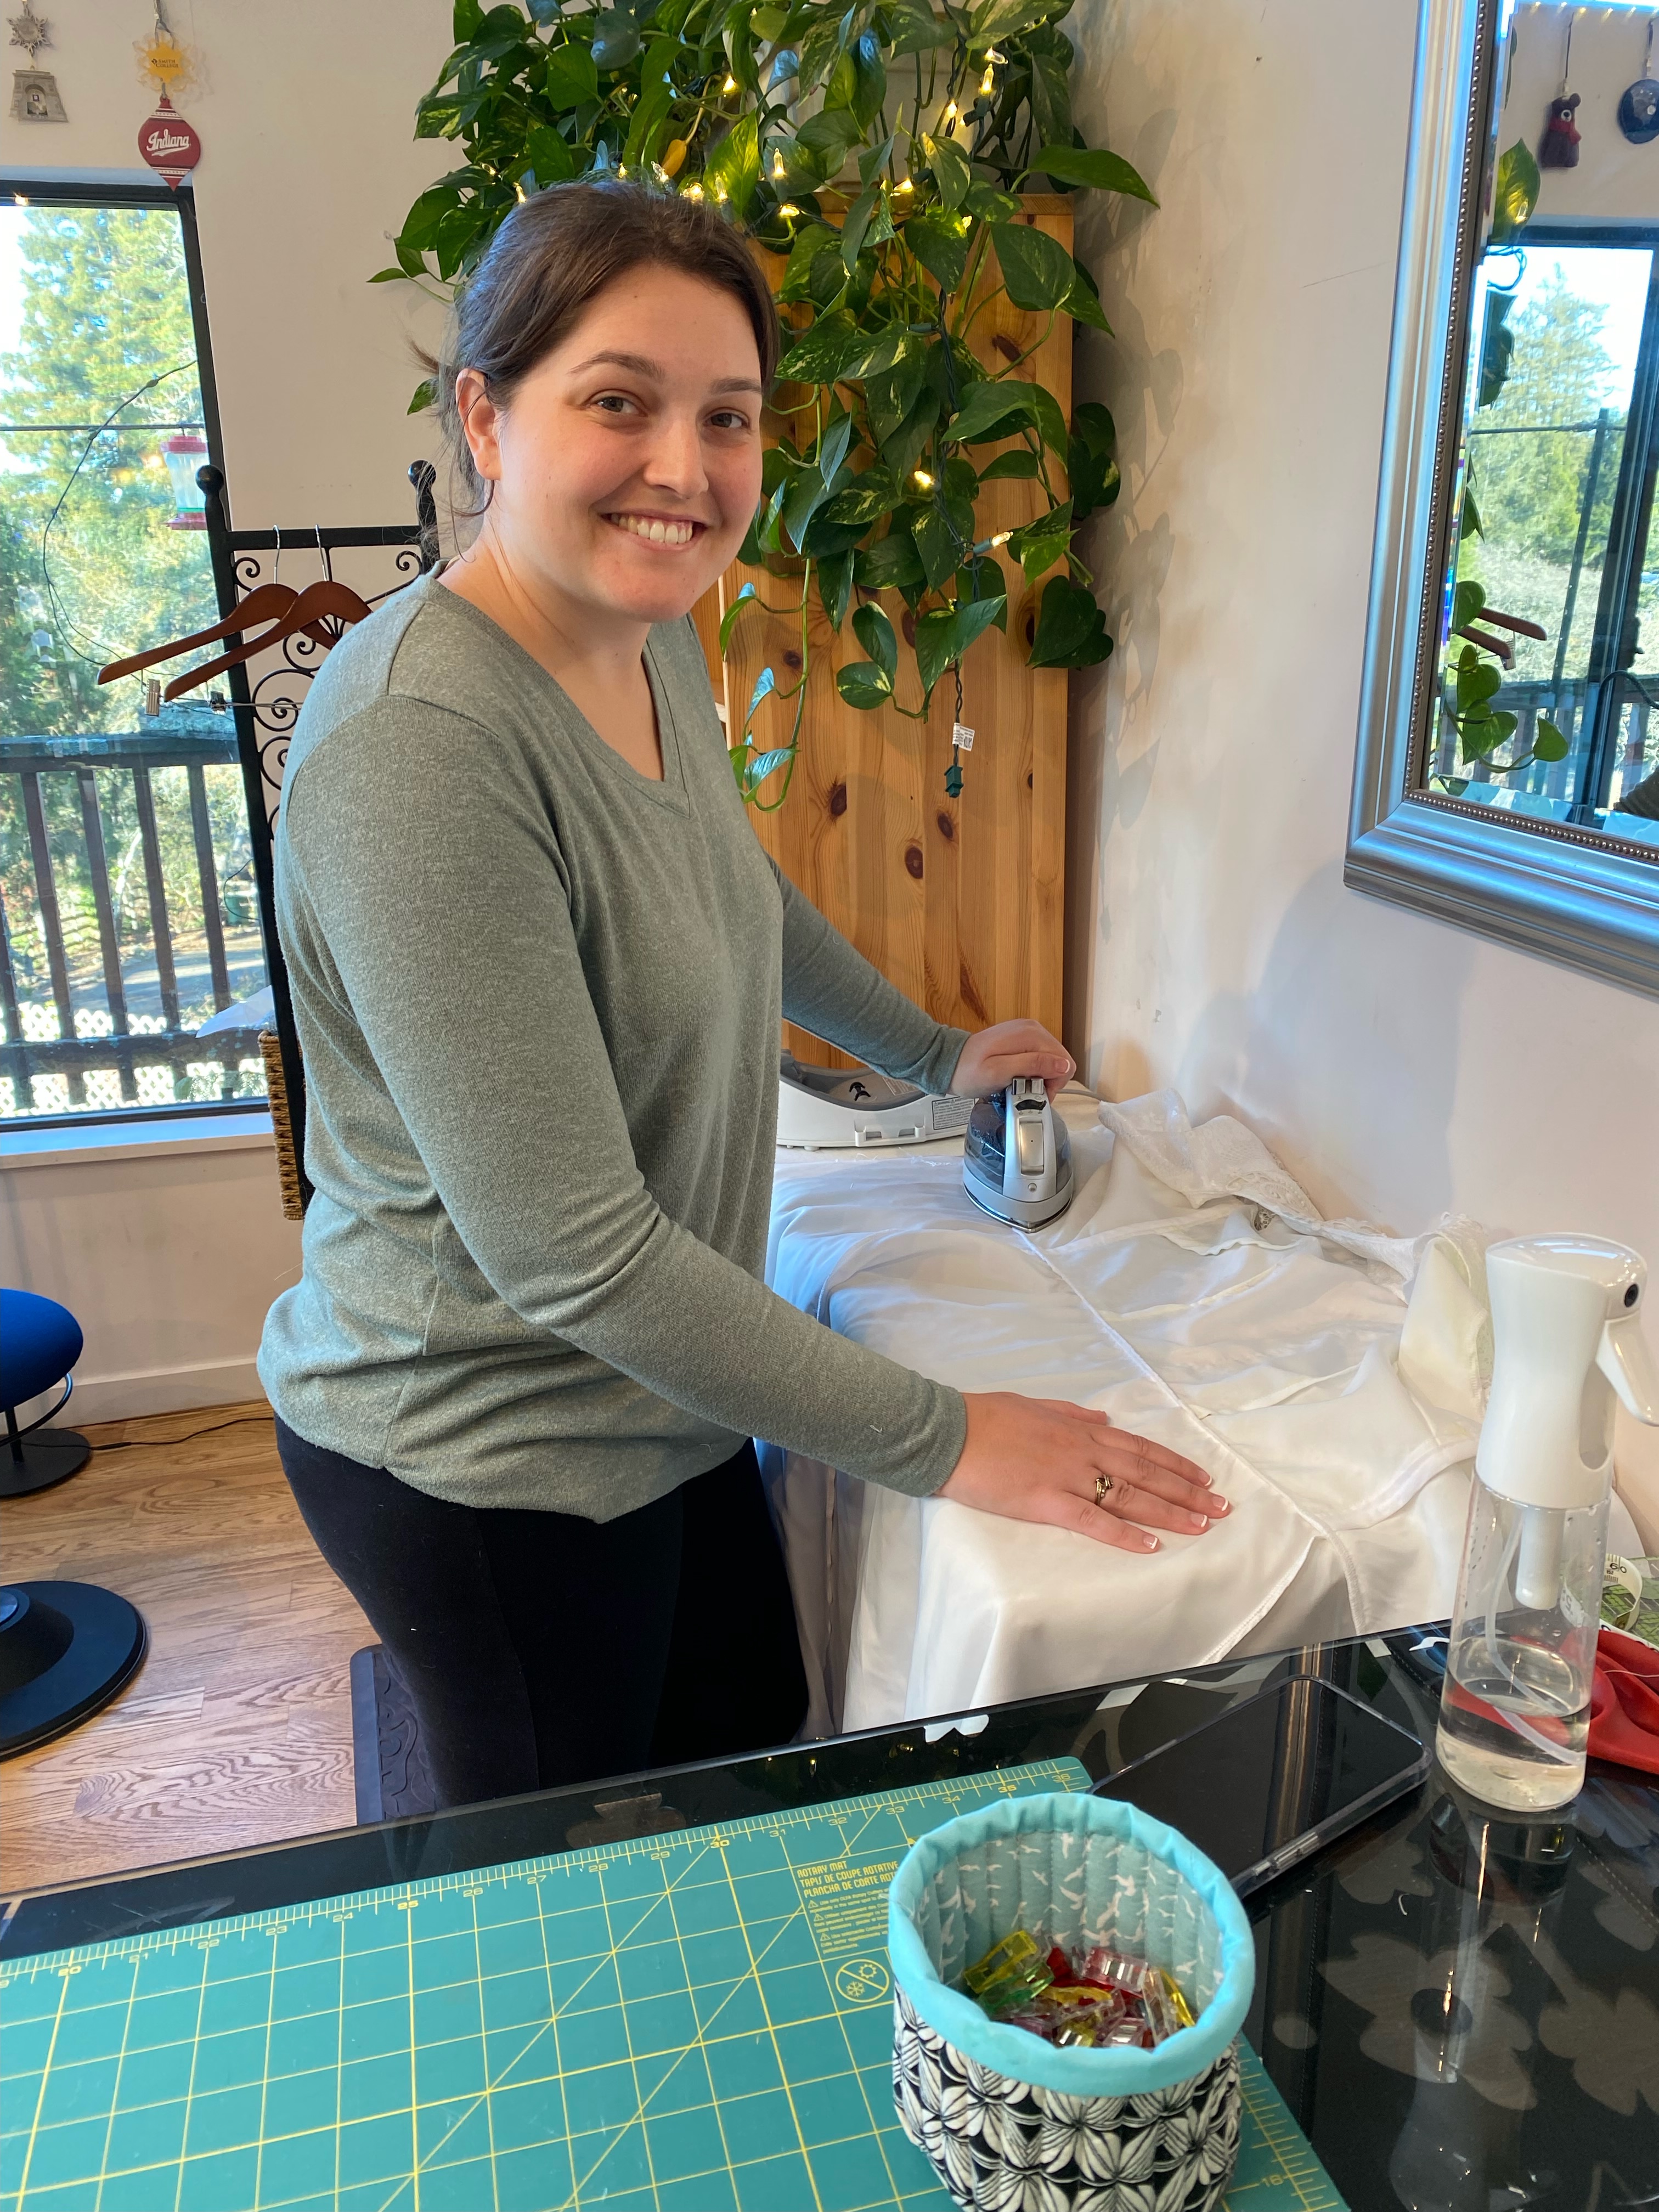
With the pieces cut out, darts in place, and a plan of action for the dye, I was ready to continue sewing with my aunt, this time at her house to take advantage of her serger and make the inside as pretty as the outside through a combination of french seams and serged seams. As a bonus, I had chatted with my aunt about making a veil after seeing a DIY tutorial online and then thought of perhaps dyeing the veil as well after seeing how others had made those align. Given how the first dye test had gone, she made sure to get enough fabric for two veils just in case it made sense to stick with a white veil.
After another long day of dyeing and sewing, we had ourselves a completed bodice and multiple dyed skirts, and a dyed veil.

I left her house with the agreement that I would finish the final pieces on my own. I’ve done enough zippers, even invisible zippers, that I knew I could handle that part; and sewing the skirt together also wouldn’t be challenging, and I’d take her serger with me to sew the skirt to the bodice, and my mom could help me hand sew the notions on, and really that wasn’t so much?
But the skirt was clearly too dark.
And I didn’t love the white skirt, even with the blue veil. And so I took the drastic measures, and we returned to JoAnn’s and I brought home color remover and whitener. After a trip through the washing machine with the whitener, the sparkly fabric had not changed at all and the lace had barely lightened. So I tried again using the boiled water method…
And it was an absolute disaster. The sparkly fabric had lost quite a bit of color, but the lace skirt had changed colors entirely (also during the process the white on the skirts had turned pink and I’d had to use the whitener a second time to turn them white again). The lace clearly wasn’t working. The sparkly fabric was clearly too dark. I was at the part of the narrative where the main character feels utterly defeated in their quest.
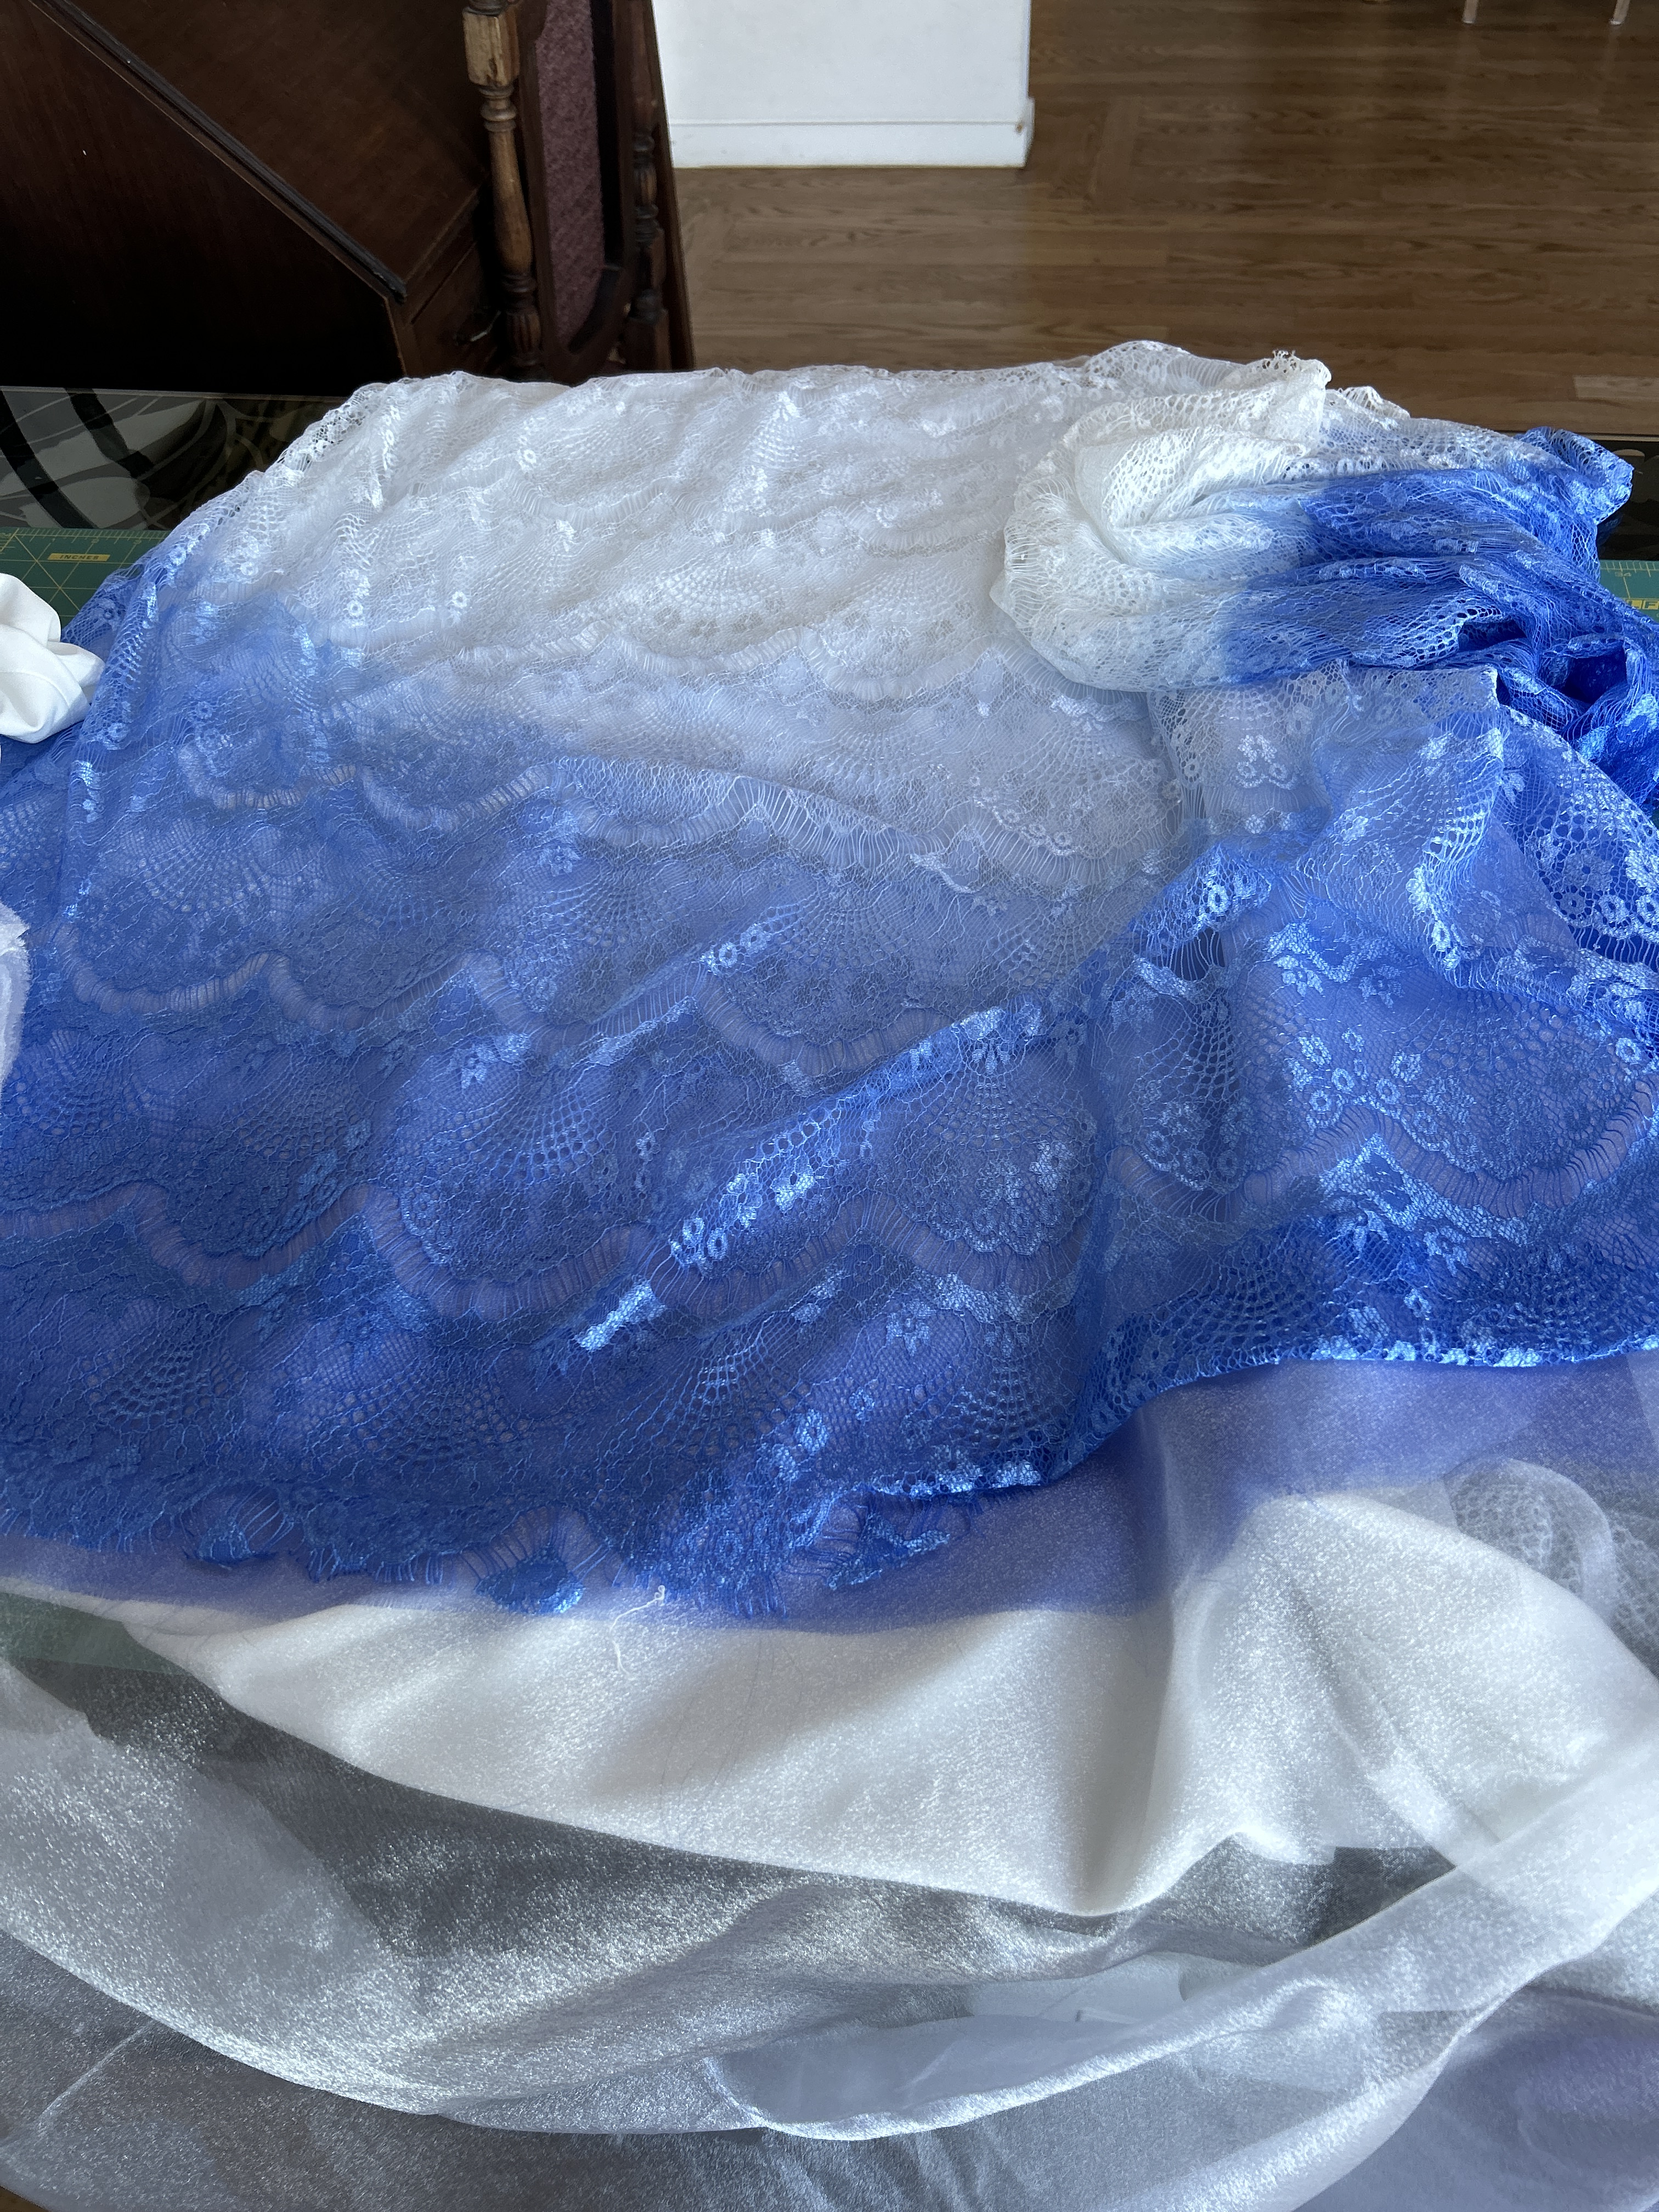
As I sadly returned to my workspace, perfect bodice waiting for its skirt, and multiple different skirt layers all now sporting different colors, I began to cut out new, white sparkly layers and lace layers. I felt like dye was trying to tell me that I was going to have a white dress. But just for fun, with six different skirts of different colors to play with, I started playing with the layers once more. Just because. Who knows? And I happened upon the perfect combination!
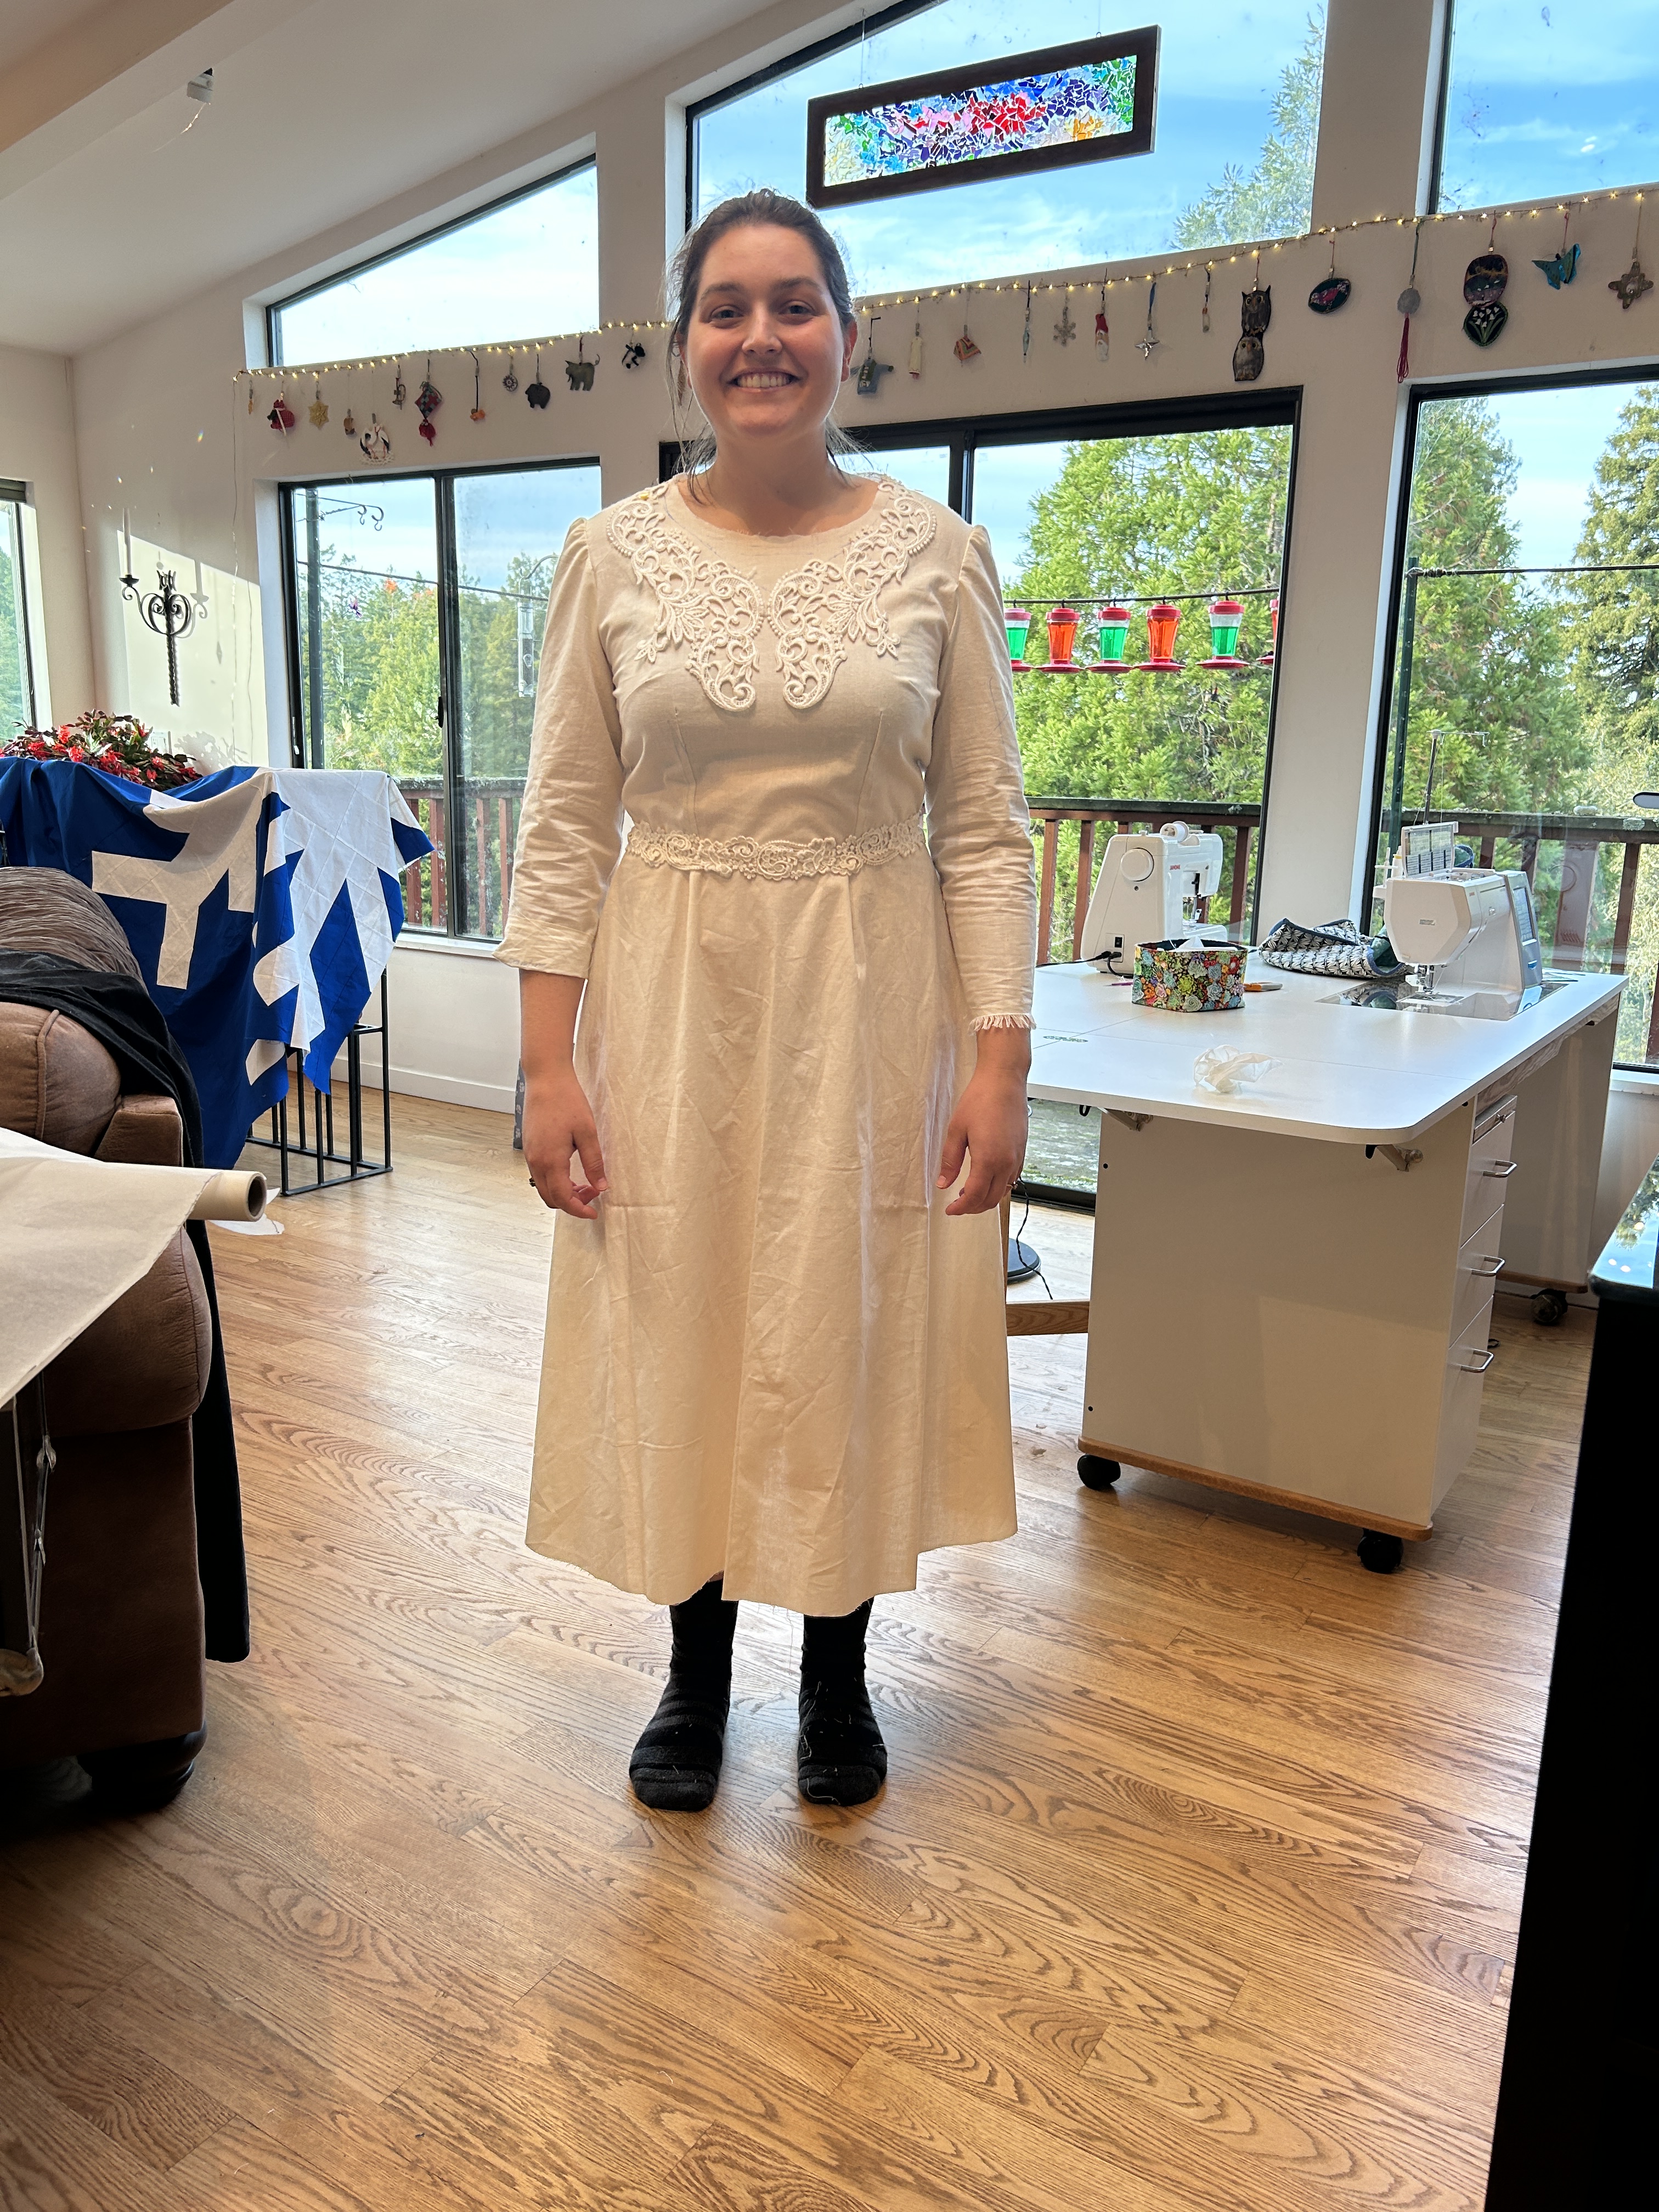
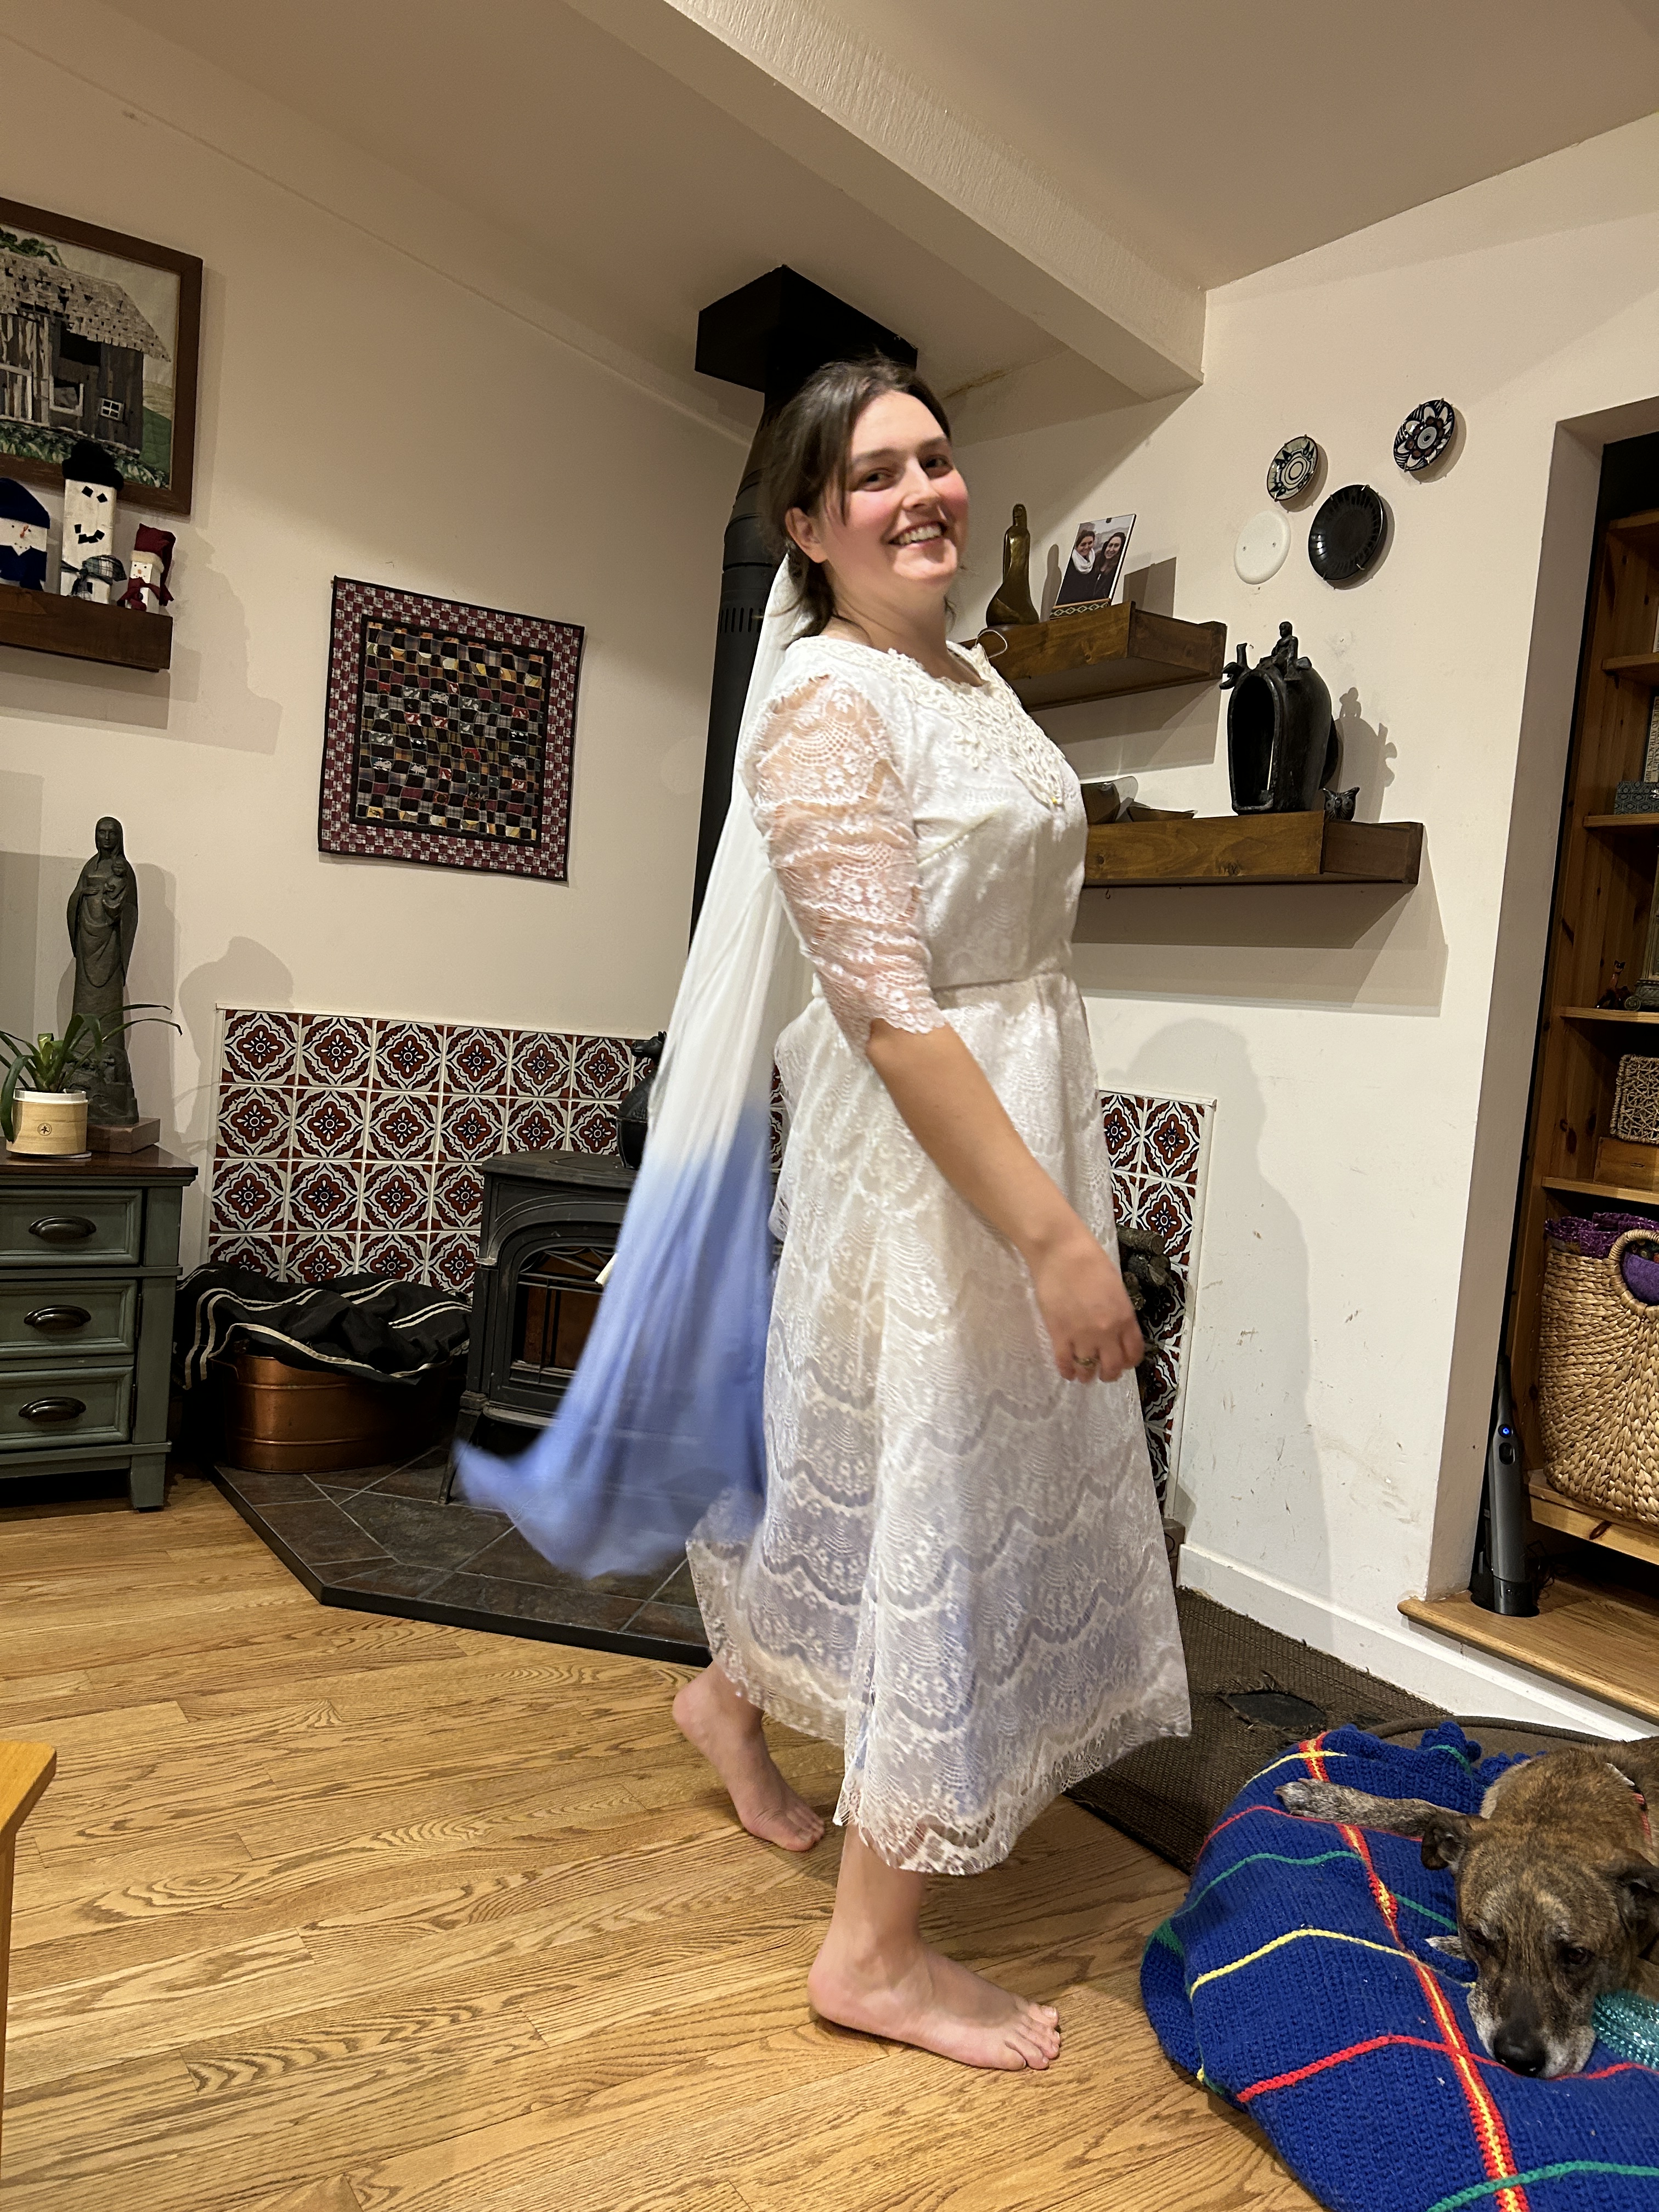
Instead of the original three layers of fabric, I added an extra layer of white sparkly fabric over the layer of blue sparkly fabric and suddenly I had a lovely soft blue subtly peeking out at me from the bottom of the skirt. This had the advantage of being a much better match to the veil, it absolutely made the ombre effect I had been going for, and it didn’t require any more adventures in dyeing.
The only problem now was that it was too long. And while that’s an easy problem to solve on most dresses — just cut the excess from the bottom and call it good — I now had a skirt layer where I couldn’t cut the bottom without risking losing my ombre effect. This required another call to my aunt, and as I explained the issue and sent photos of the dress, she agreed with me: this wasn’t going to be a quick and easy solution. So she planned another visit up where we could troubleshoot this together.
In the excitement of having found the correct skirt layer combinations and exhaustion of working on this project after almost 40 hours of work, I’ll admit that I now was quite lax in my photo taking.
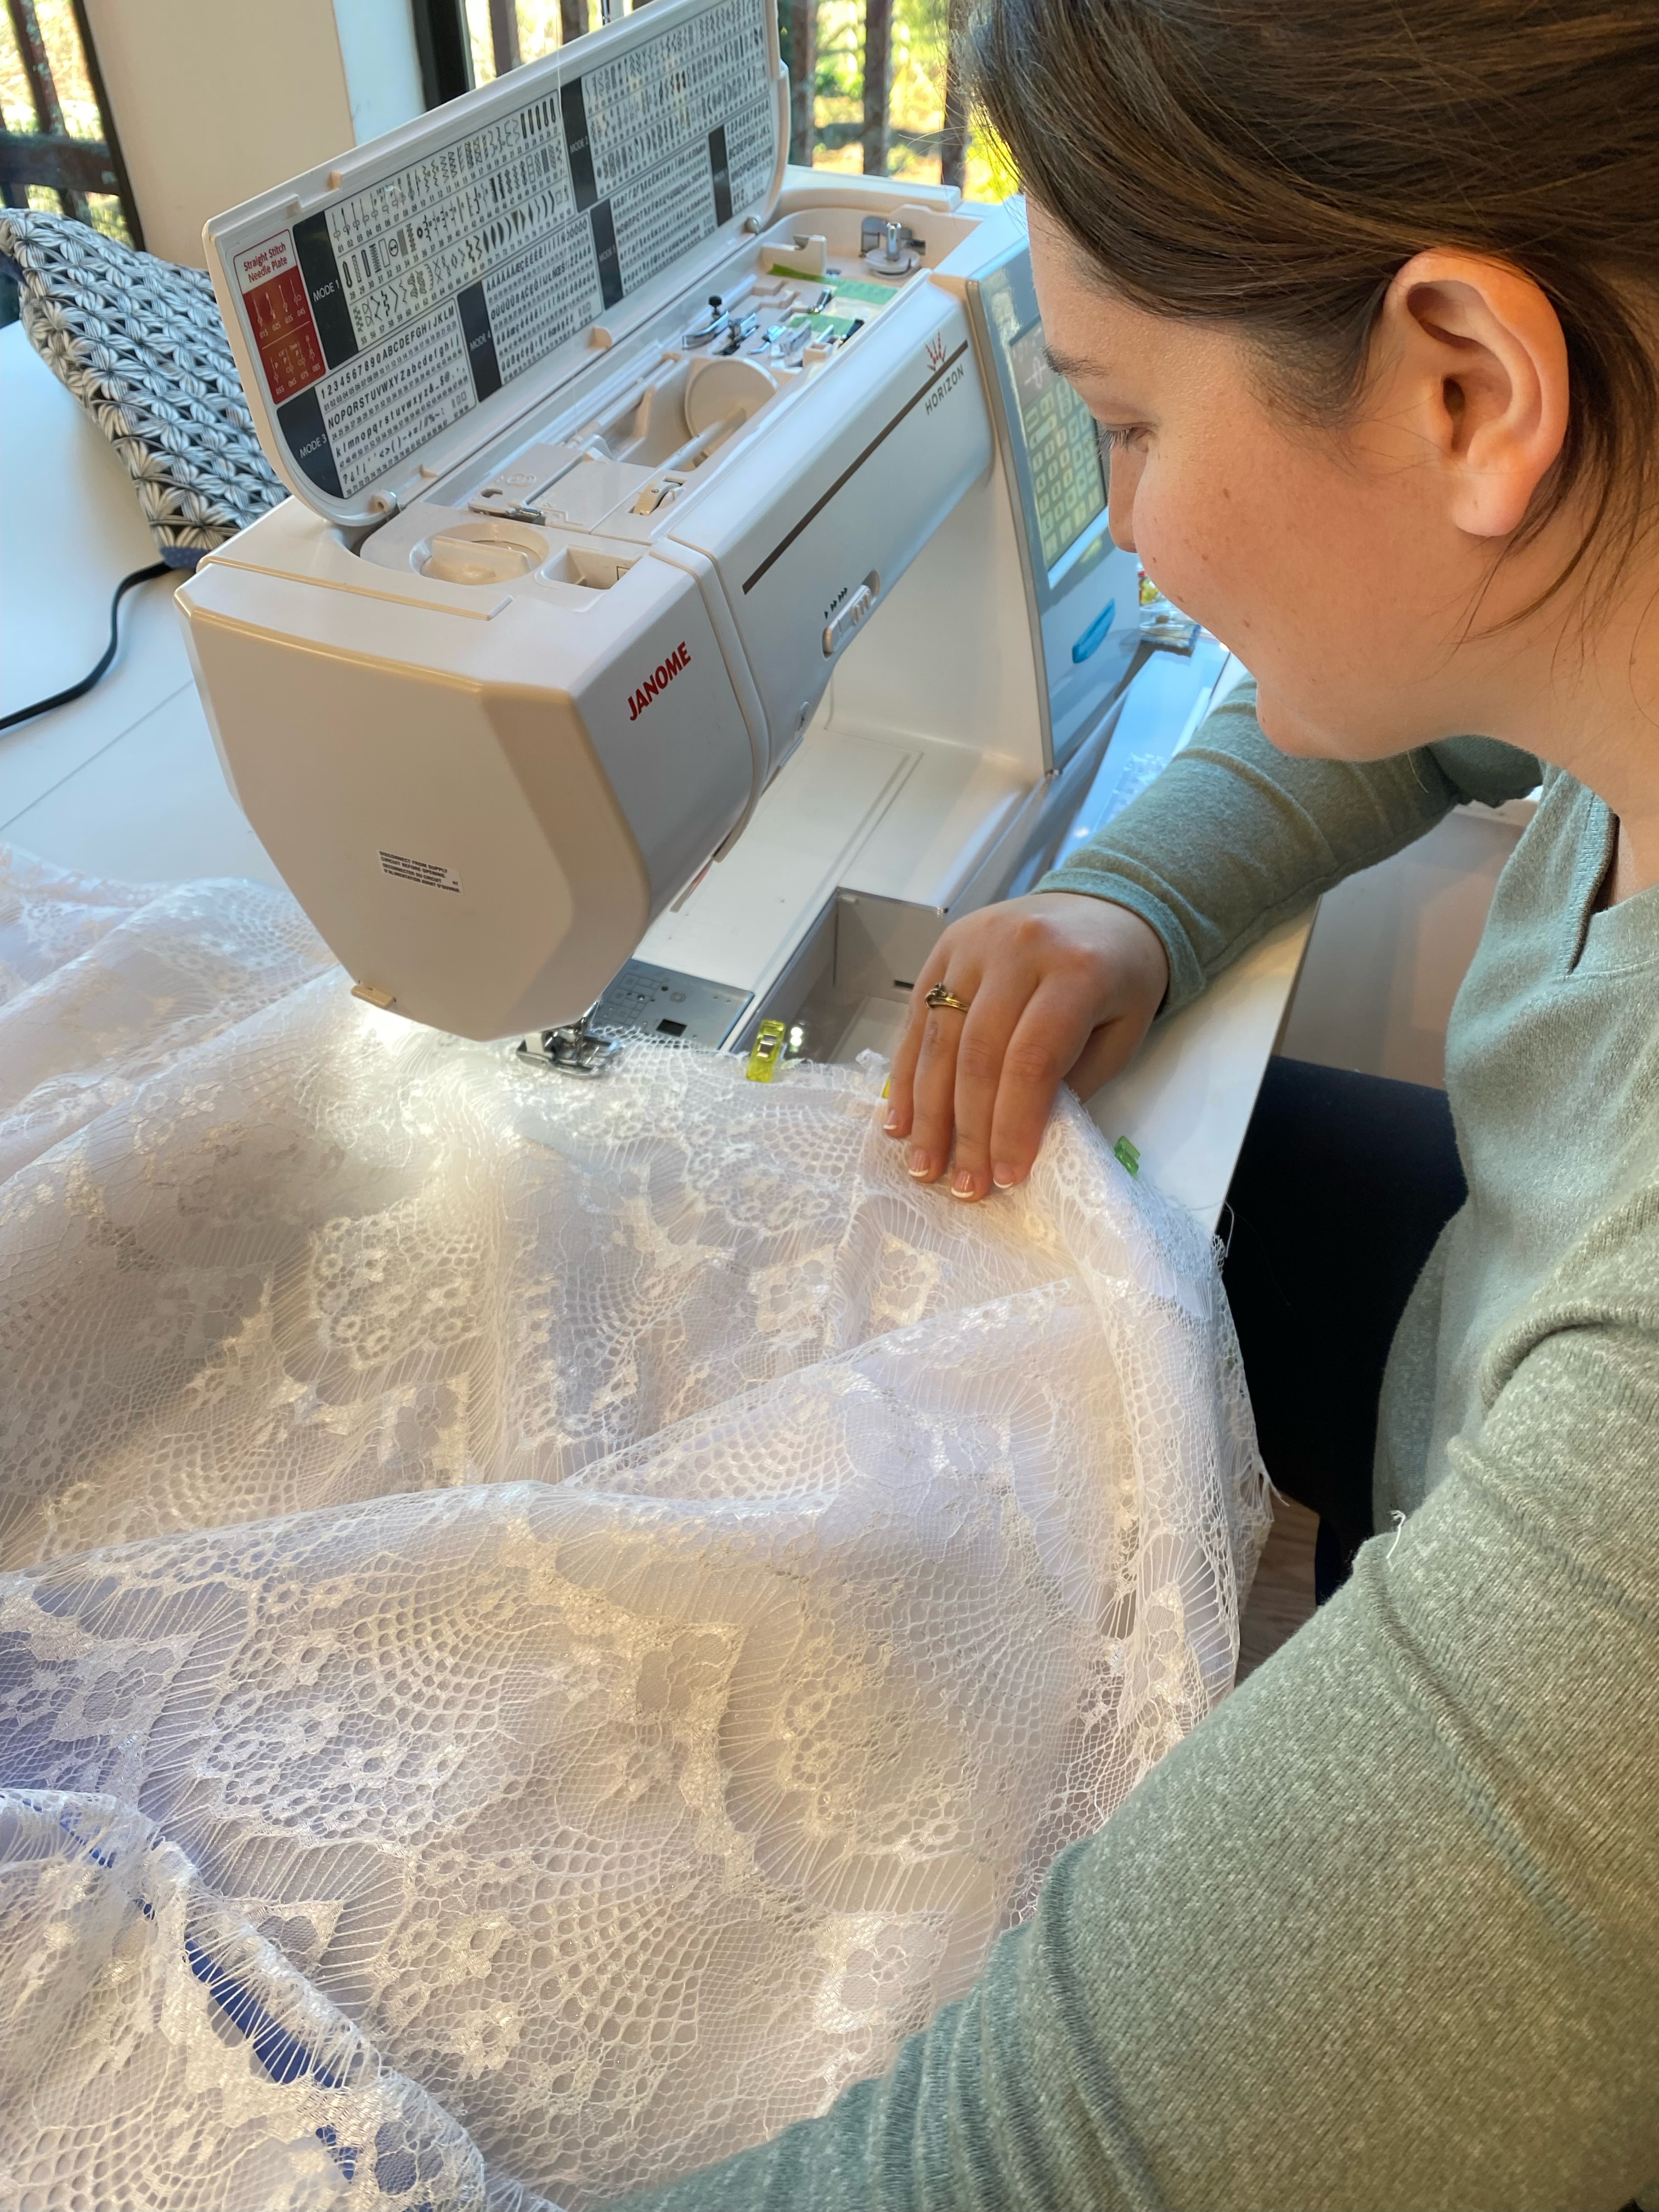
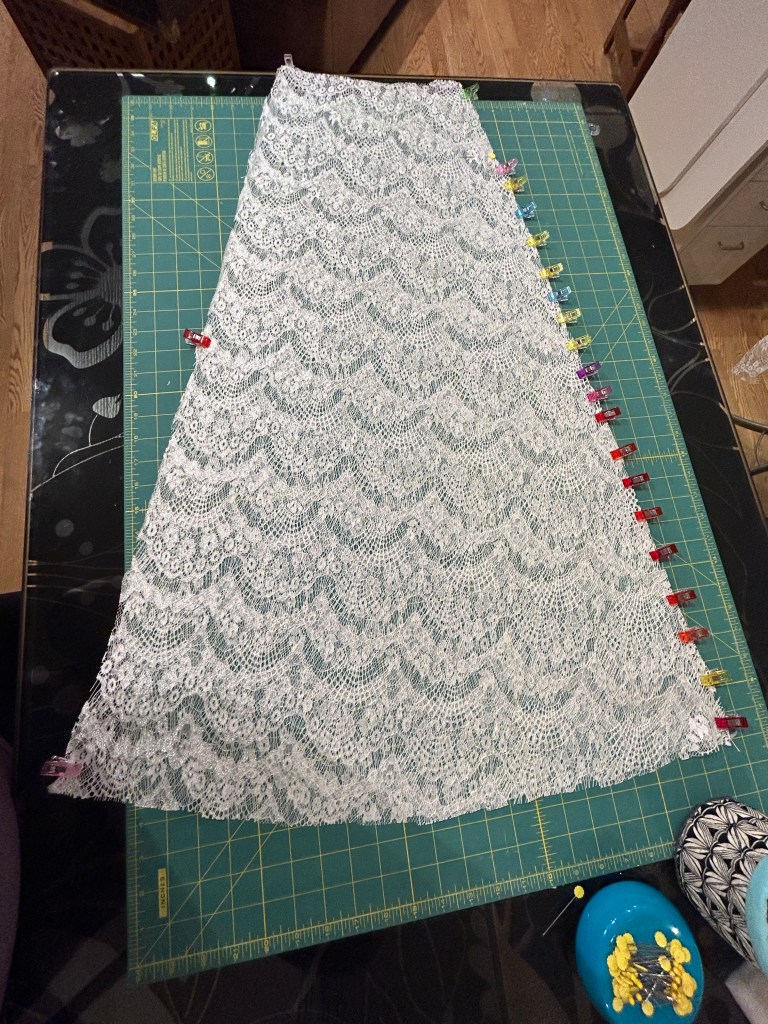
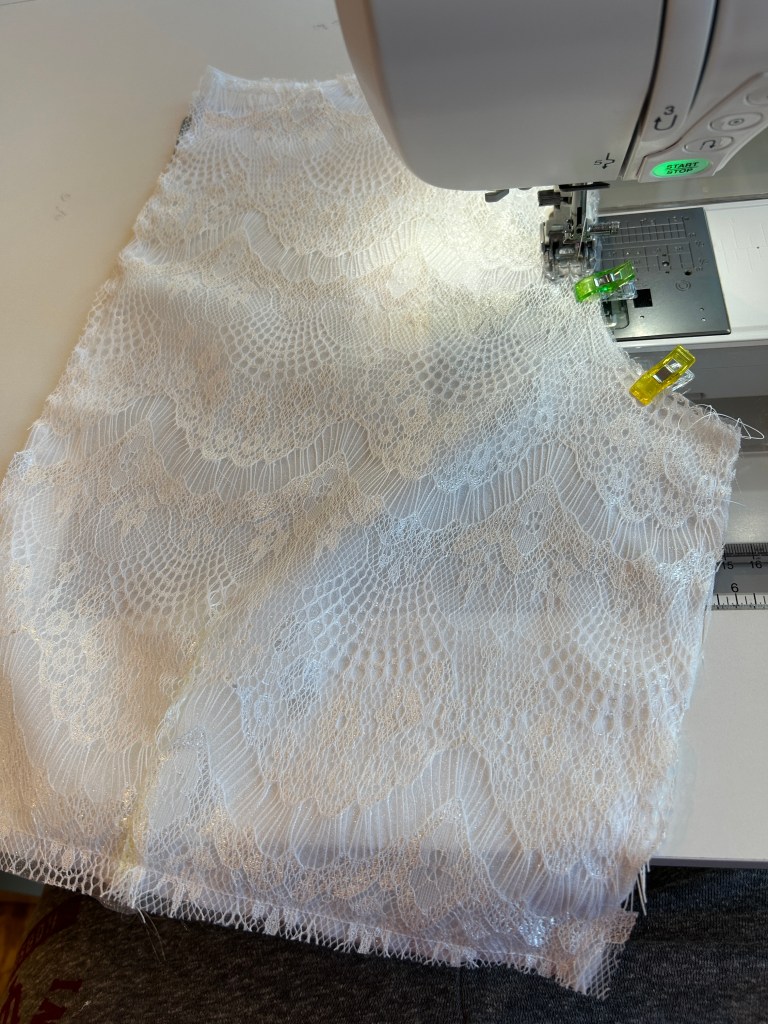
Essentially, we went back to the pattern pieces and adjusted them to fit the skirt pieces from the muslin (which we hadn’t done previously because we had added darts and those solved the problem so we didn’t need to adjust the original patterns). With the pattern pieces now adjusted (sans darts in the skirt) we used those to re-cut the skirt, aligning the pattern with the bottom of the skirt which allowed us to preserve the color. The lace layer of the skirt was sewed together with extra care to align the scalloped end so that I would be able to trim it along the scallops for a more wavy skirt finish. I then sewed the skirts together, attached them to the bodice, and then attempted the invisible zipper.
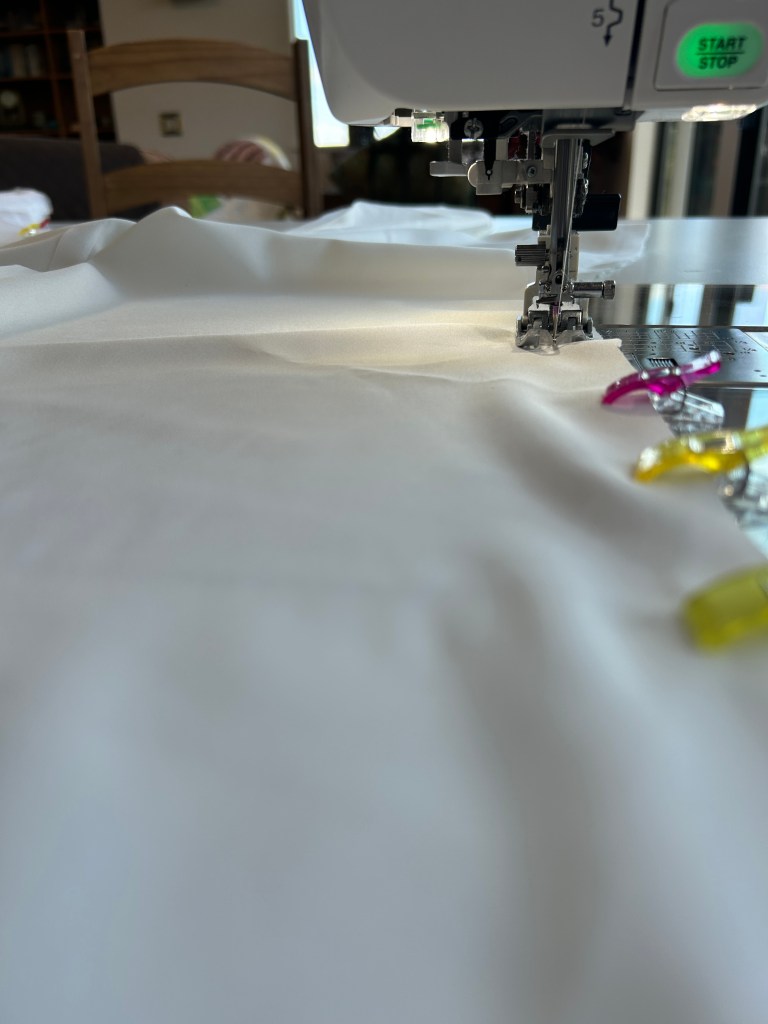
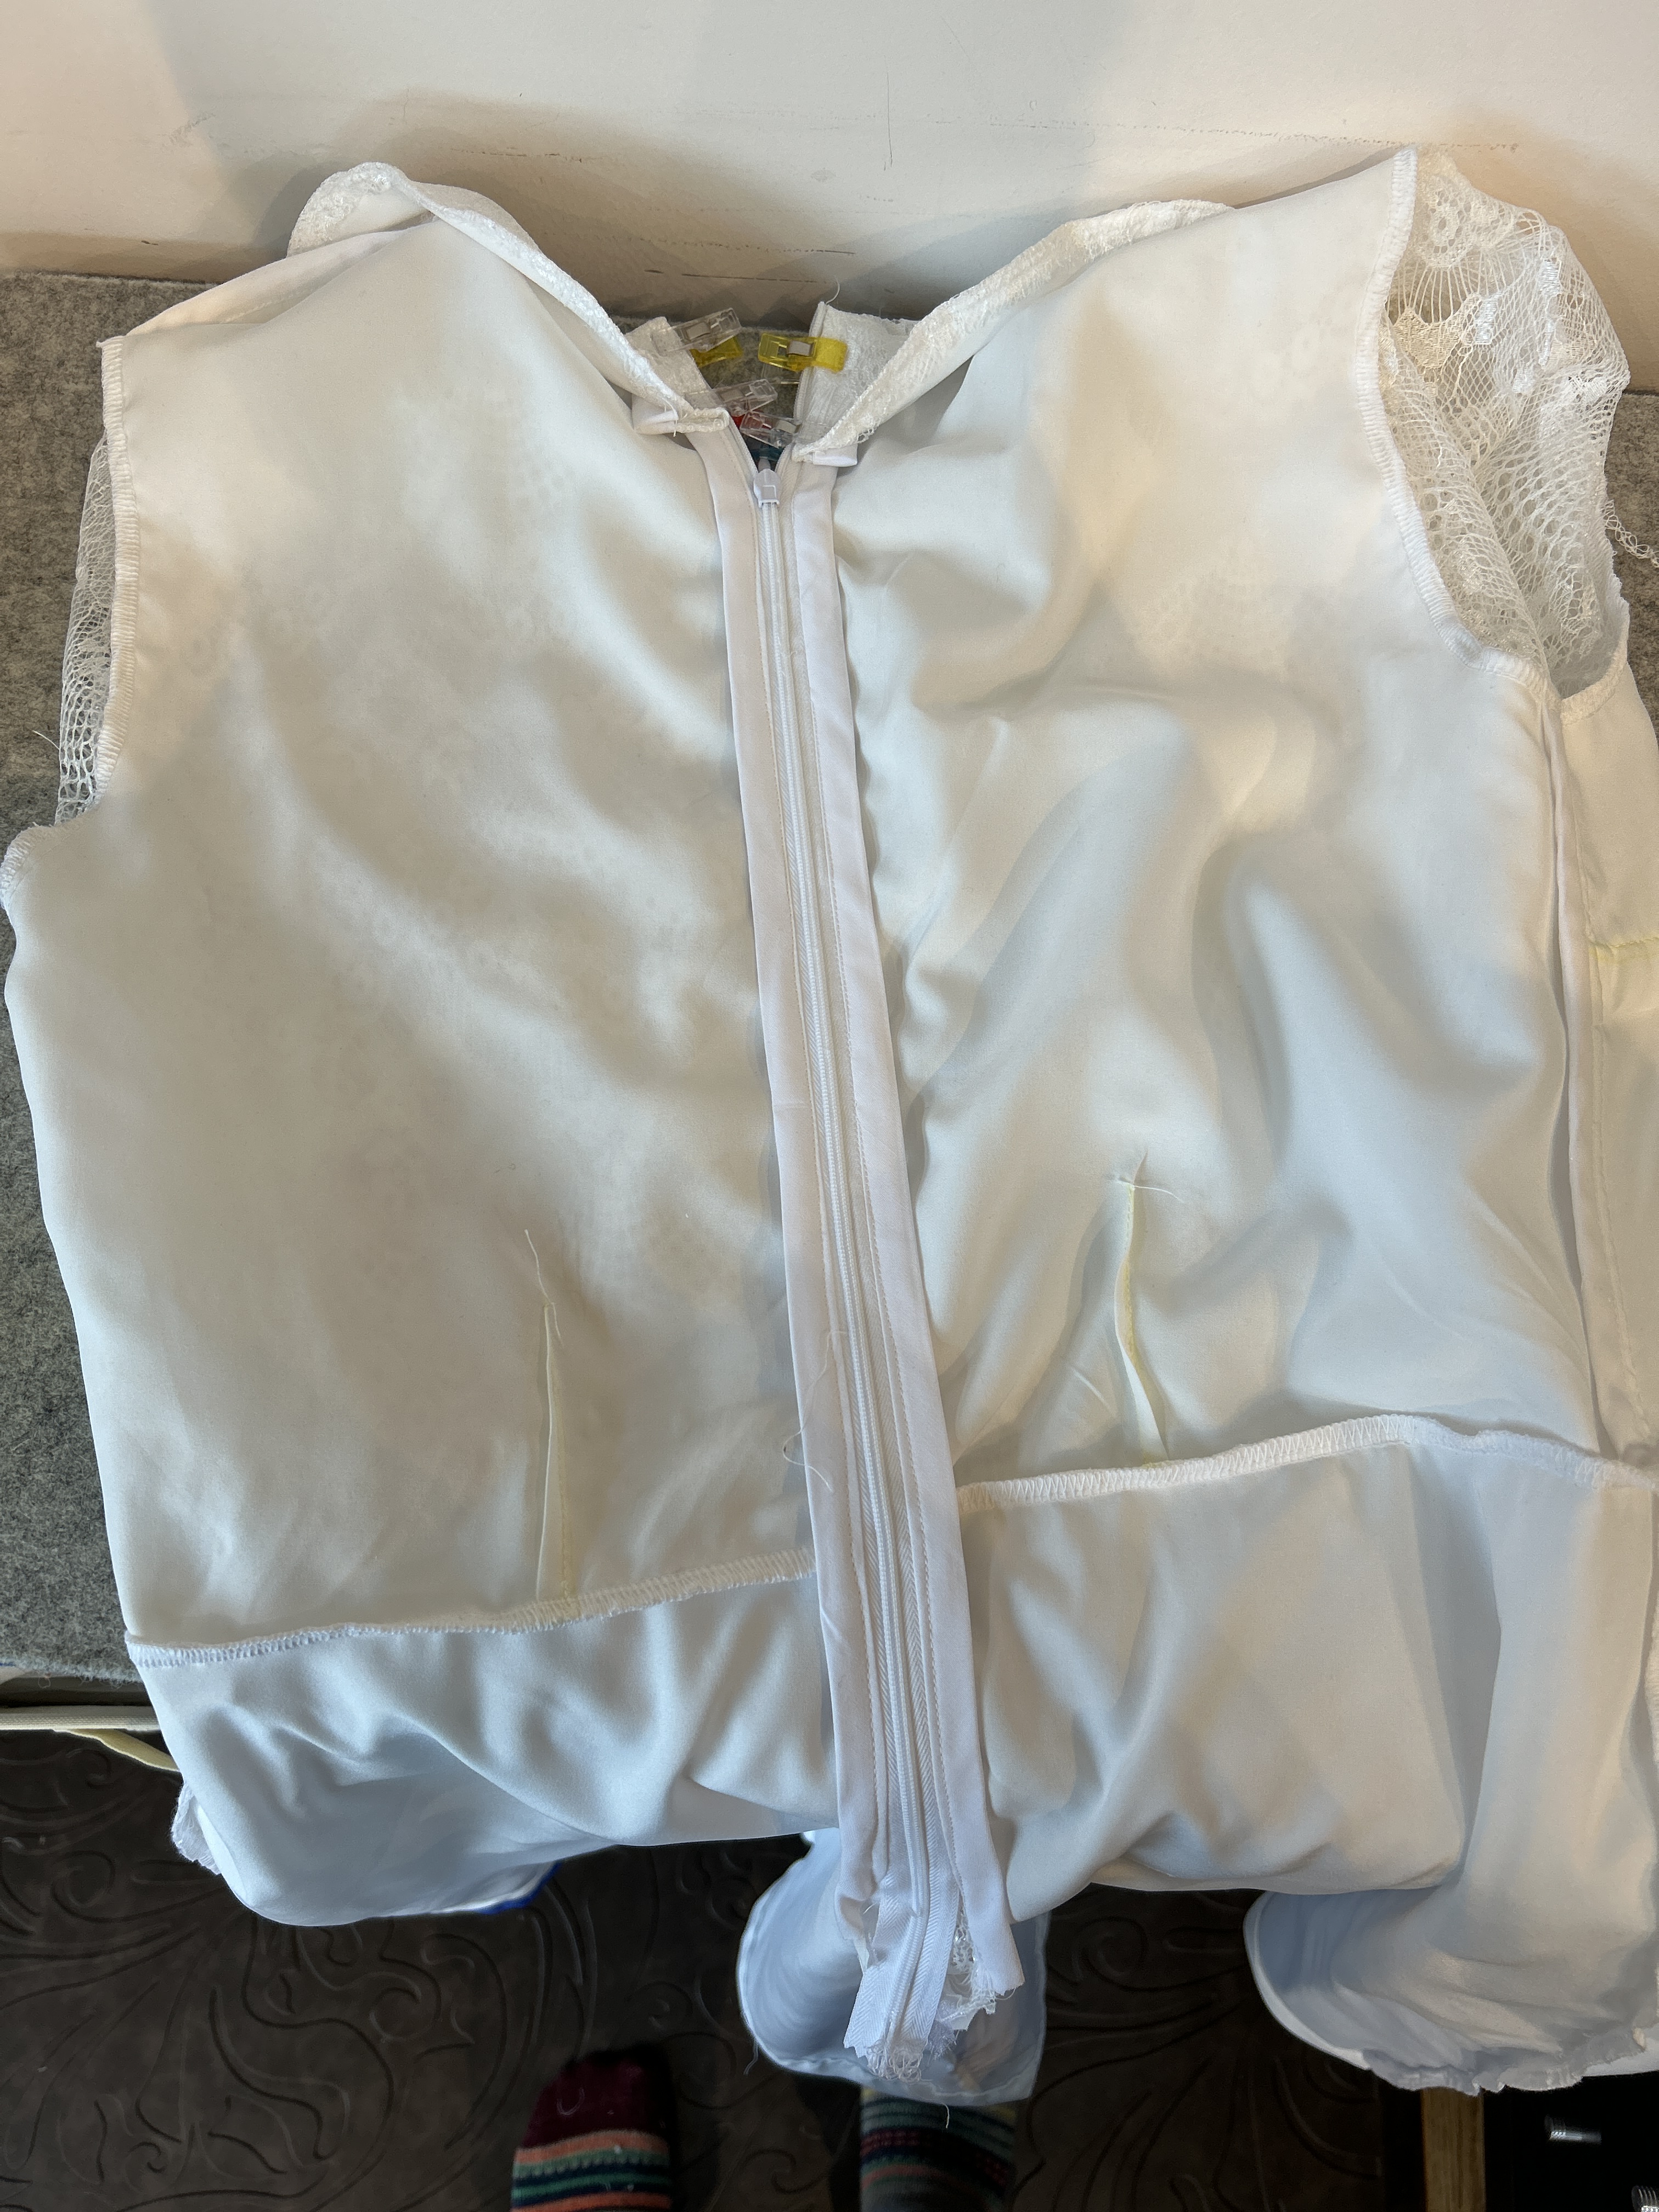
Getting an invisible zipper correct on the first try would be far too much to ask at the end of a long day of sewing, so it’s unsurprising that it took me two tries to get the zipper in the correct way, but once it was in and we double checked that the dress fit snug, but not too snug, my aunt called it a day and we agreed that this time, for real, I would finish up the dress on my own.
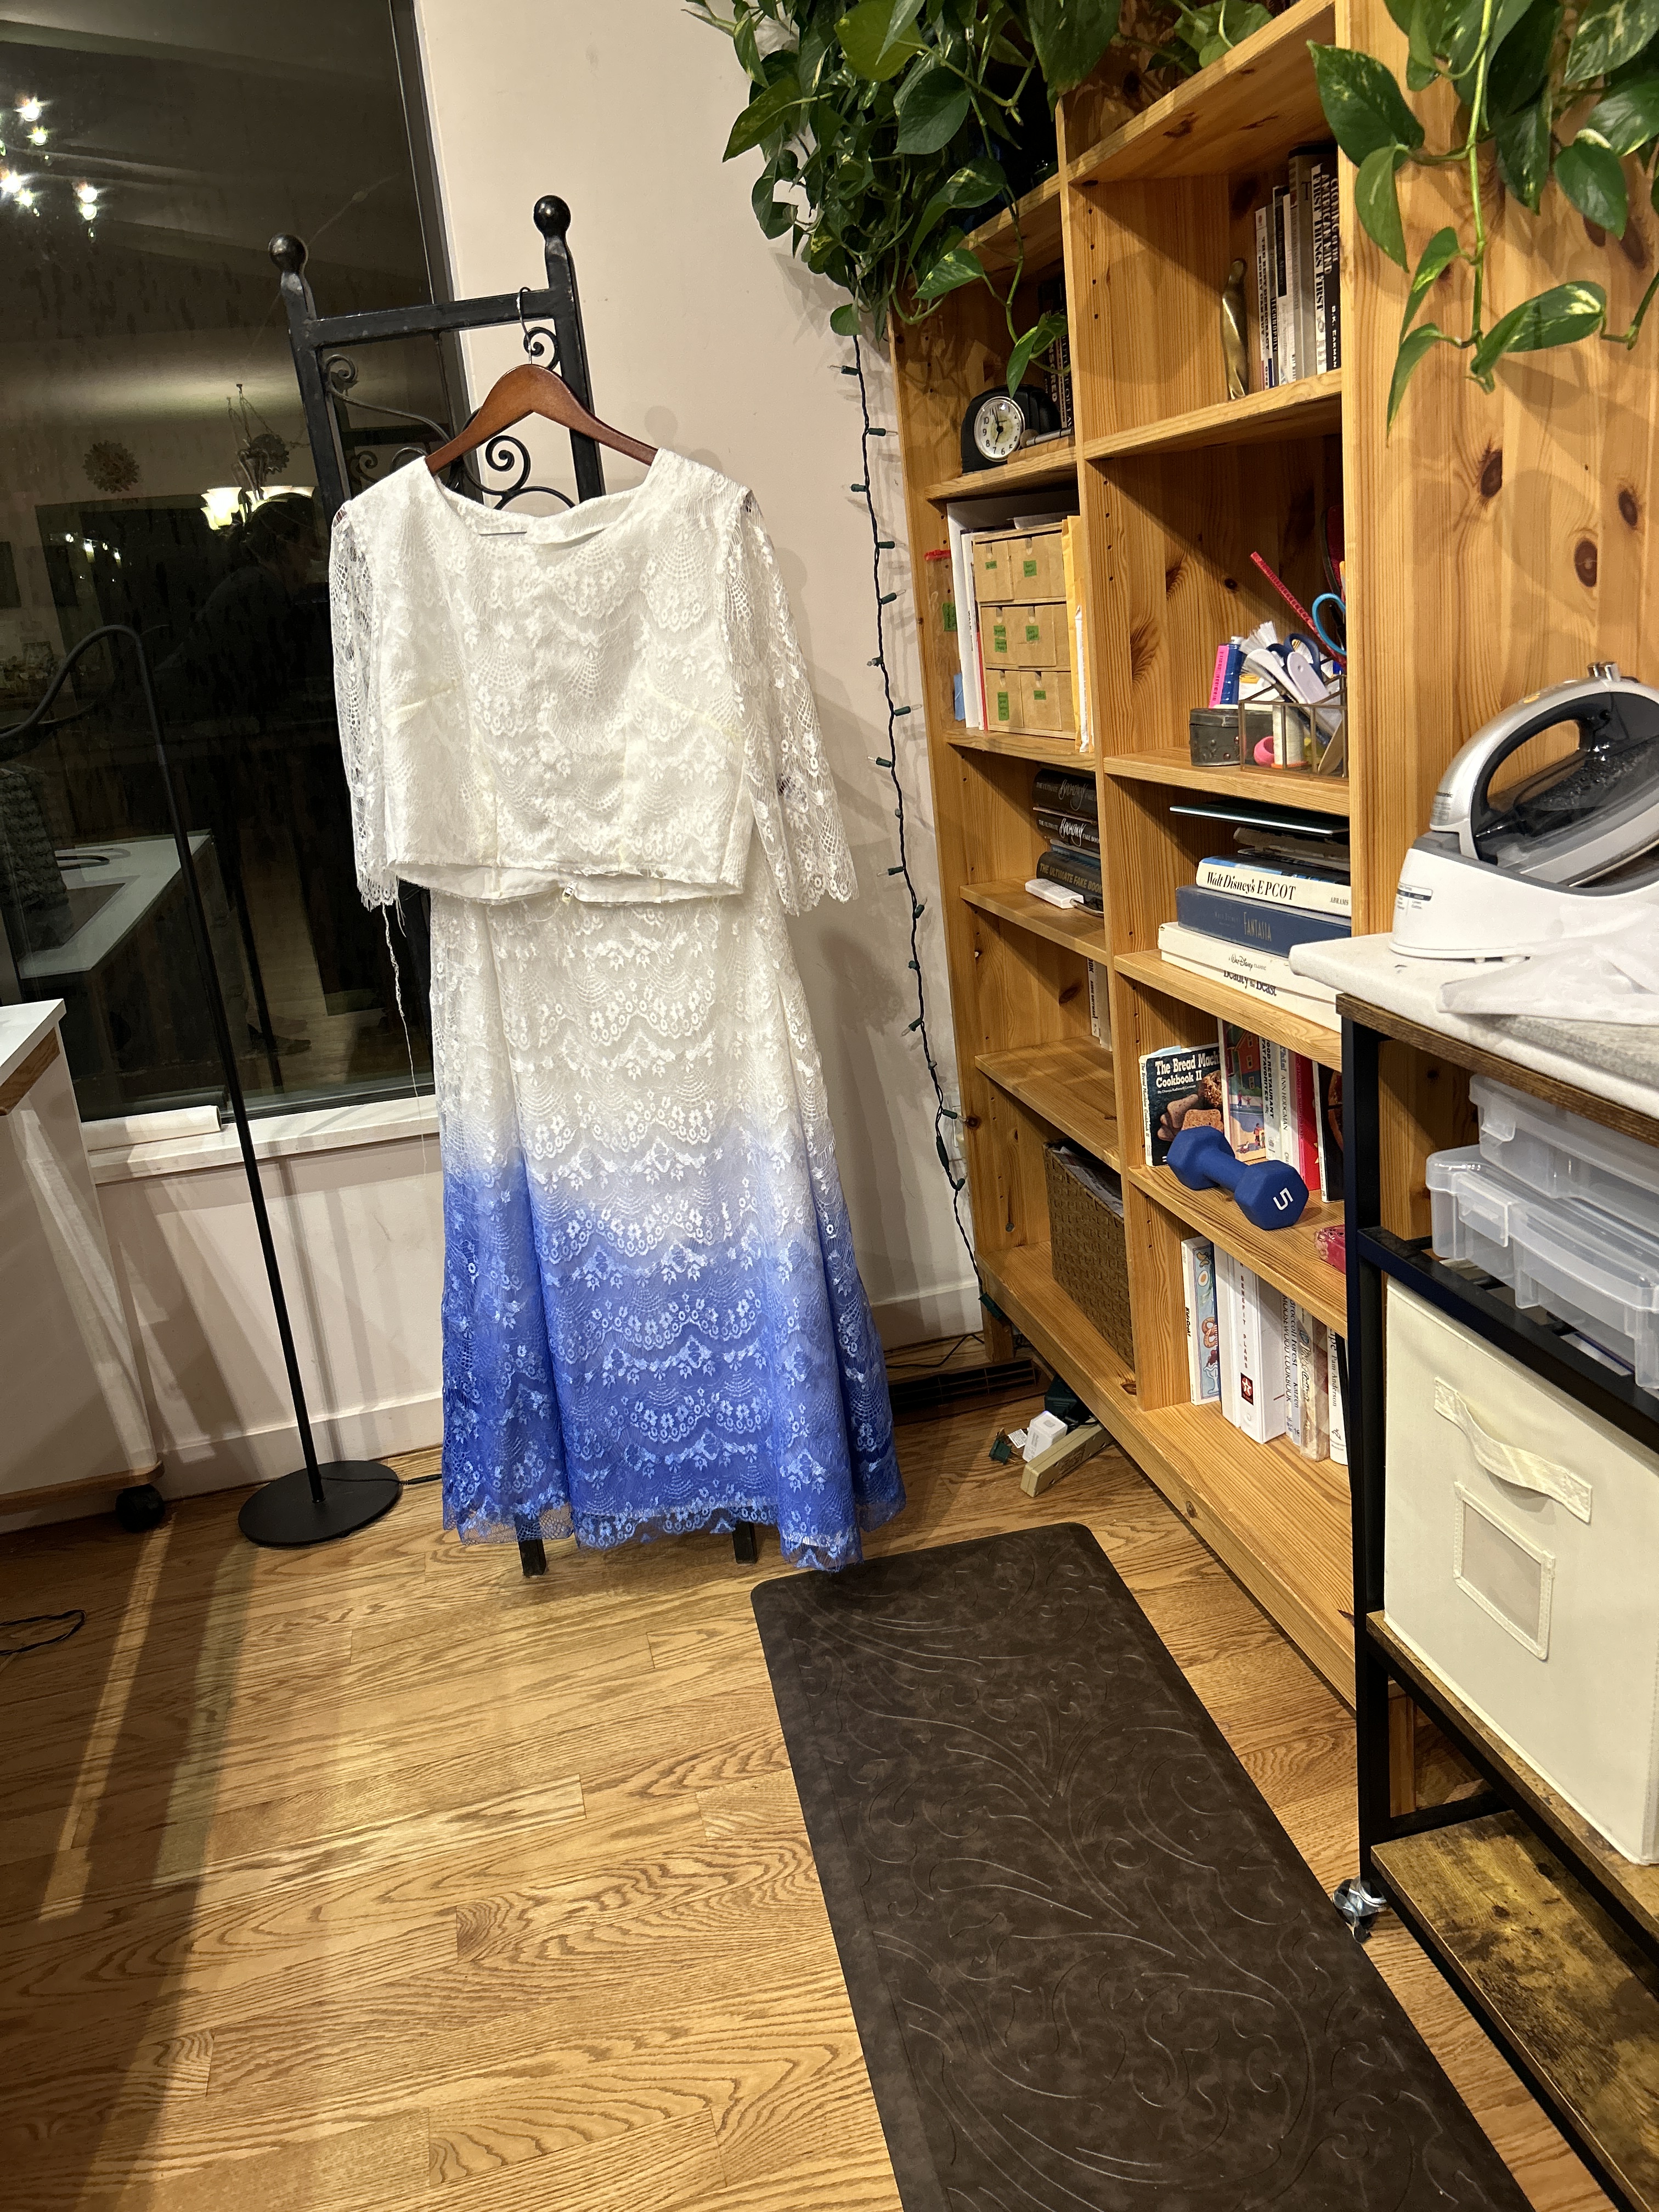
There was lots of celebrating as we’d made it this far, the final steps: hemming the skirts, attaching the lace notions, and finishing the invisible zipper, would happen over the following few days. I was particularly proud of how the zipper turned out:
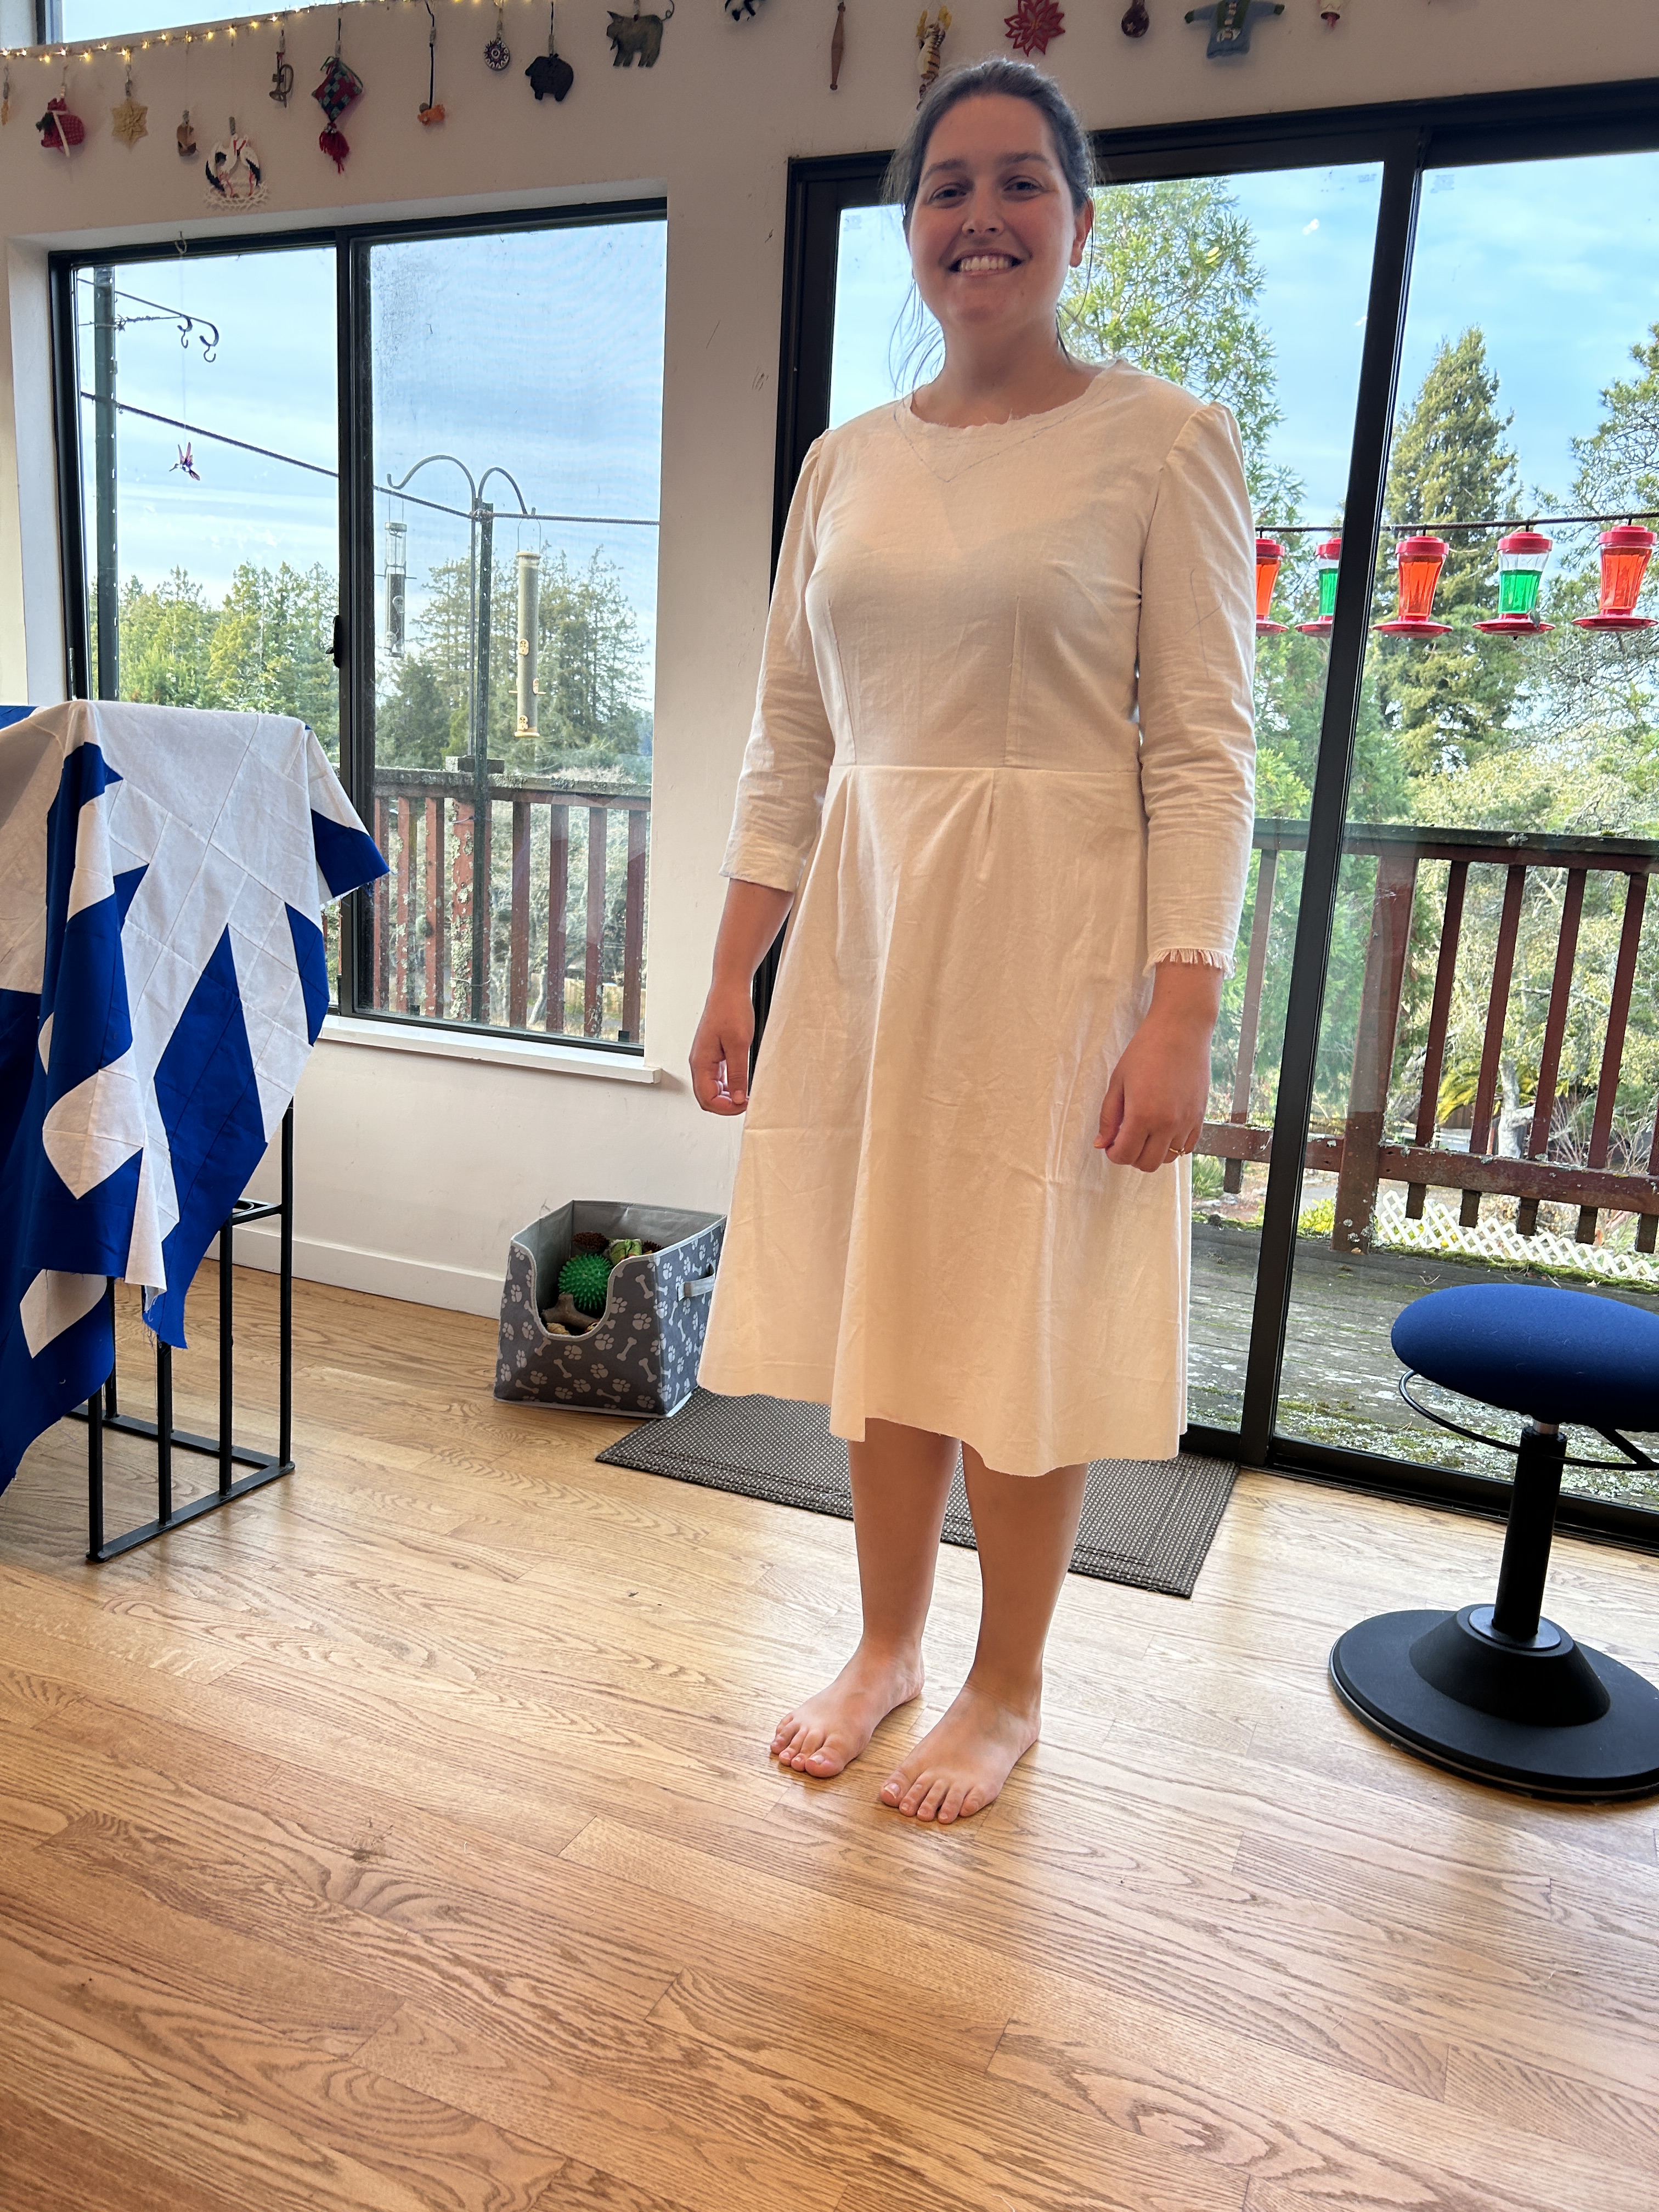
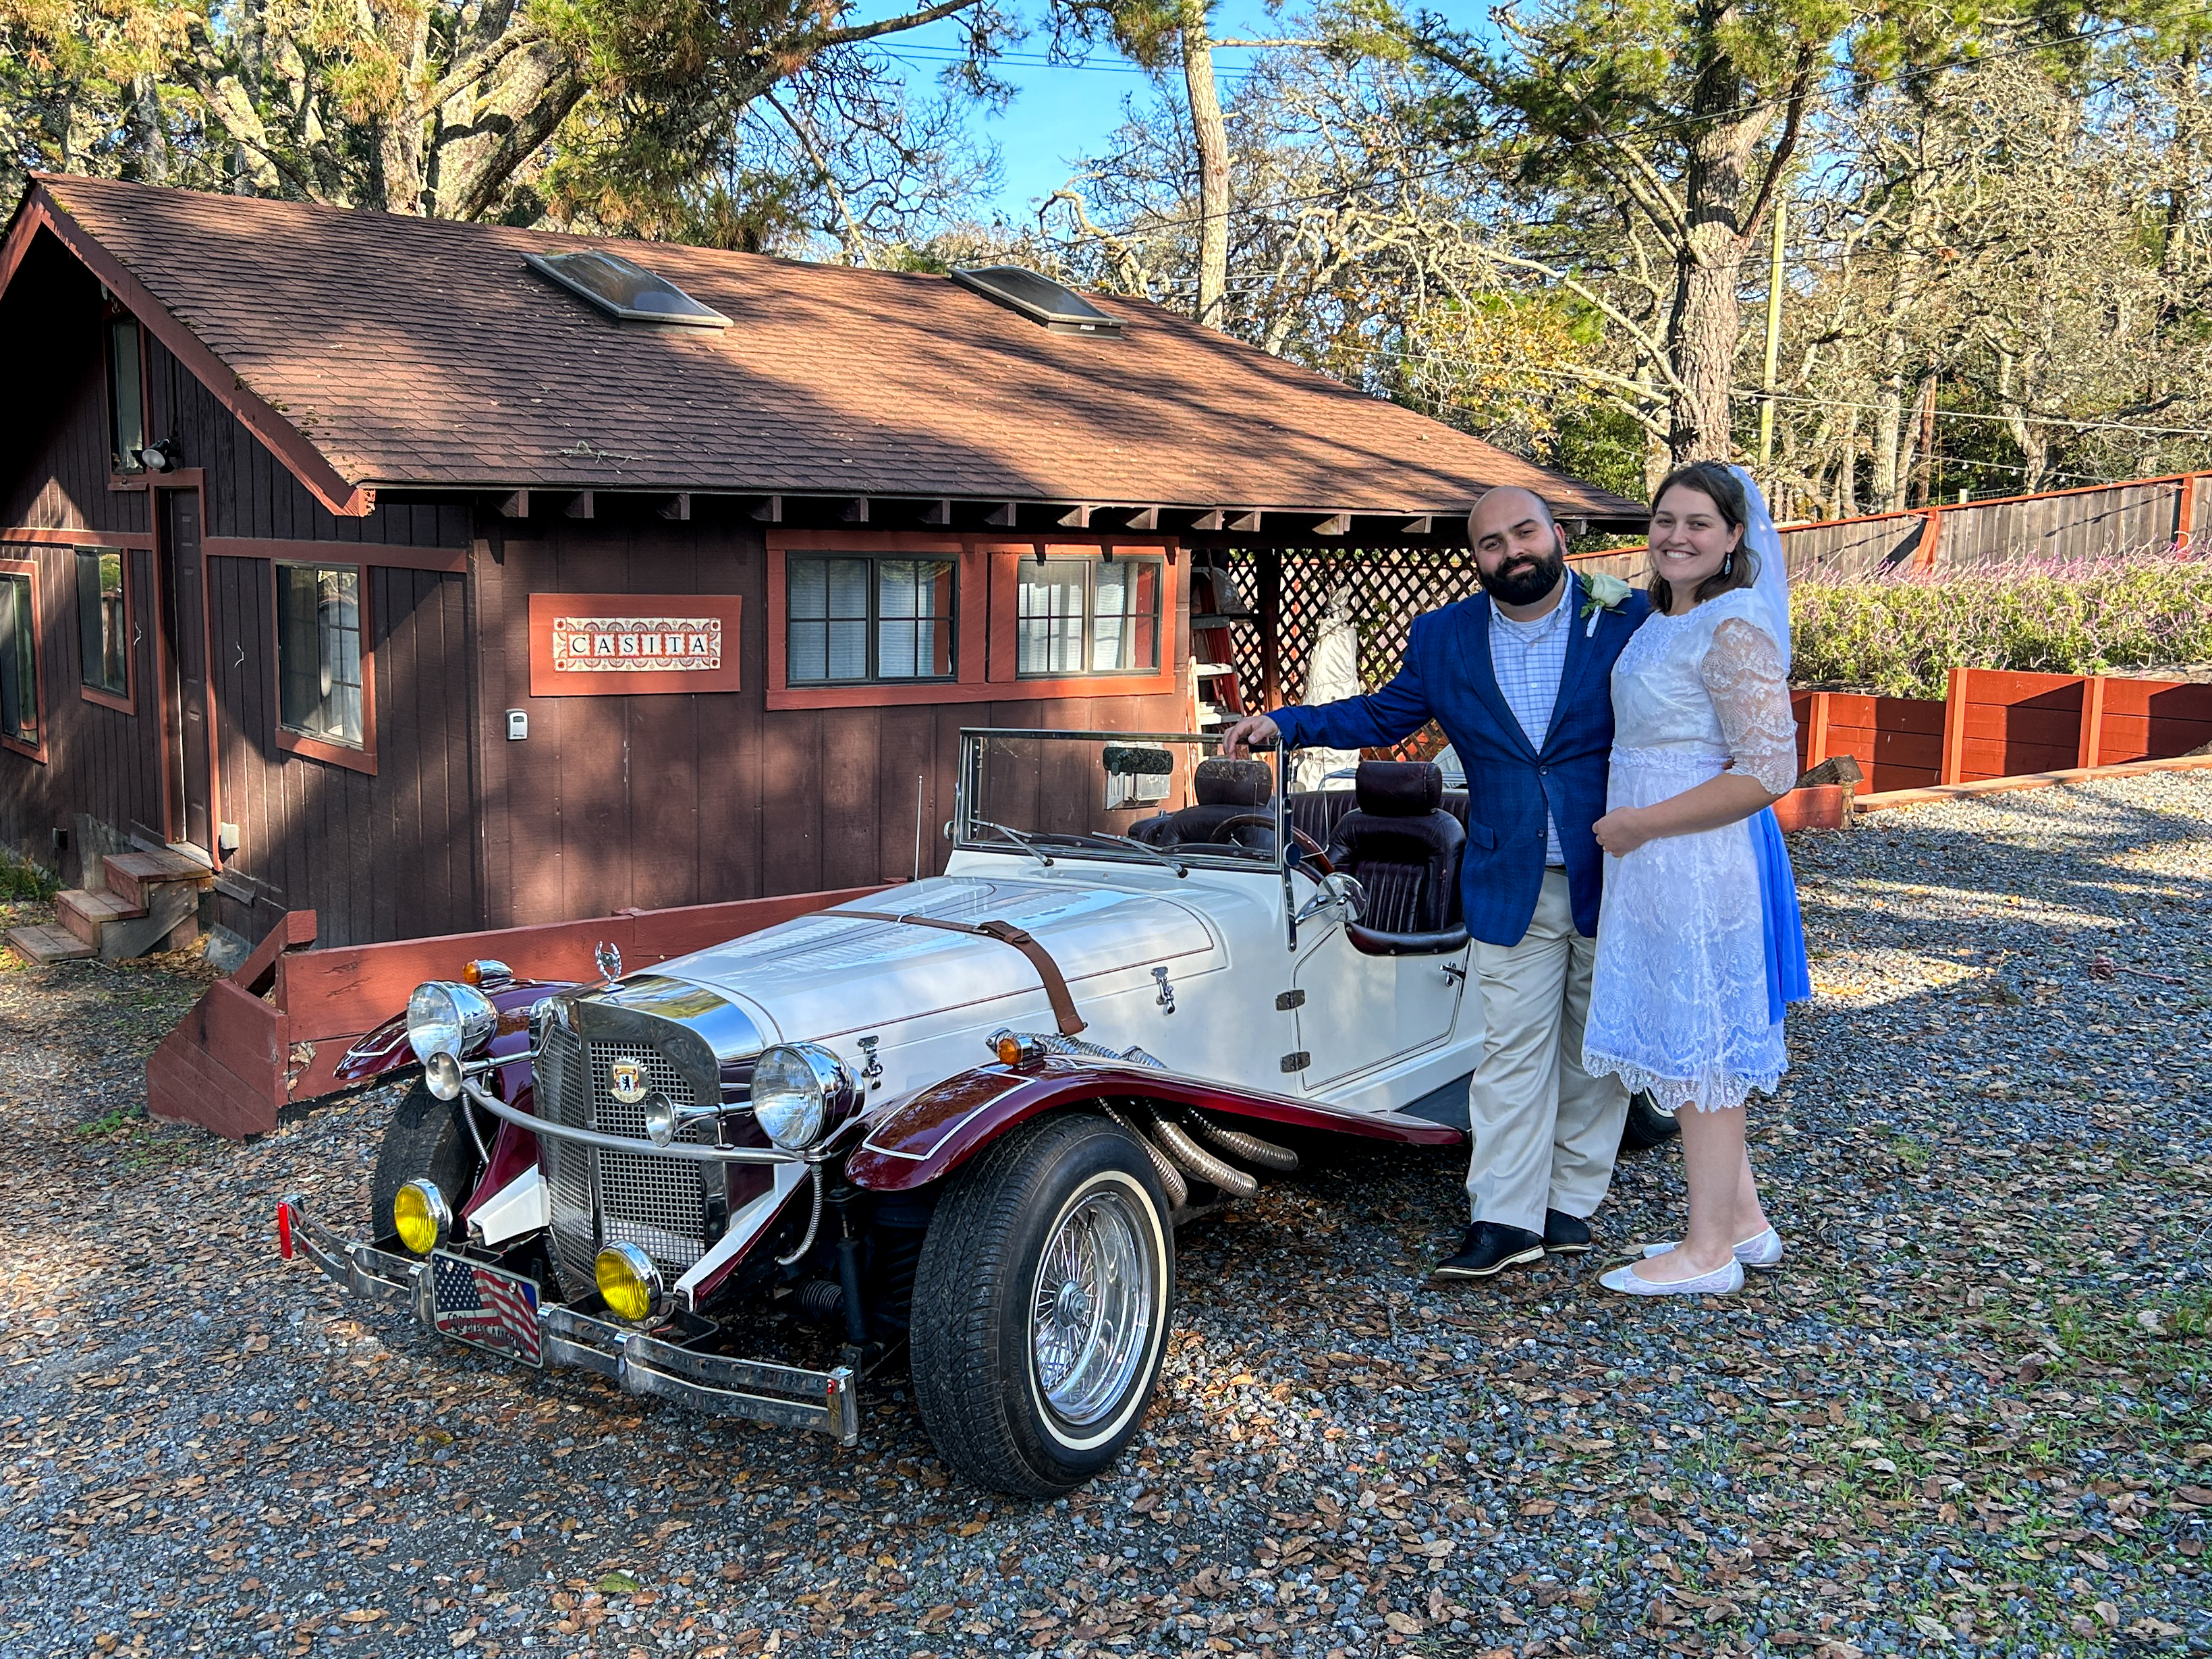
Just two days before our first celebration (because when you make your own dress, there’s no way you’re wearing it just once) I put the finishing stitches on my dress.

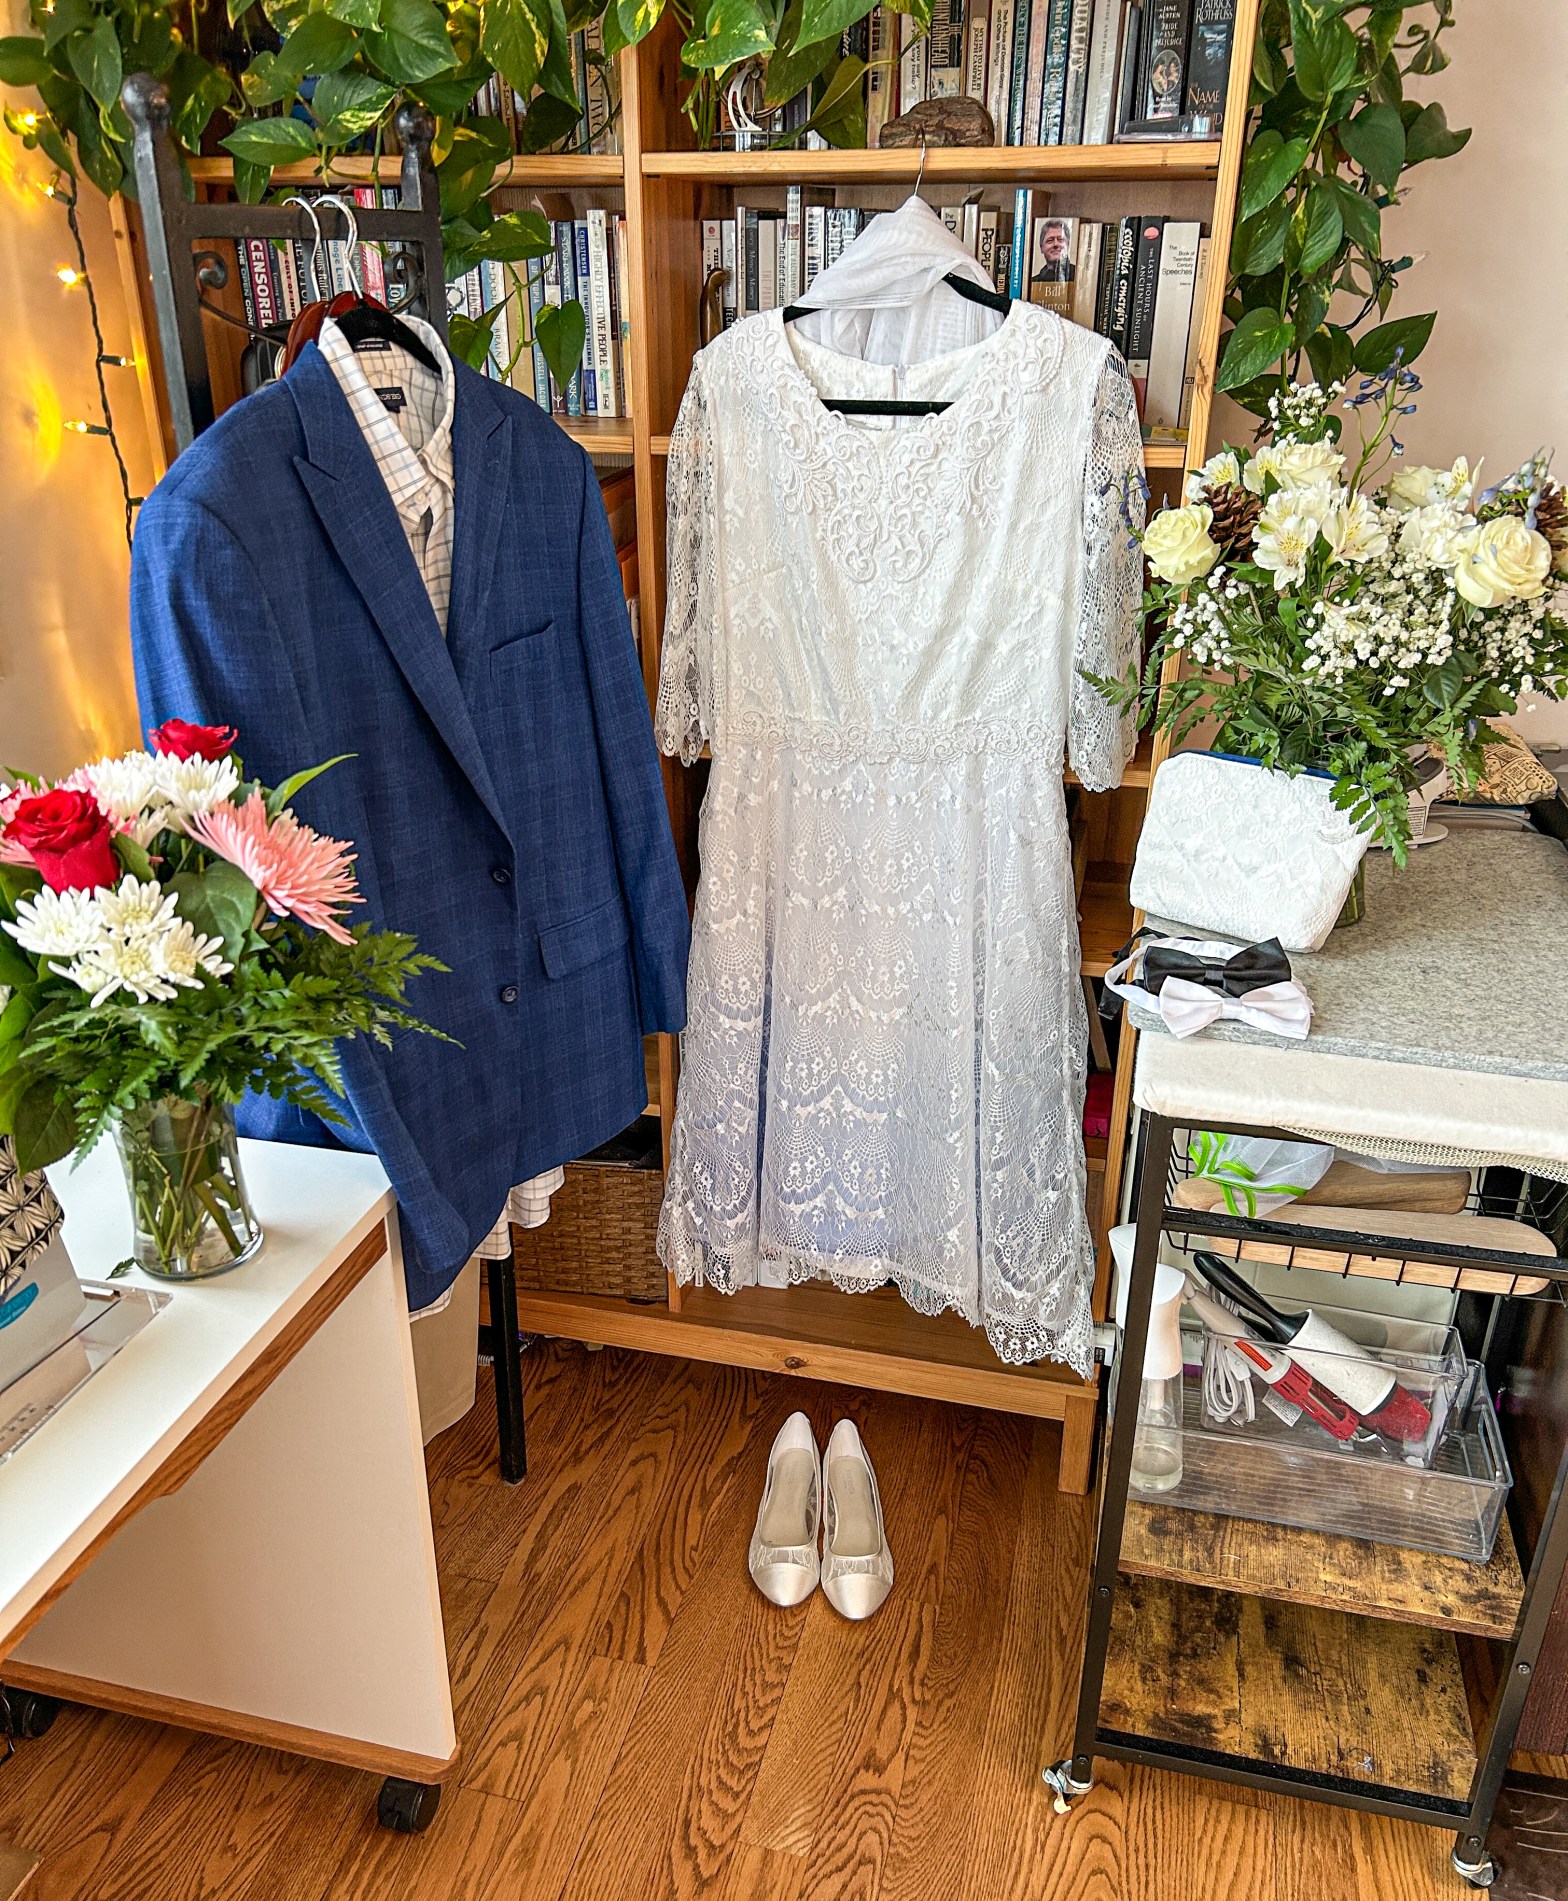
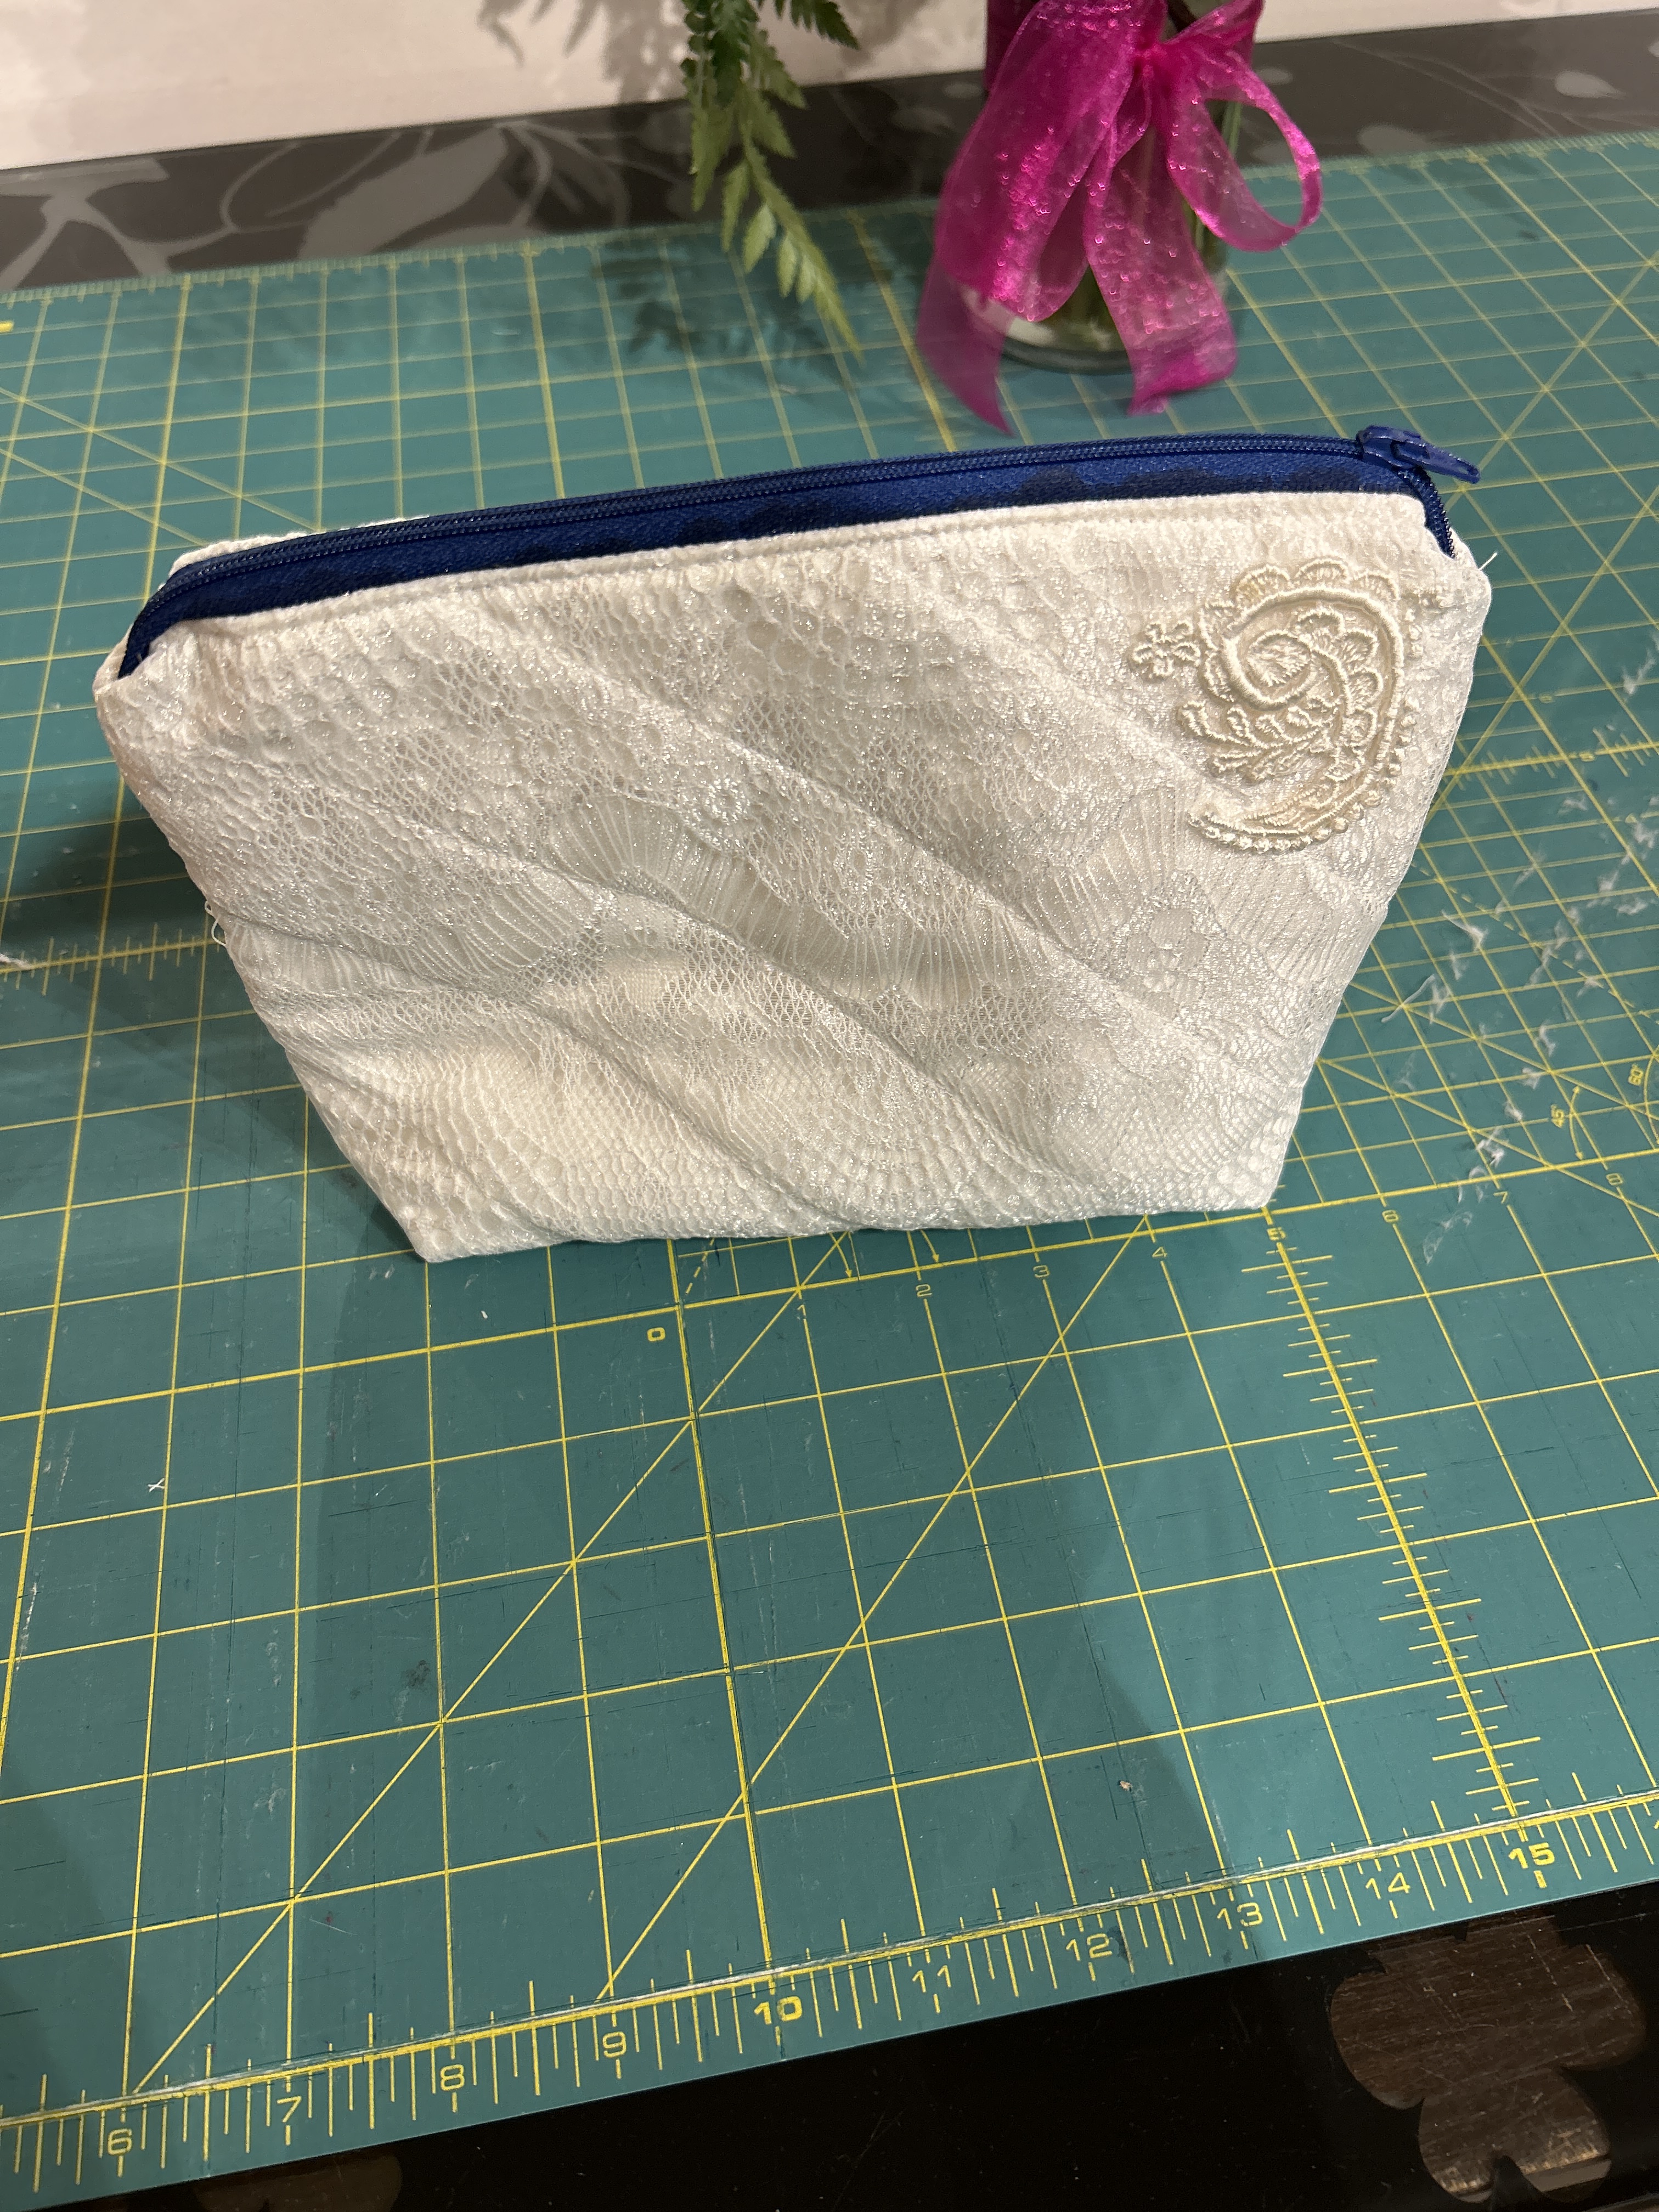
As a bonus project, my mom helped me use the extra dress fabric to make a little zipper bag in which I then saved some mementos from our wedding (pressed flowers, the dog’s bowtie, champagne cork etc.)
And voila! That was my adventure in making my own wedding dress, now back to working on that second wedding dress pattern that I had bought…


One thought on “I said yes to the dress….pattern!”