Project Info
Pattern: Adventure Time Backpack by Andrie Designs
Fabric: ¼ yard tan marine vinyl (base), 1 ⅜ yard contrast fabric (blue) (for piping as well), 1¼ yds National Parks Words fabric (outer), 1½ National Parks Signs Fabric (Lining)
My mom had come across these fabrics in the past and was inspired to make me the tote bag that I now use as my project tote for knitting. I loved the fabric and was excited to get to re-use it for this backpack.
Time to Completion: August 18, 2021 – December 28, 2021
Potentially Useful Heads Ups:
- You might save yourself some time by fusing the interacting to the outer fabric and then cutting out those pieces (note the two pieces that aren’t supposed to have interfacing and cut those first)
- For all of the foam pieces, cut them a half inch smaller than their corresponding pieces to make sewing through all of the layers a little easier.
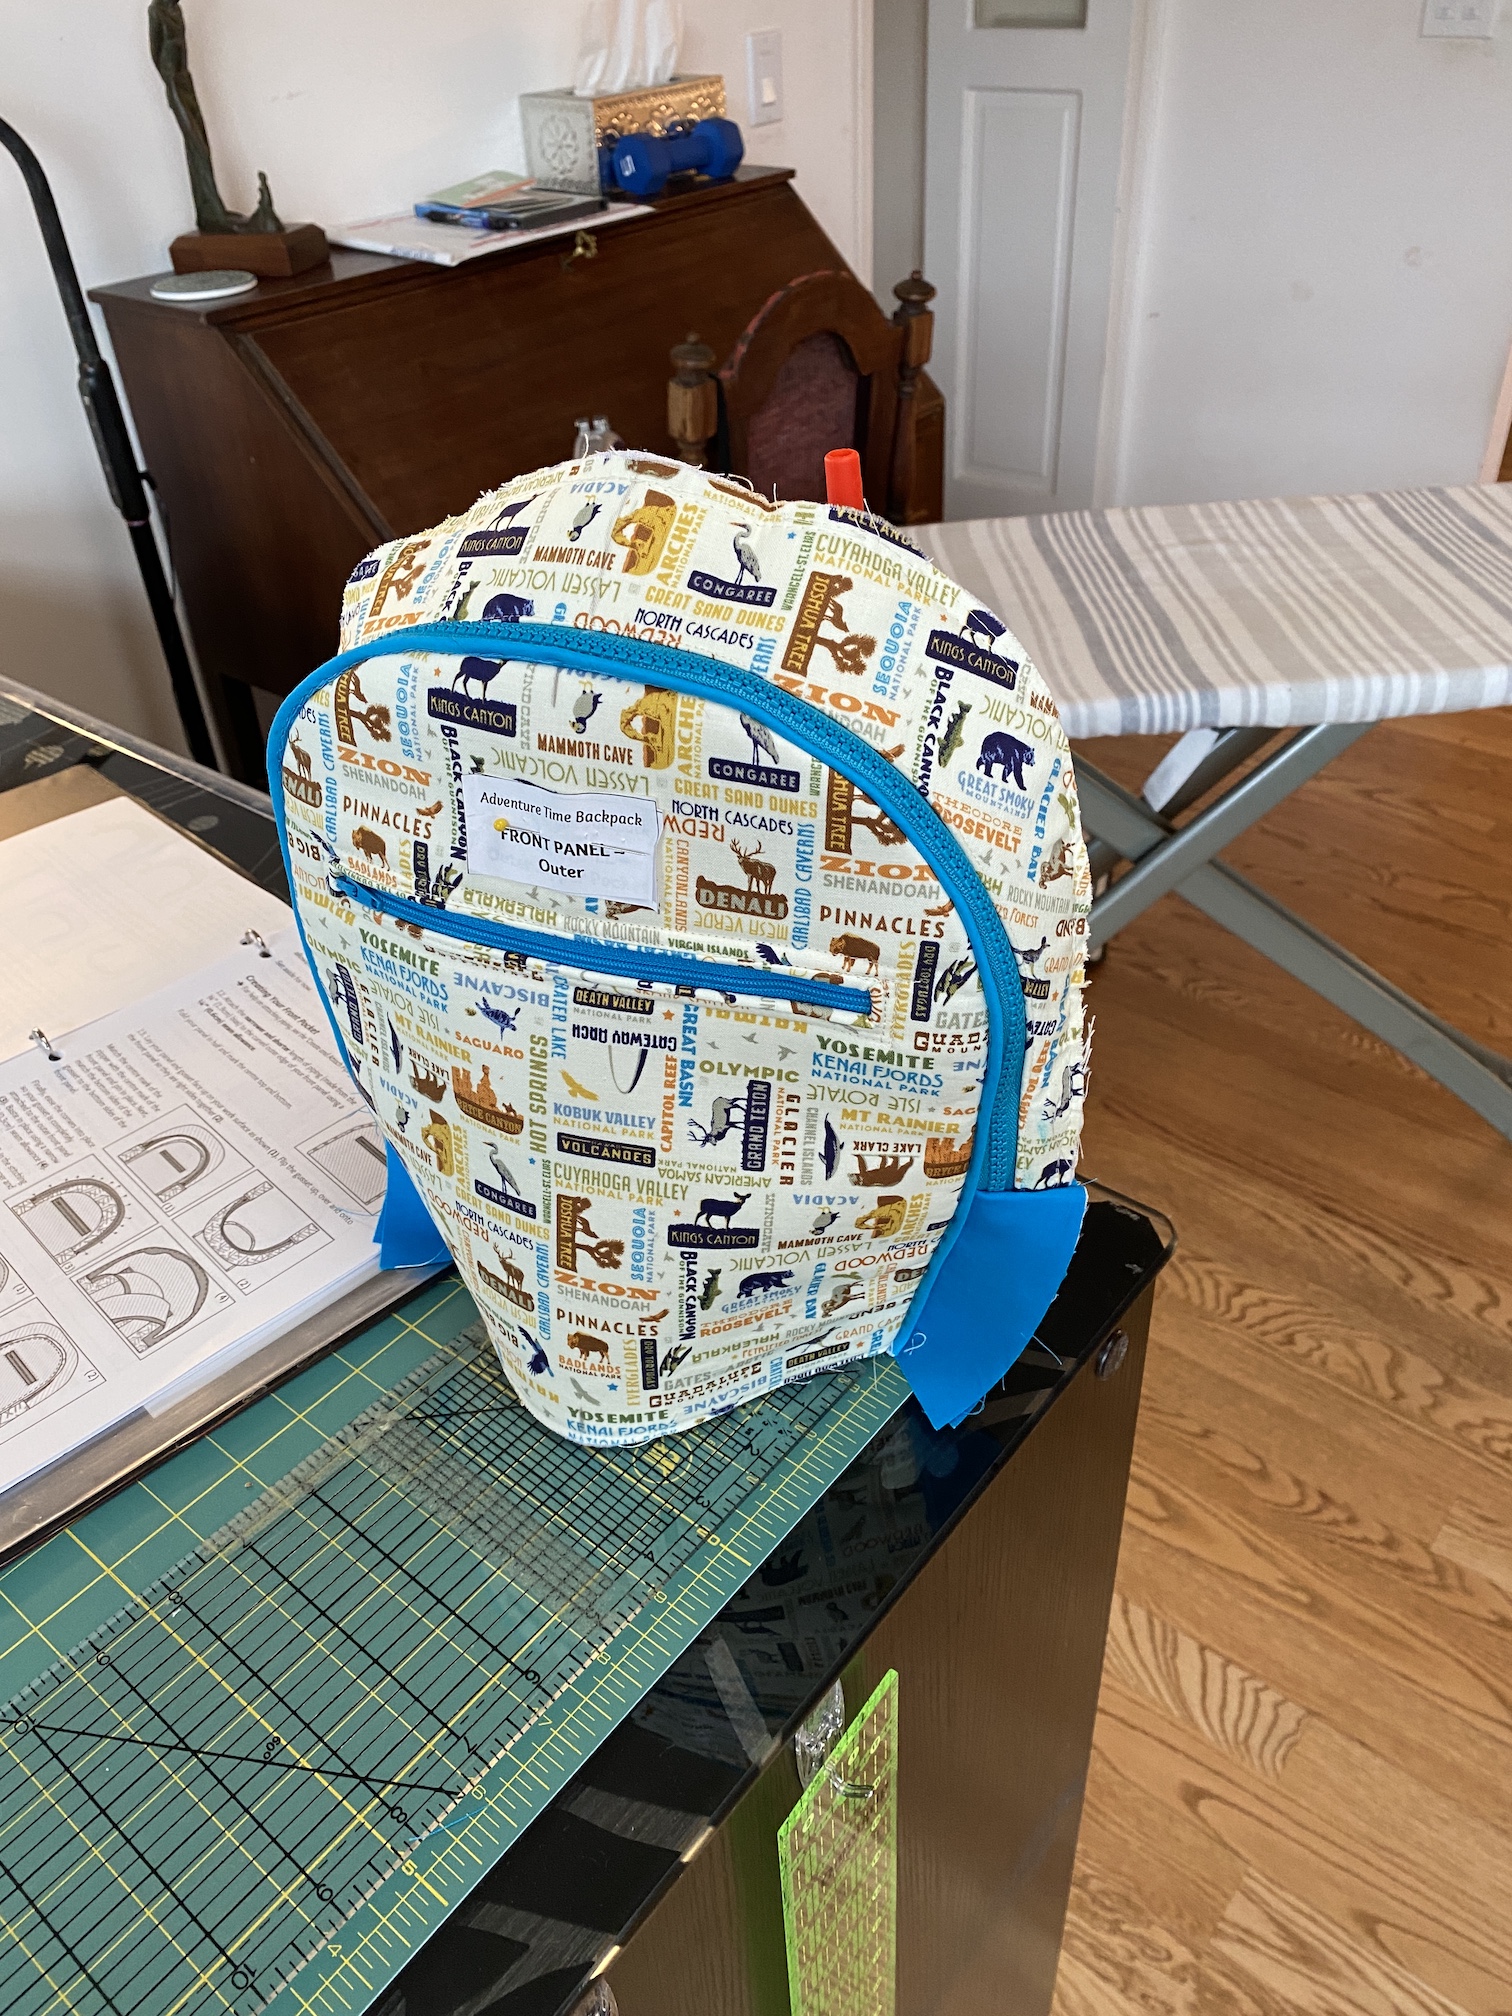
- The front pocket ends at the contrast fabric, only the main backpack pocket uses the full length of the backpack.
- Consider cutting as you go to provide context to the pieces so that you can make sure they are the color you want them to be.
- If you can find piping bias tape rather than making your own, it will save you a lot of time.
- Sew with a buddy! Having four hands makes lots of this project a little more manageable.
Project Notes: When I started traveling to more National Parks, I learned about their program for fourth graders where every fourth grader gets a free National Parks pass during their fourth grade year. The goal is to instill a love of nature in kids while they’re still young and according to child development theories, ages 9-11 are the best time to begin that process (from the perspective of the national parks). As I am far from fourth grade and didn’t have a fourth grader in my life when I learned this I was a little sad that I couldn’t immediately share this knowledge with parents of fourth grades so they could help their kids get their national parks passes and go enjoy some national parks. But my cousin was a few years away from fourth grade so I let the information sit in the back of my mind, waiting for her to get a little older.
Earlier this year I visited my cousin and we went to Bandelier National Monument and she told me how much likes hiking and that she’s been visiting national parks with her mom and that this year she’s going to be in third grade. Third grade! We were so close! This meant I had one year until she would be eligible for her national parks pass and I immediately started imagining what would be the best way to present her with a national parks pass. The little junior ranger vests in all of the national park stores felt like a given, so from there I started thinking about making a little explorer kit with a vest, maybe a compass and whistle and thermometer like I’d had as a kid, and then maybe a field guide to common birds, and maybe a parks journal, and then I realized I’d need something to hold all of it and I connected the national parks fabric that I had loved so much and started hunting down backpack patterns. It needed to be the perfect backpack with lots of pockets, kid-sized but not too small, and it would need to have the national parks fabric.
Eventually I stumbled upon the Adventure Time backpack by Andrie Designs which felt like the perfect project, but was also perhaps the hardest project my mom and I had taken on. It clearly had a lot of moving parts but I figured with a year or so to put the thing together we’d have time to work through all of the hard parts.
I downloaded the pattern and was immediately overwhelmed by the almost 50 pages of pattern. We printed the whole thing out and it turned out only the first 20 or so pages were instructions, the other thirty pages were all pattern pieces. Since we had some of the fabric we needed, we began cutting at the tail end of one of my parents’ trips to visit me. Three hours into cutting and we’d only made a small dent in what we needed to do, but we had realized a couple things: 1. the pattern needed to be placed in its own binder and 2. the little labels that came in the pattern for each cut piece of fabric were life savers.

My next trip home was focused on other projects that had sooner deadlines but we nonetheless found some time to continue cutting out pattern pieces. A few more hours of cutting and we had almost all of the pieces cut minus the foam parts, the lining, and interfacing.
And finally I made it home for the longer winter vacation where we would have time to — hopefully — get started with sewing this project. After a couple more hours of cutting, I had all of the pieces finally ready to go.

With all of the pieces cut and organized I started making the first pocket on the backpack, the zippers, ironing, cutting, all felt familiar at this stage. The directions were written as clearly as they could be and all of the confusion around which pieces were called what and which part of the backpack they corresponded to slowly became more clear as pieces were removed from the equation and sewed onto the backpack.
With all of the cutting and the careful reading of the pattern, the end of the day left me feeling highly successful with the front pocket and the back gusset completed.
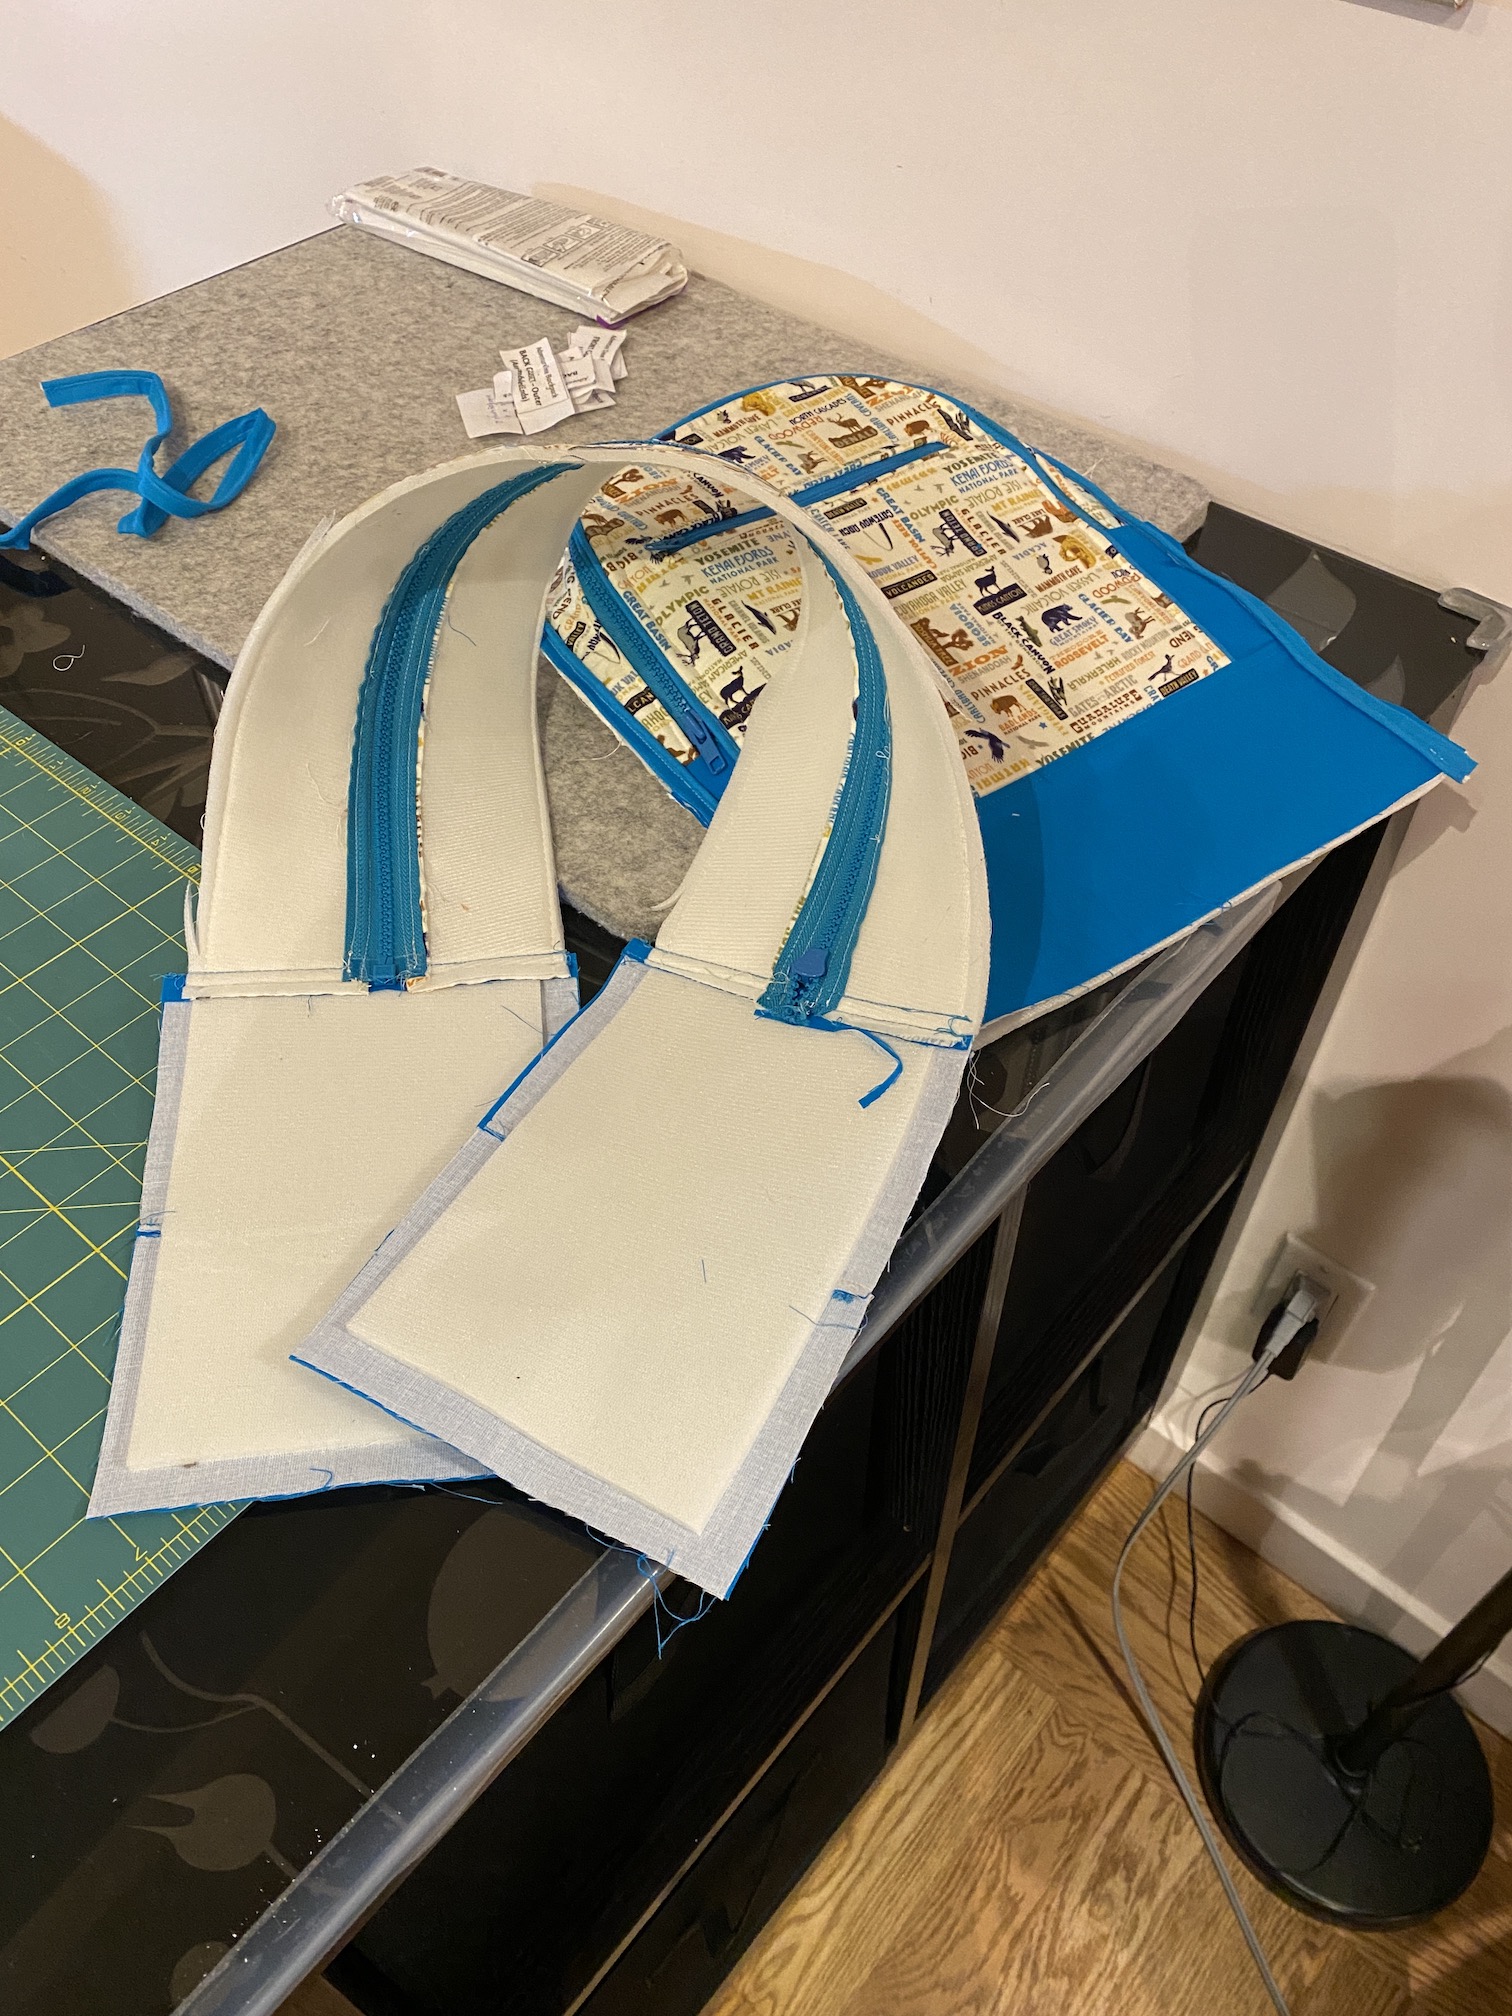

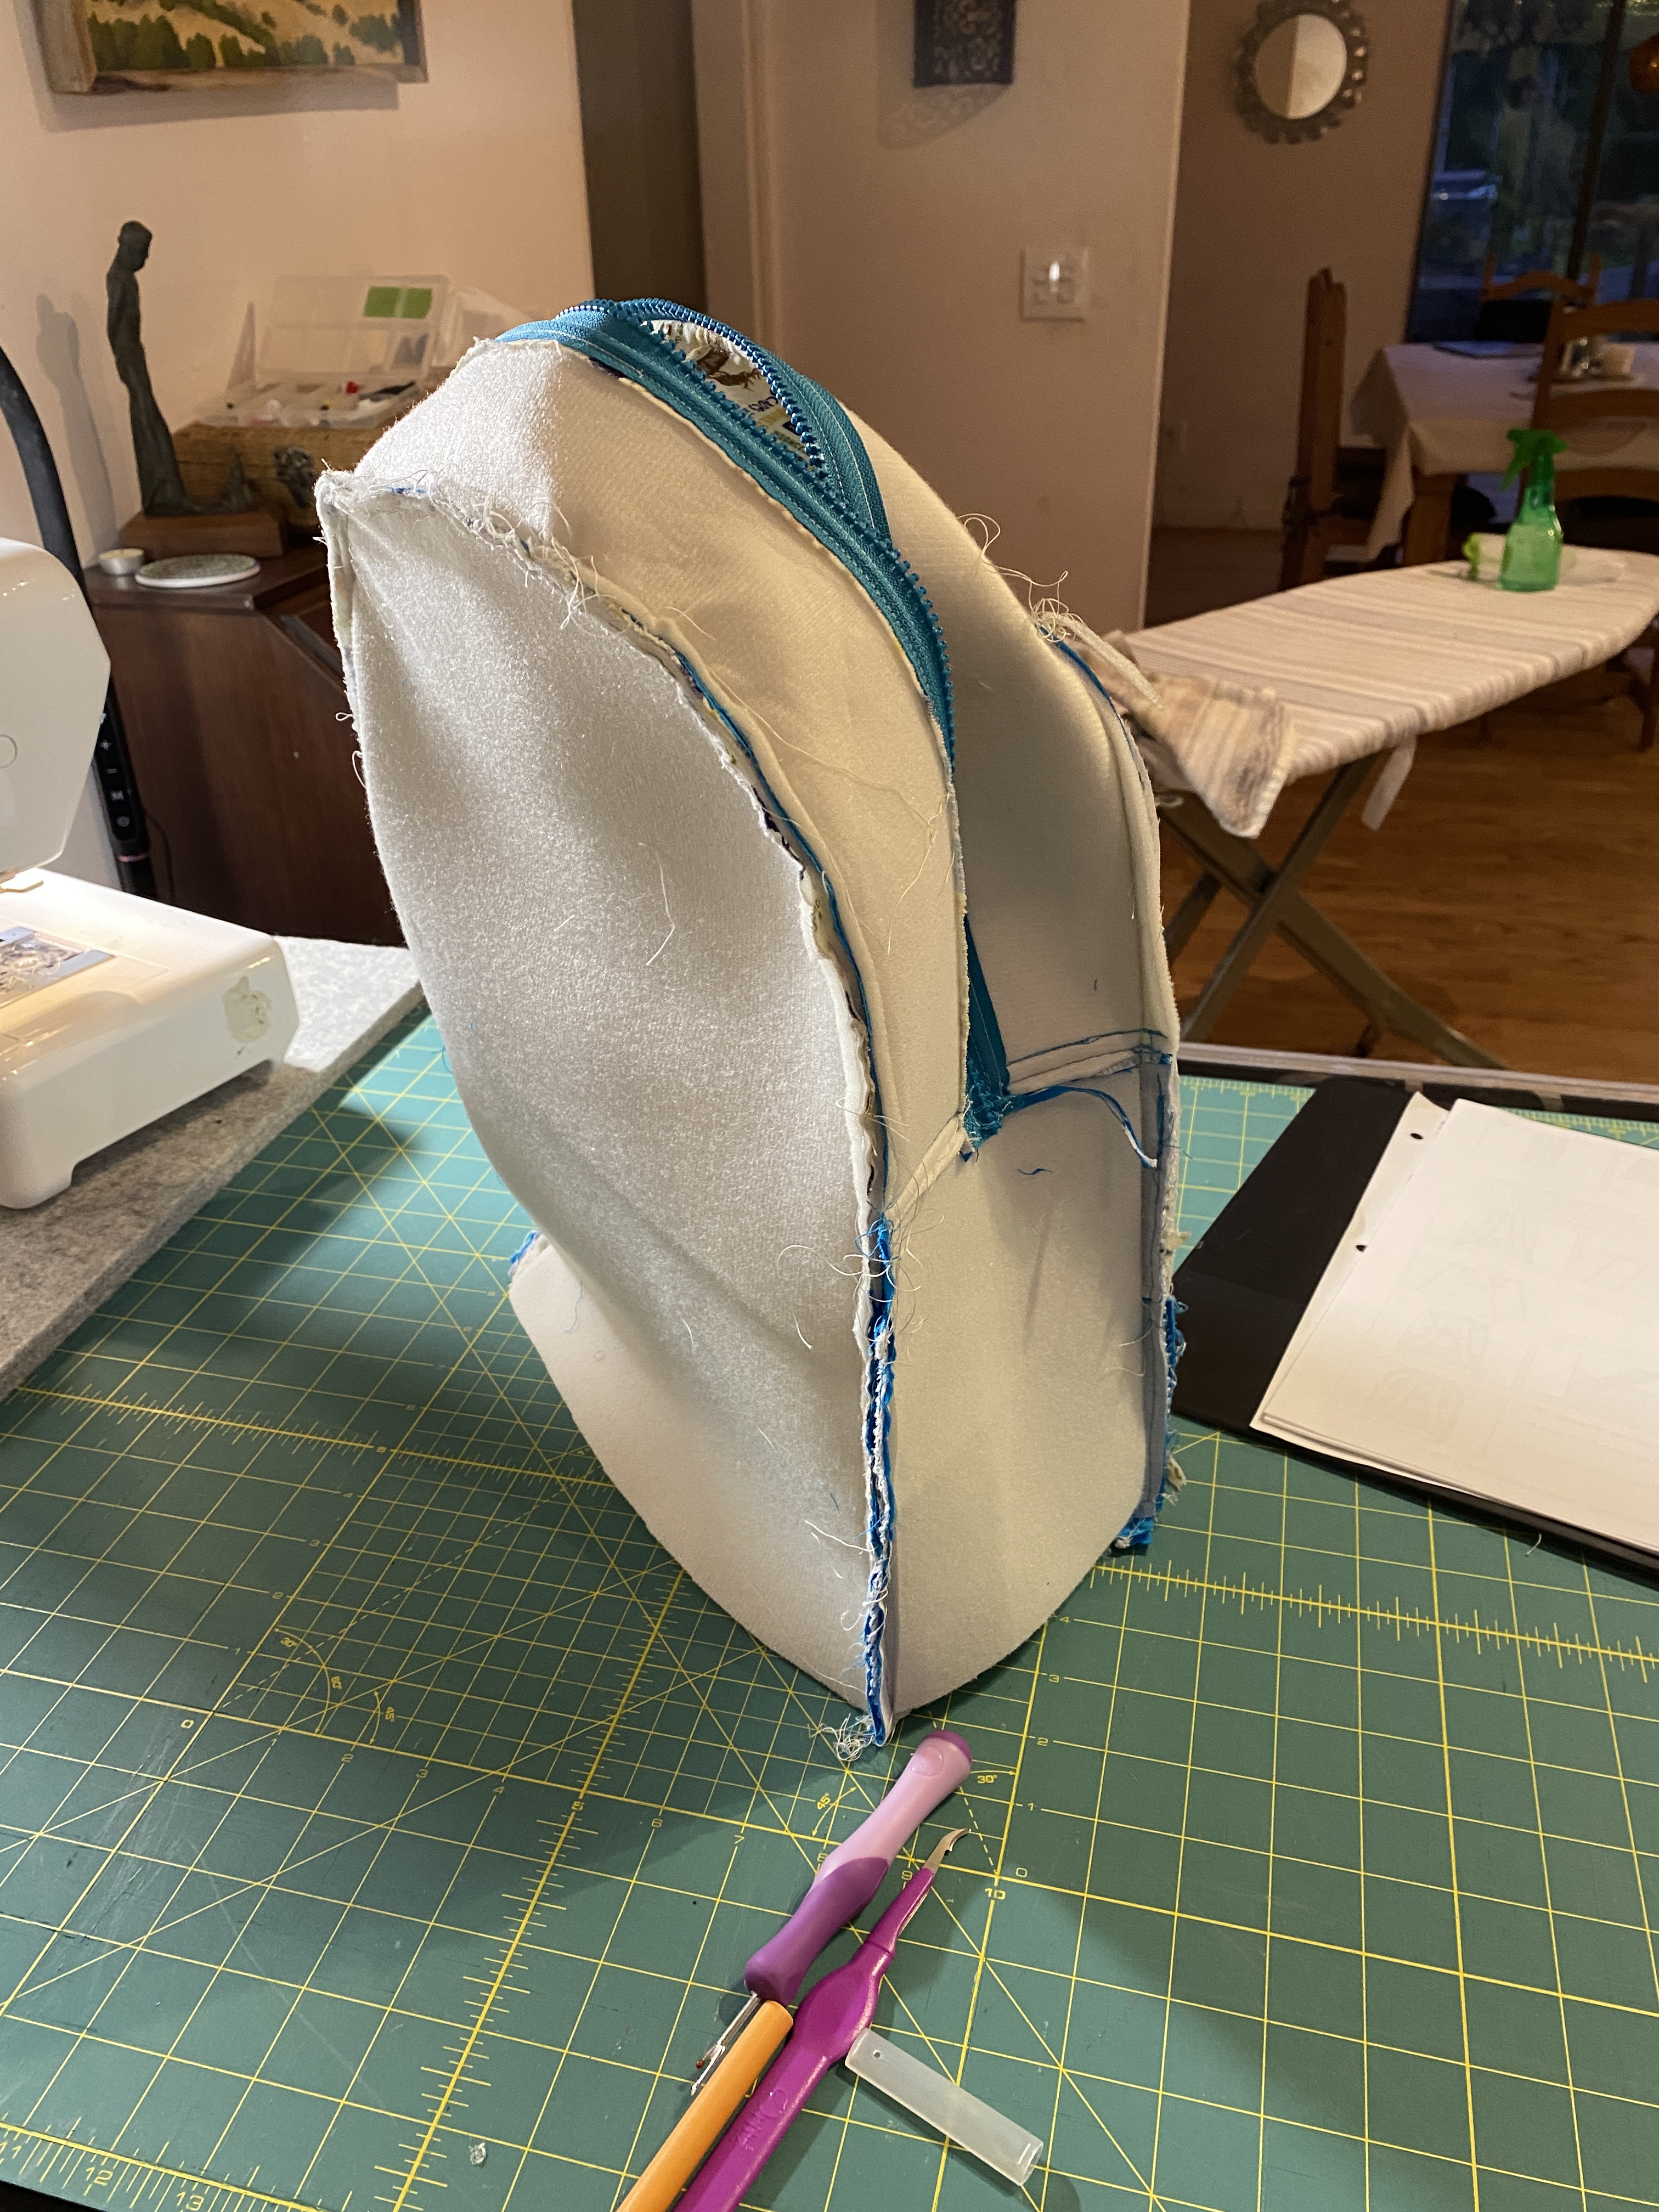
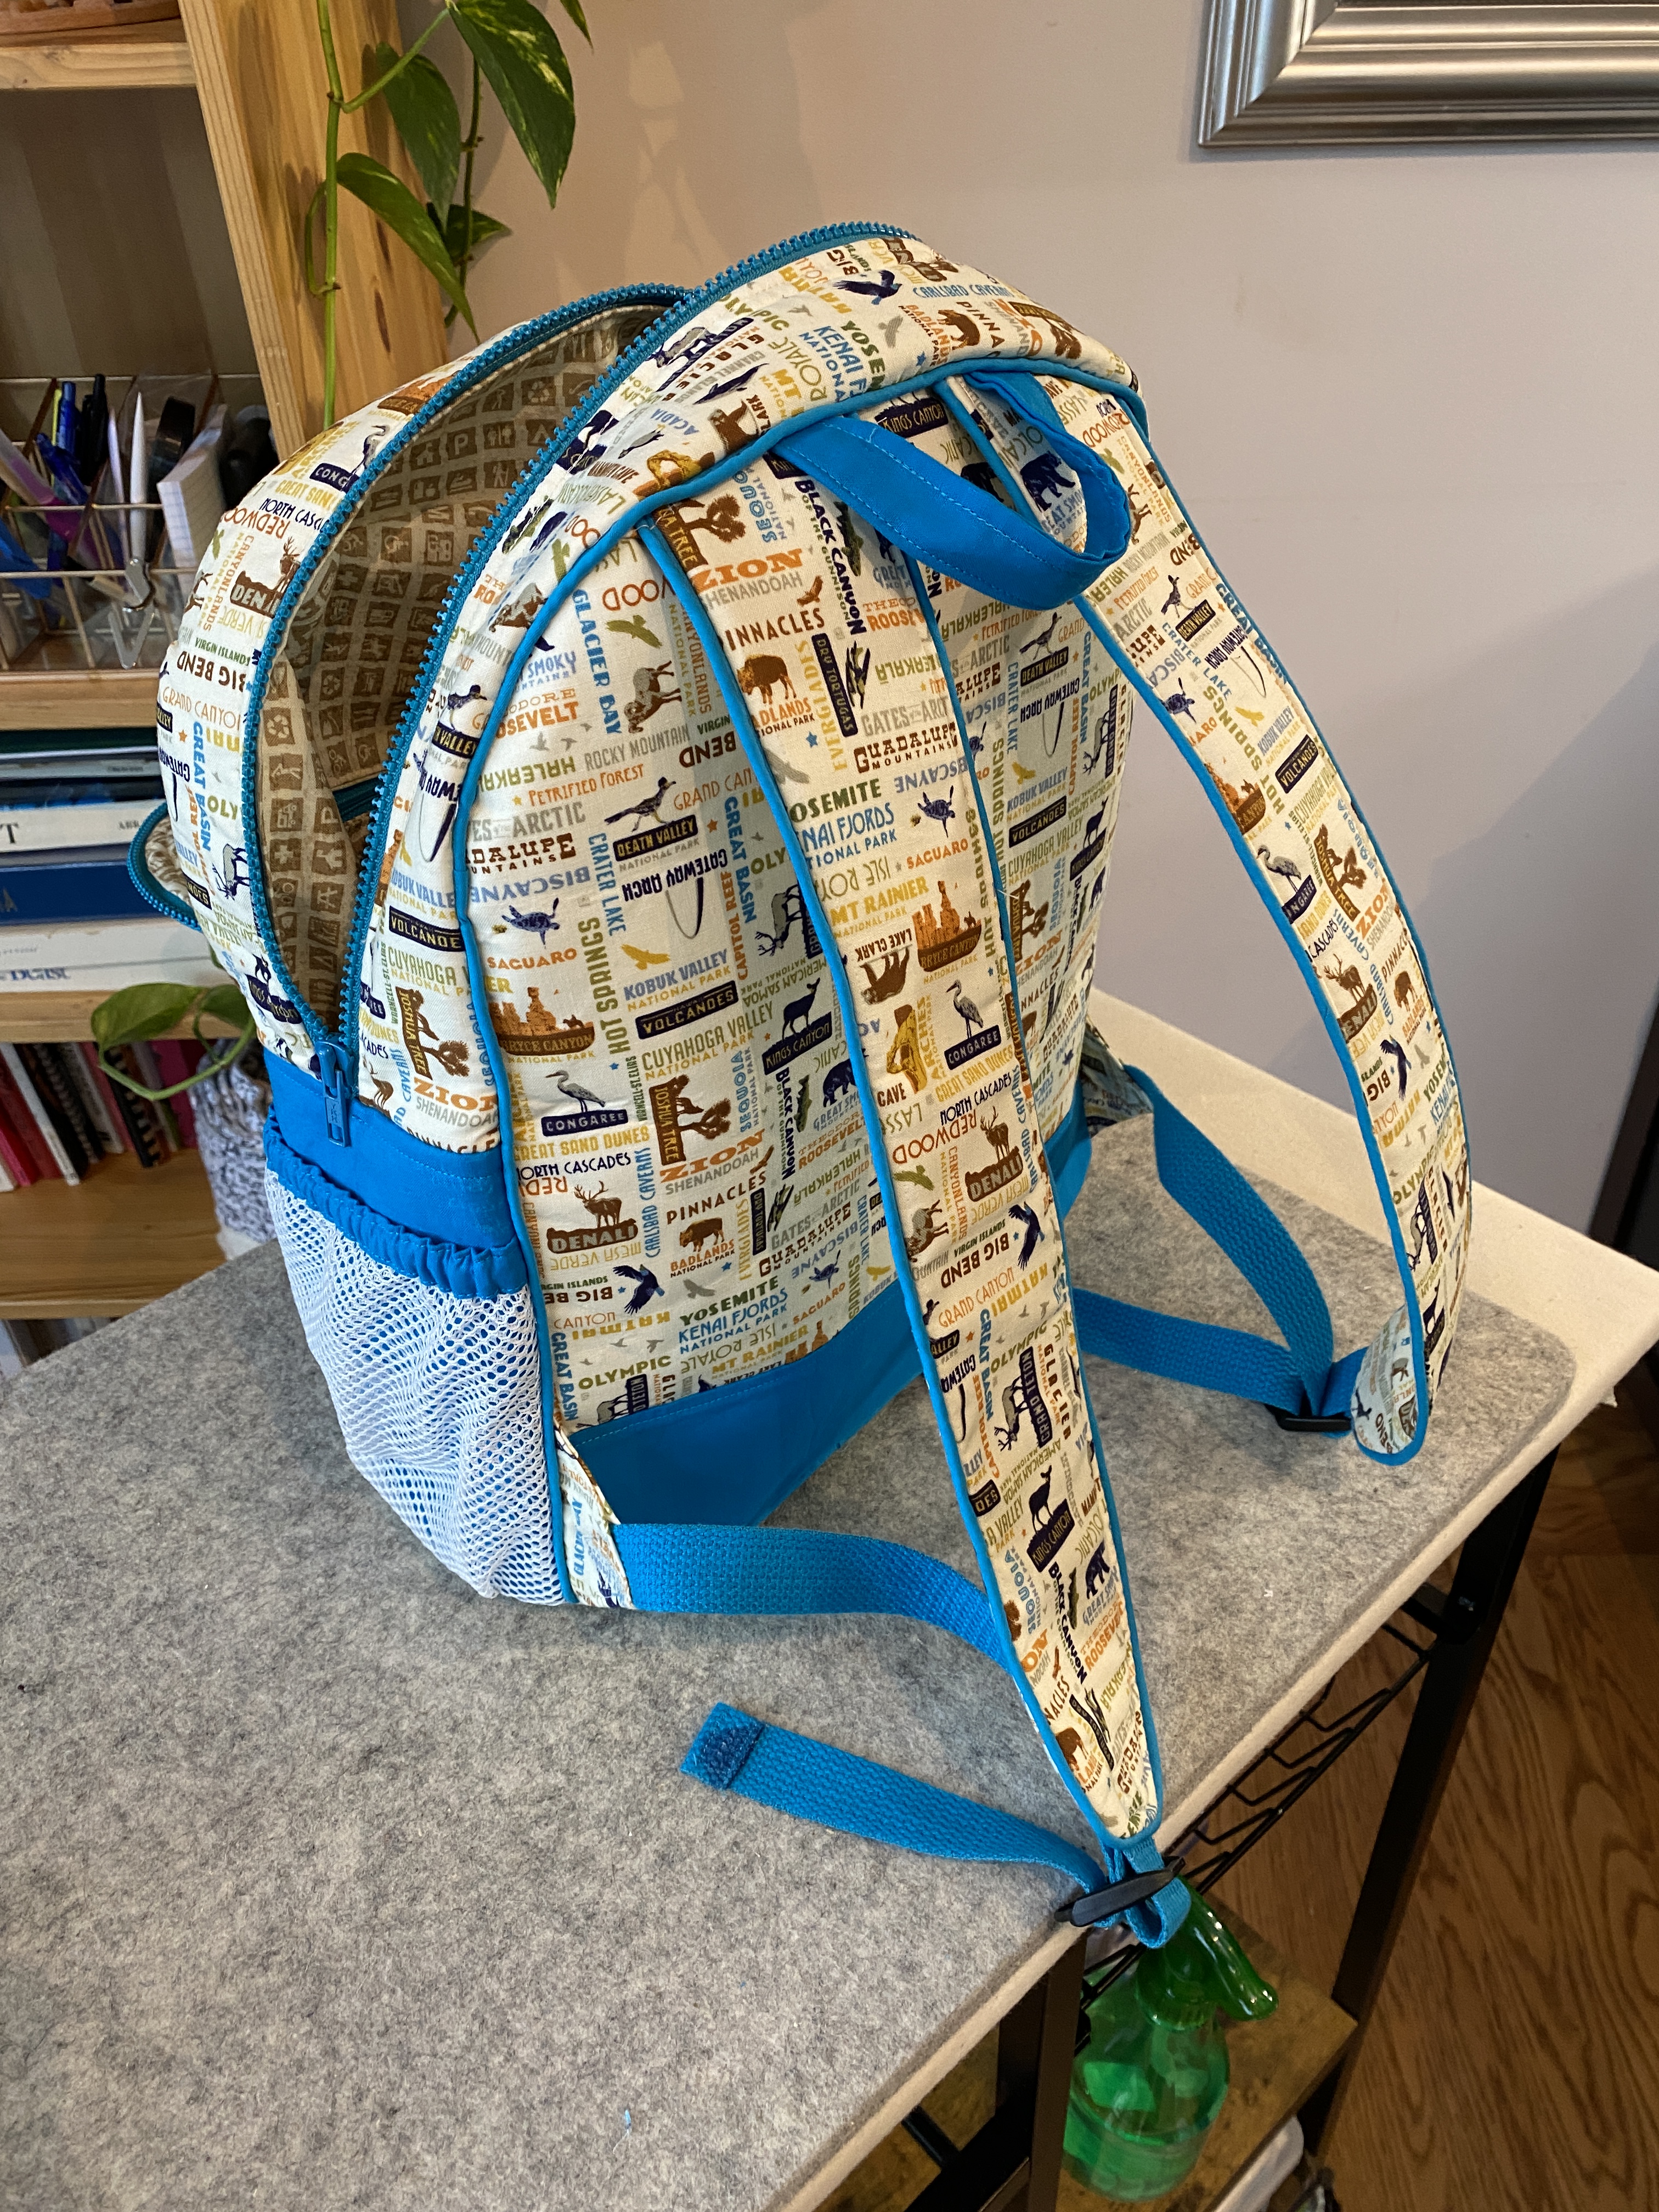
The next day we continued chipping away at the backpack until all of a sudden I was holding a fully sewn outer shell of a backpack! The straps were, perhaps, my proudest achievement. Making it through so many layers of fabric plus the webbing led to many broken needles and frustration before I switched machines to one that had been serviced more recently and used a denim needle to make it safely through the many layers of fabric. Turning the straps inside out was possibly more satisfying that turning out the entire outer shell and my family members and friends all quickly tired of my sending photos of my straps demanding a slice of their attention as I celebrated how cute the straps were.
We made a midday trip out to JoAnn’s to fetch marine vinyl for the bottom of the backpack and to fetch more piping, while the piping around the base of the bag made for a nice finish, it made for an incredibly challenging wrestling contest with the sewing machine to successfully capture the many layers of fabric. Swapping out the original fabric for the marine vinyl made for am much stronger base which felt like a good bet since I’m expecting this to make it into national parks and get set down on the ground.


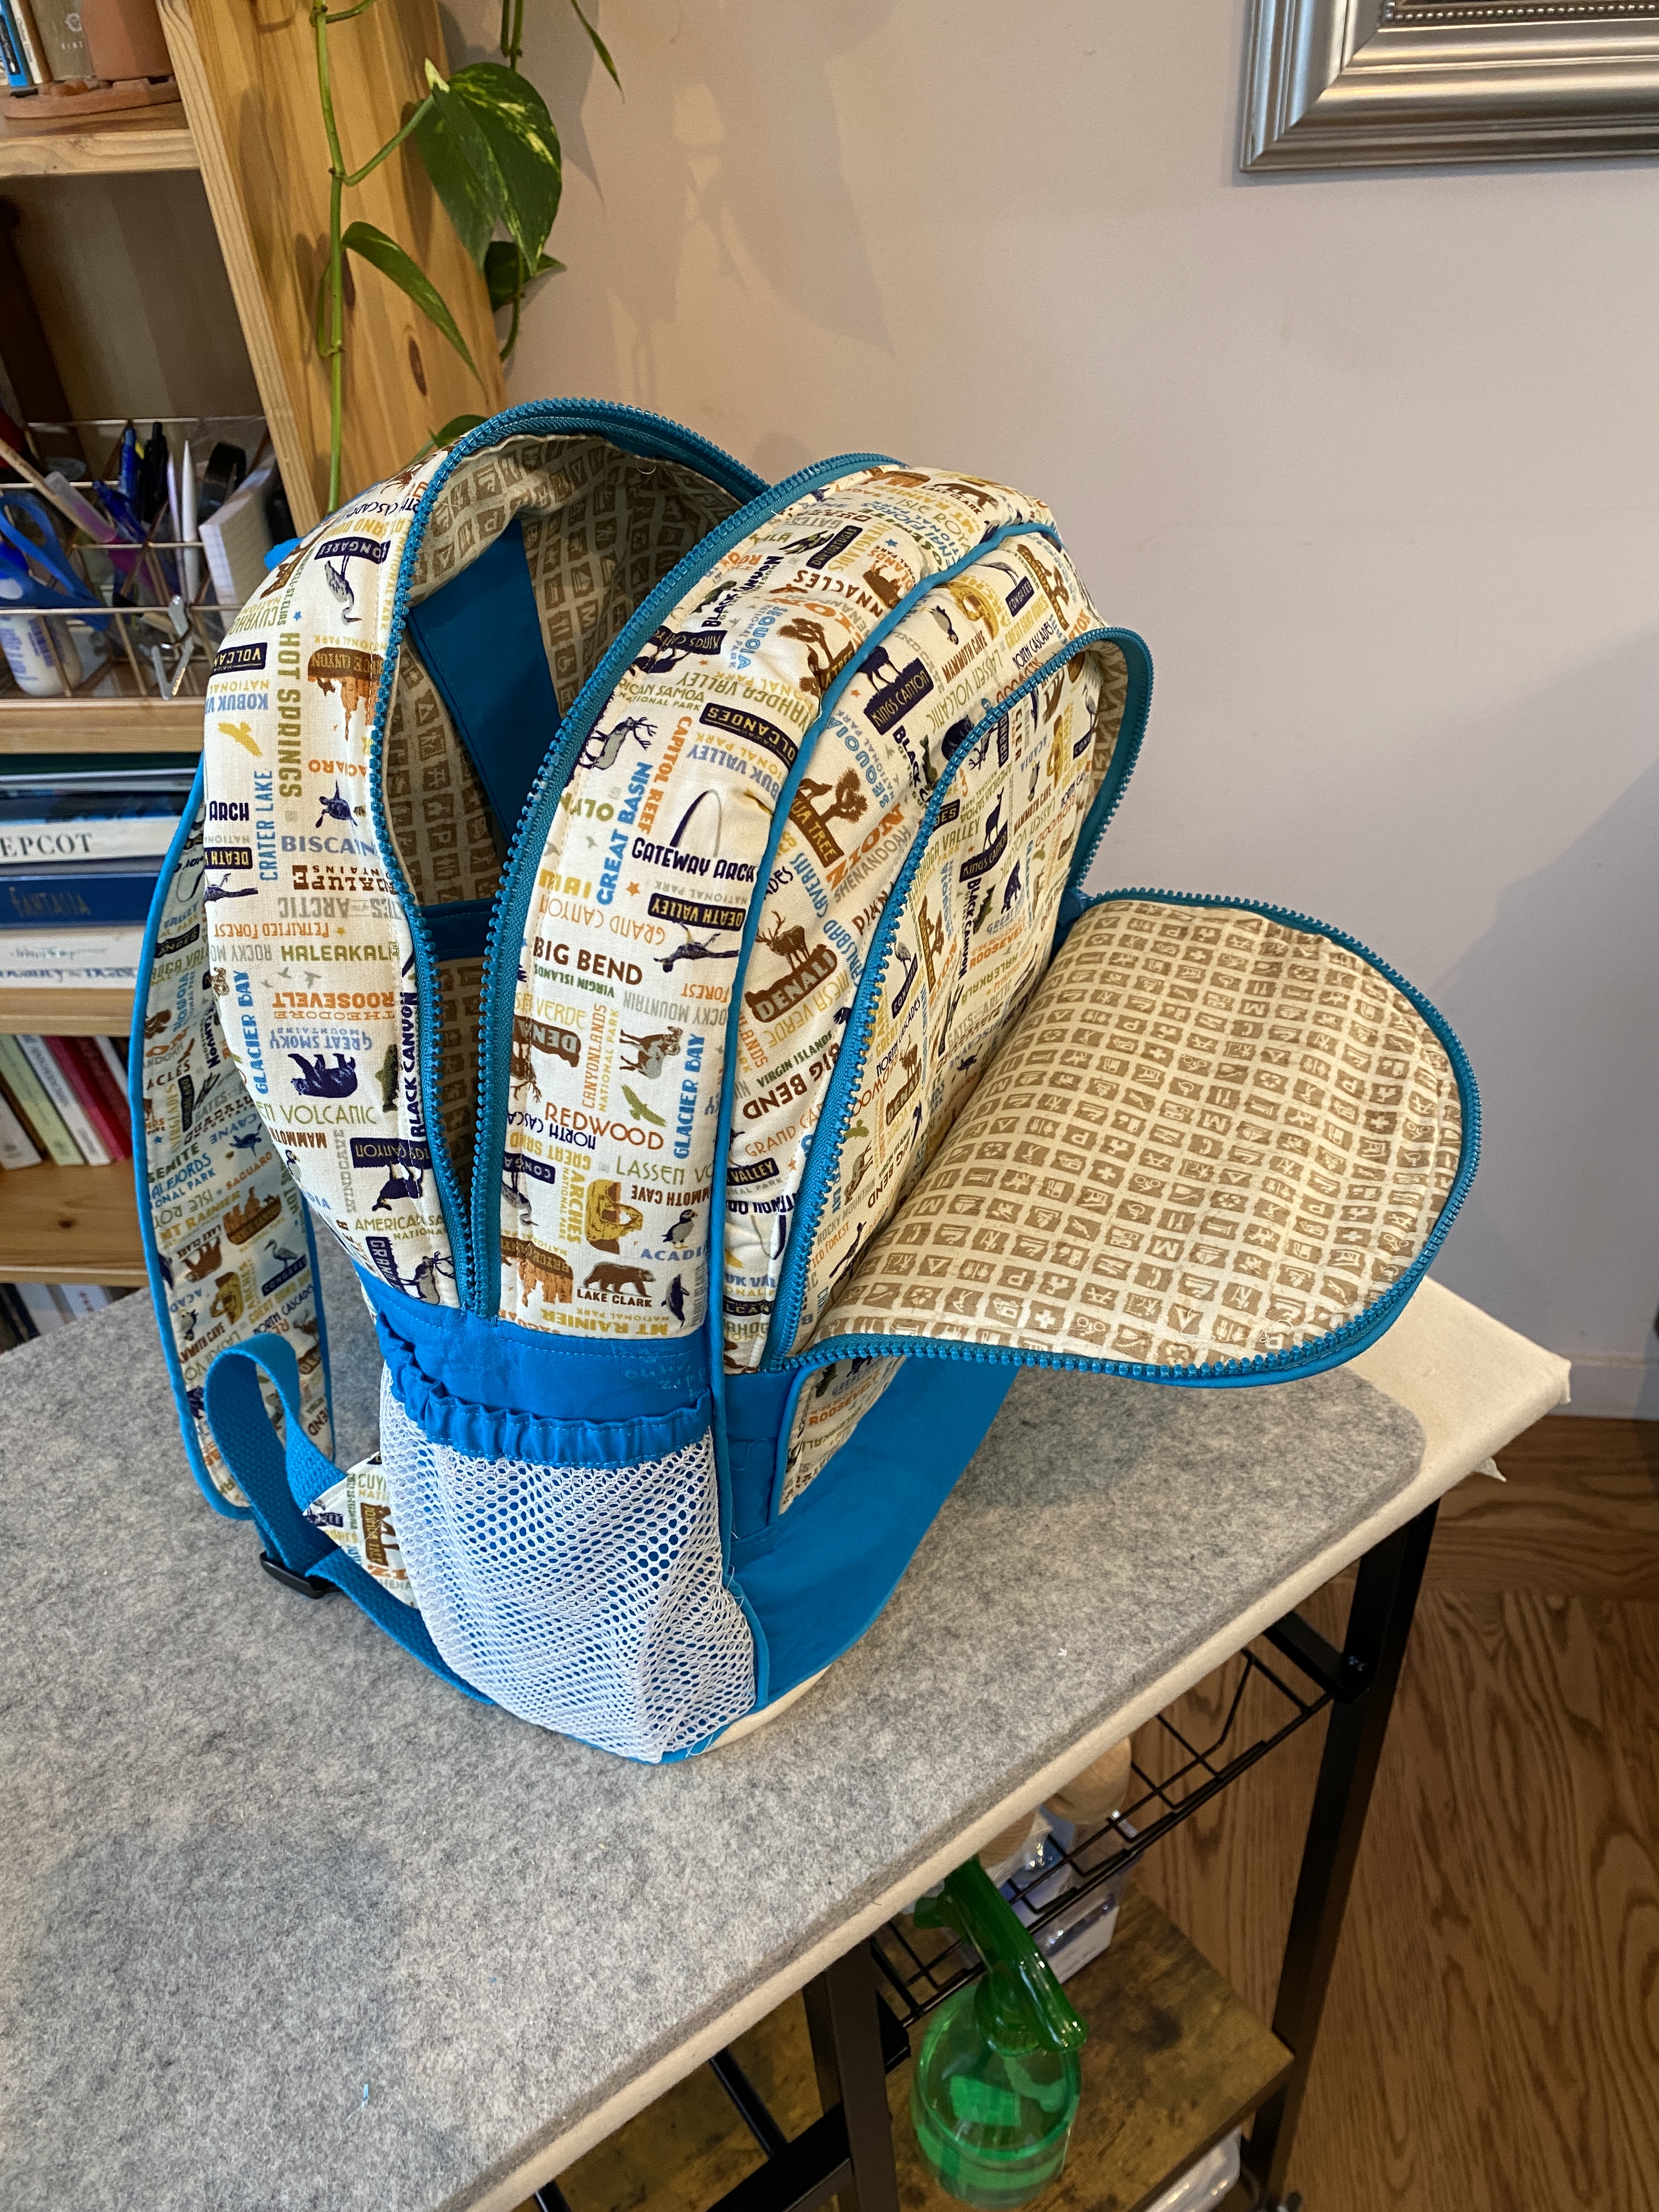
Finishing the outer shell felt like a pretty big deal and we still had a couple of hours before I would call it quits for the evening so we began working on the lining. The lining was constructed almost in exactly the same way as the outside of the backpack, but with fewer layers and pockets, so in many ways it was far simpler. We did end up re-cutting one piece of fabric — the pattern has the inner slip pocket made out of the same fabric as the outside of the backpack which looked a little funky to me so it was quickly re-cut in the lining fabric. This was also my first time attaching a magnetic snap clasp which was surprisingly easier than expected.
With the outside and lining finished, it was time to call it quits, I assumed that sewing the two pieces together would require lots of wrestling with the fabric and the machine and wanted to tackled that particular challenge with a full night of sleep.

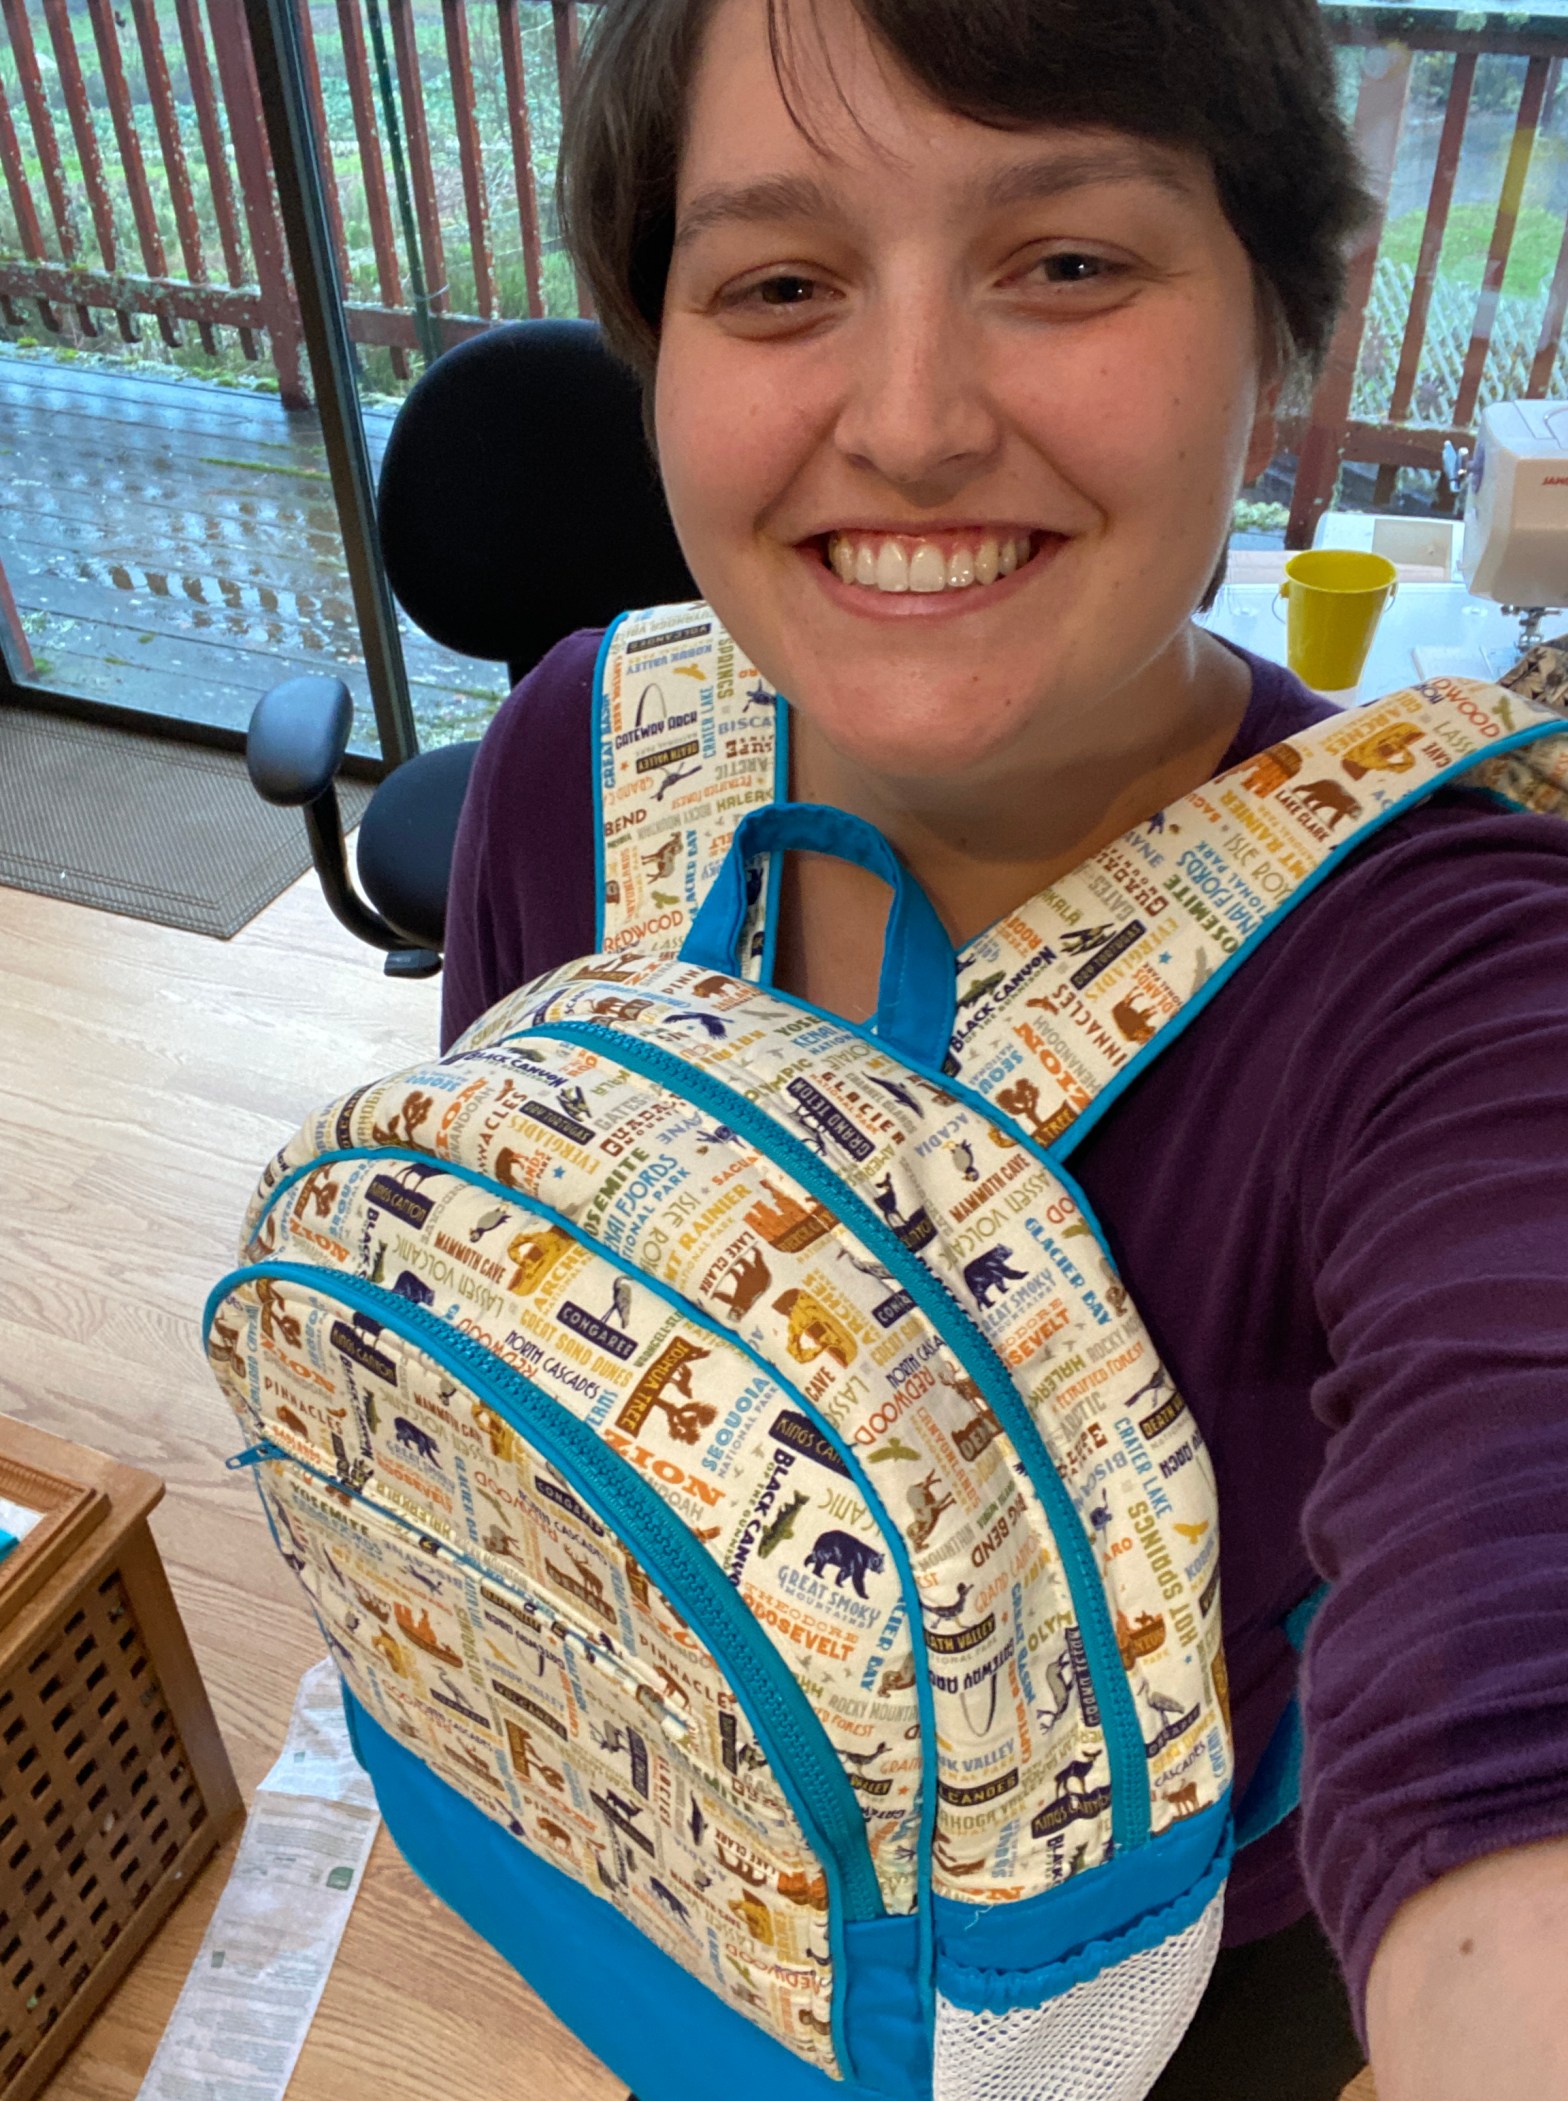
The final step truly was to sew the inside to the outside and turn it inside out. To wrestle with so many layers of fabric I enlisted my mom’s help as another set up hands to hold back stray backpack parts that desperately wished to interfere with the machine and between the two of us the lining was quickly attached. At that point, I handed the backpack over to my mom to hand sew (I truly hate hand sewing) the final sections closed around the zippers and then spent the rest of the day wearing the empty backpack to celebrate its completion!


Now I have until August to fill it with a junior ranger vest, a journal, bird/mammal/tracks/scat guides, national parks postcards, pens, compass, whistle…..the sky’s the limit! Or perhaps, the dimensions of the backpack are the limit….
